|
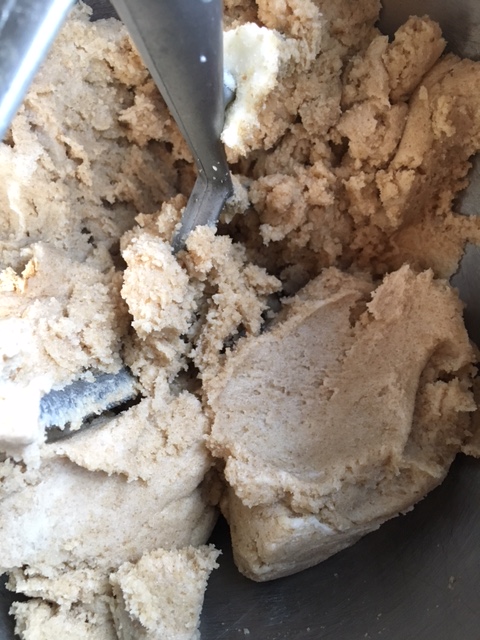
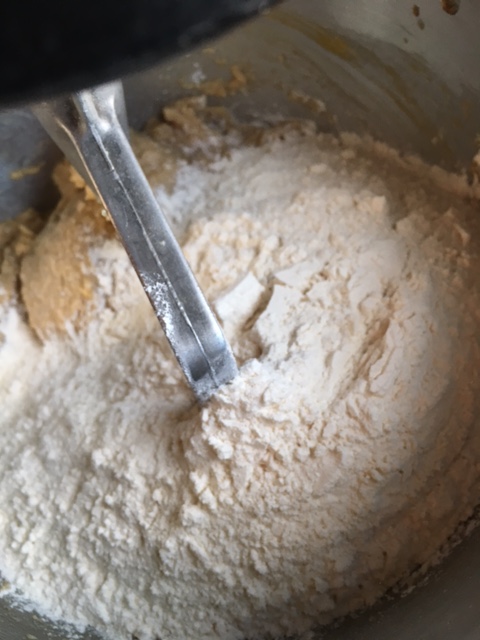
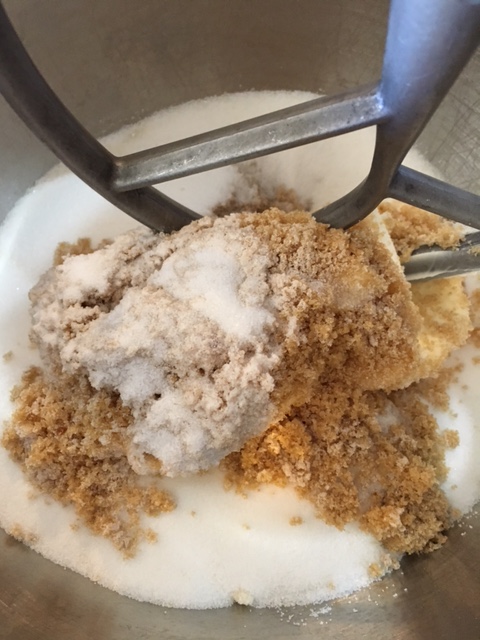
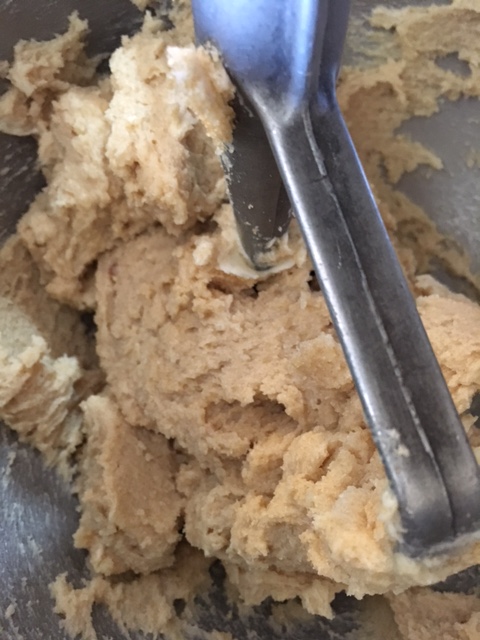
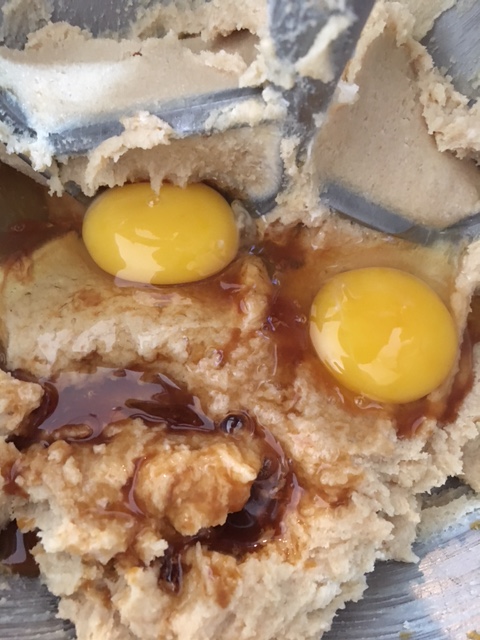
"All you need is love and Christmas Cookies." - unknown I can hardlly believe Christmas is only 19 days away. This year has gone by so very fast to me! And since it's the Christmas season, seems only fitting to offer up a cookie to add to Santa's plate. This is a cookie that's a rif on the Funfetti (PIllsbury trademark) cake that's beloved by children everywhere. You can make them any time of the year by customizing the jimmies (elongated sprinkles) used. In this case I used a mix of light and dark green with red. Festive, no? Last year I made logs of raw dough which I festively wrapped as gifts leaving the actual baking to my friends. It sure saved me a lot of time and it turned out really cute. It's another idea for you to keep in mind if you are gifting treats this holiday season. Some of my other favorite cookie recipes are here. If toffee is your thing, the ever popular Christmas Crack is a sure crowd pleaser, but for now, Confetti Cookies it is! So let's hop on over to the mixer and get this holiday baking going! Christmas Confetti Cookies 11 1/2 ounces( 1 cup 7 Tablespoons) unsalted butter, room temperature 7 ounces (1 cup) granulated sugar 10 ounces brown sugar (1 1/4 cups) packed 2 large eggs 2 teaspoons pure vanilla extract 16 ounces (about 3 1/3 cups) all-purpose flour 2 ounces (4 Tablespoons, plus 2 teaspoons) yellow cake mix* 1 1/8 teaspoons baking powder 1 1/8 teaspoons baking soda 1 1/2 teaspoons kosher salt 3 ounces (about 1/2 cup) holiday colored jimmies 10 ounces( about 1 1/2 cups) mini chocolate chips 6 ounces (about 1 cup) mini (or regular) white chocolate chips** 1 Preheat oven tp 350 degrees F. In a medium bowl, whisk together flour, cake mix, baking powder and soda and salt; set aside. 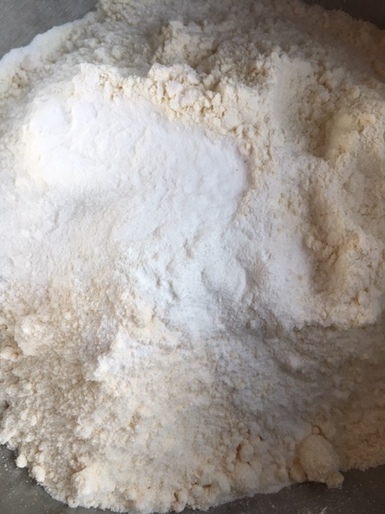 2. in bowl of a stand mixer, cream together butter and sugars on low speed until well combined.
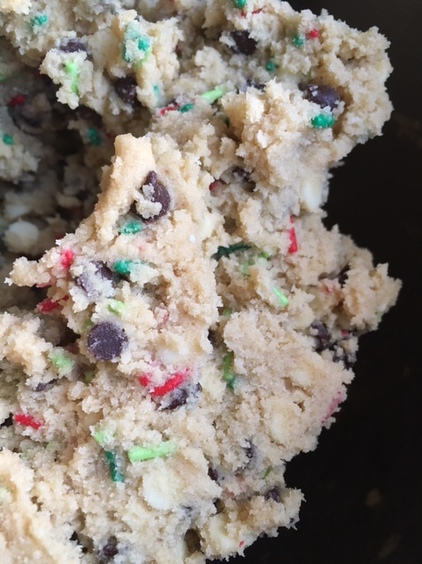
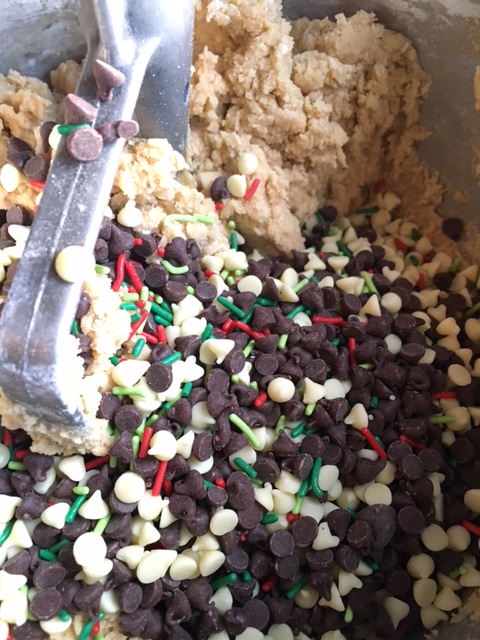
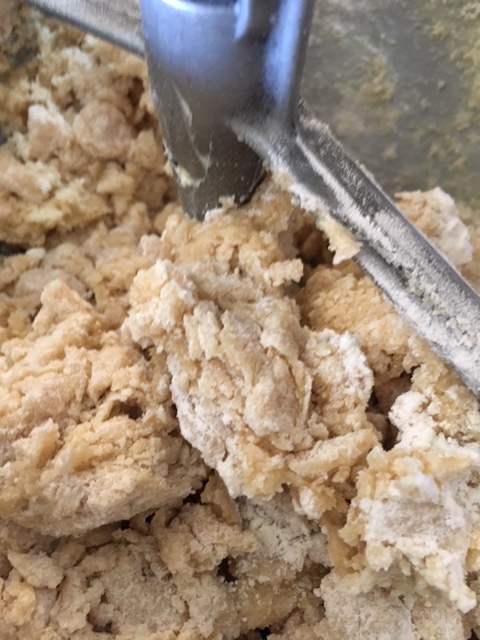
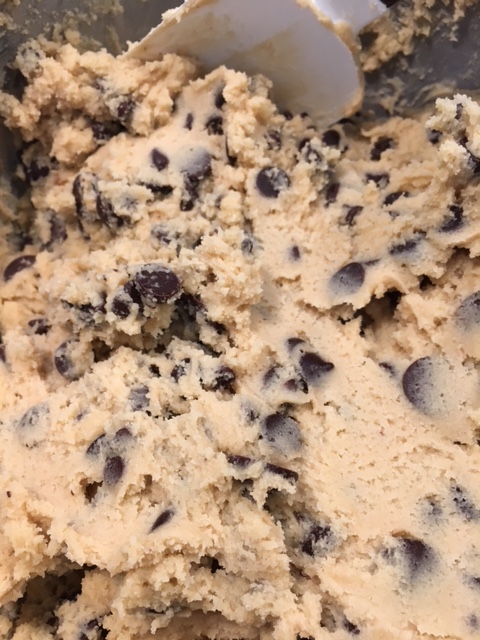
3. On low speed stir in eggs and vanilla. Increase speed to medium for 15 seconds. Reduce speed to low, and scrape down sides of bowl. 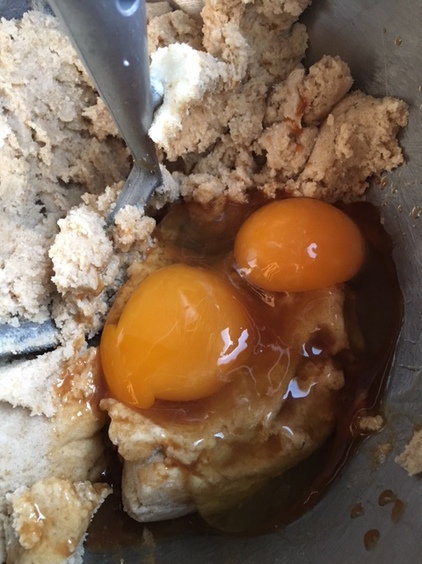 4. Stir in dry ingredients until almost completely incorporated. Scrape down sides of bowl and stir in both mini chips and jimmies.
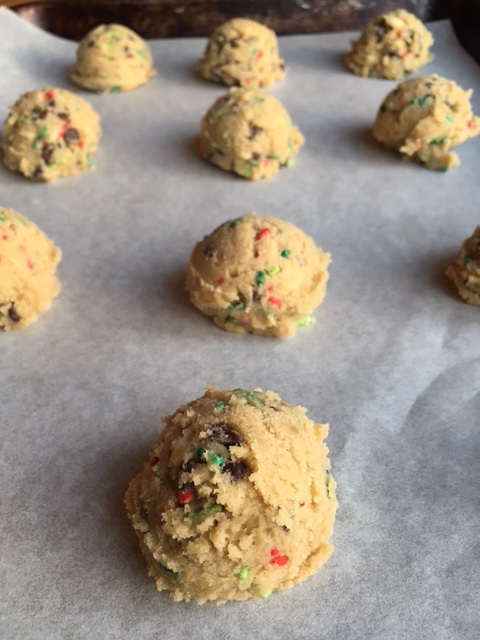
 5. Scoop dough onto parchament lined baking sheets. Bake for 10-12 minutes until done.
6. Let cool completely before wrapping or storing. can keep frozen, wrapped air-tight for about 1 month. 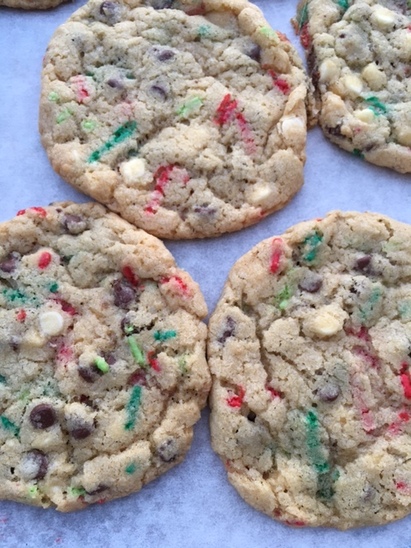 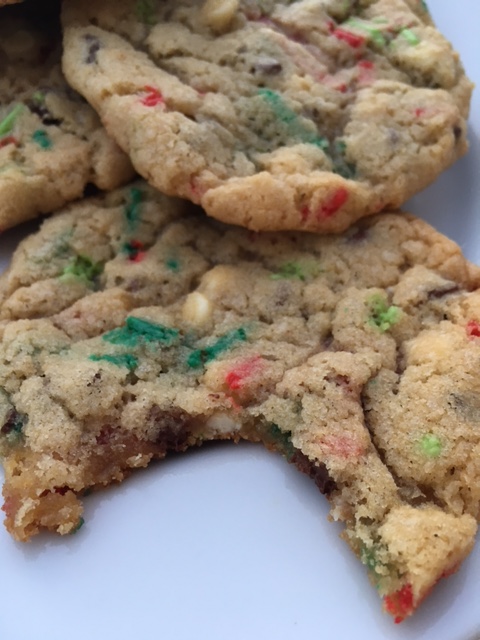 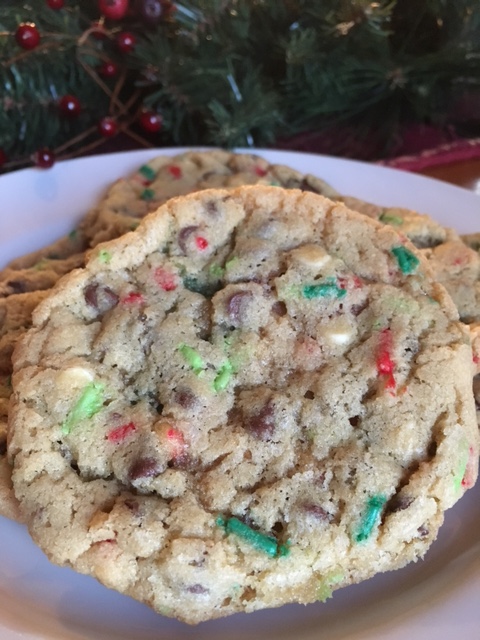 * Keep leftover cake mix wrapped air-tight in the freezer for future cookie making sessions.
** for best results and flavor, please use the ones that contain cocoa butter and not alternative fats. Happy Baking and sharing! ♥ #cookiesandkindness
0 Comments
"Art is the highest form of hope." -Gerhard Richter Recently in the aftermath of our US election, a group of artists on Instagram created the hashtag #artistforlove and created art showing a love message to some of the more typically disenfranchised citizens, as they saw them. You can search that hashtag and see all the art that comes up. I joined in this creative exercise and here is the piece I created.I really love it, as it was so organic and unexpected.  If you feel drawn to it and would like to print a copy for your personal use, you may download the PDF file below at no charge as my gift to you. I don't have the best scanner, so I am hoping the print quality is acceptable. I retain all rights to the art and this image may not be reproduced for any other purposes without my express consent. Thank you for respecting this. Enjoy the art and spread love♥
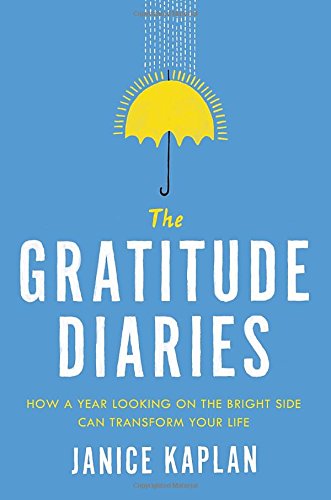
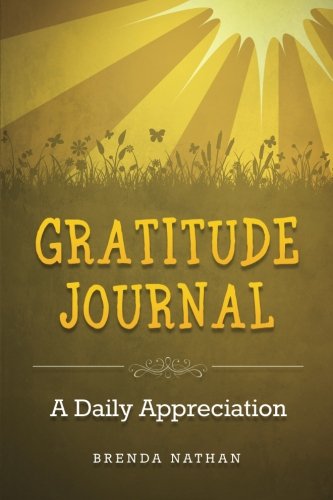
"The miracle of gratitude is that it shifts your perception to such an extent that it changes the world you see." -Dr. Robert Holden If you have been following my blog for any time (maybe a few of you?) or have seen me on Instagram, you may know that gratitude is a theme I am curious about, hence the name "Wonder and Gratitude." My personal gratitude practice started many, many years ago after seeing Oprah discuss her gratitude journal and the habit of listing 5 things she was grateful for each day before going to sleep. Off and on I have had some sort of gratitude practice. Sometimes I don't practice it regularly, and other times I am so committed. Last year I photo journaled a daily gratitude practice on Instagram under the hashtag #365grateful after seeing the gratitude video projects of two artists Hailey Bartholomew, photographer and the founder of 365grateful.com and Lori Portka, a painter. I encourage you to watch both. I have found a gratitude practice to be extremely helpful to me in challenging times (and the past two years have been really challenging) And yet, even when I am looking on the bright side, trying to see the good, focusing on what my heart feels grateful for, sometimes I fail at it big time. Sometimes my gratitude feels trite to me, not as sincere as I'd like it to. My heartfelt wish is to have gratitude be the essence of me, to imbue my every pore with a feeling of gratitude and to have it color all my experiences and interactions with its grace. Lofty goal, I know. Maybe I will never achieve that but I'd like to try and move as close to that as possible for me. Recently while scrolling through Instagram, I came across a book called The Gratitude Diaries: How a year Looking on the Bright Side Can Transform Your Life. It's a New York Times Bestseller by author Janice Kaplan. I'd never heard of it, have you? It instantly piqued my interest and gave me the idea to host a virtual book club so we can share the gratitude journey together. Would you like to join me? You know it will be so much more fun and interesting with you along, right? Yes, definitely! ♥ To celebrate the first Wonder and Gratitude Virtual Book Club I am going to give away 2 copies of the book and one copy of this gratitude journal (keep reading for how to enter)!
So here is how it will work... Anyone who wants to participate will just buy the book from any bookseller they choose (disclosure: if you purchase using this link, I may get a small commission) or borrow it from your local library if available. The Wonder and Gratitude Virtual Book Club will commence January 2017 so you can get through the holidays and settle in with your book later. I will post my take on the book twice a month and we can all join in on the discussion here on the blog, on Facebook and on Instagram. It will be an encouraging, supportive and love-filled space to grow. I can't wait to see how sharing gratitude will bless us all! Ok, so now for the GIVEAWAY!!!
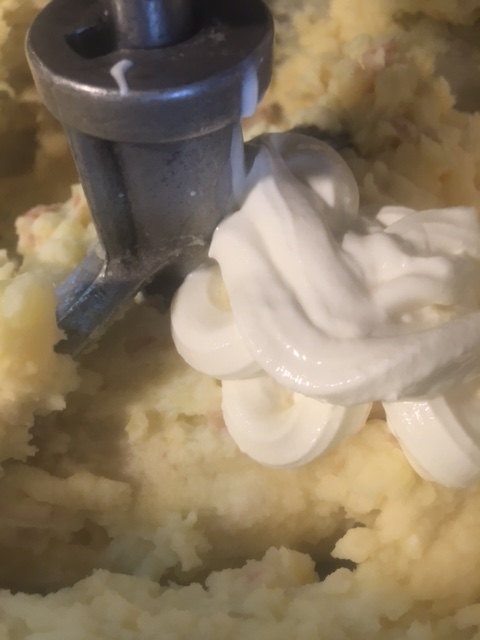
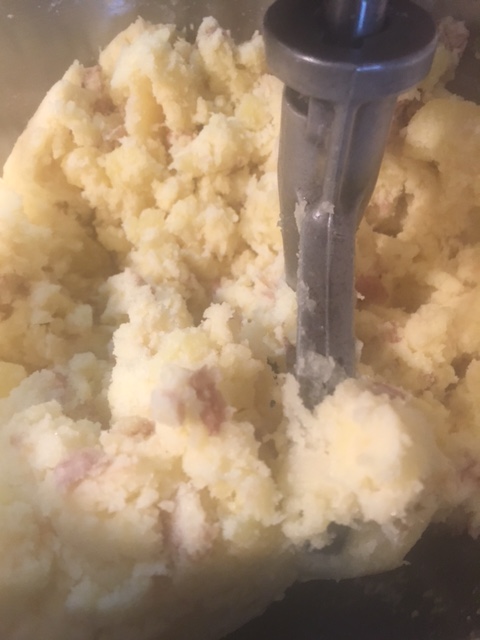
Due to shipping constraints, the giveaway is limited to only addresses within the 50 US states. Two (2) entrants, randomly selected, will win a copy of the book The Gratitude Diaries by Janice Kaplan. A third entrant, randomly selected, will win a copy of Gratitude Journal:A Daily Appreciation by Brenda Nathan. Here's what you have to do to be entered (any or all to increase your chances): 1. Comment on this Blog Post below, telling me where you're from and what you were most grateful for today in just a few words and/or 2. Like my Facebook page and comment on the Gratitude Diaries entry and/or 3. Follow me on Instagram and in the comments section of the Gratitude Diaries post tag TWO (or more) friends who you think would love to join you on a gratitude journey. That's it! Easy, right?The winners will be announced December 15 and book shipped out in plenty of time for January 2017 book club start! I'm so excited and grateful to get to do this with you!♥ "If you are grateful for everything, then whatever you have is enough."-unknown Thanksgiving is just a couple days away. Do you have your entire menu already planned? Well, if it isn't too late, may I recommend these potatoes? They are unbelievably good, ridiculously luxurious and all together worthy of any celebration. These are not boring, pedestrian mashed potatoes, these are pull out all the stops potatoes. They are inspired by the potatoes my good friend Suzi used to make with the added touch of a little bit of parsnip and with all the ingredients measured out for consistent results every time. They will be great on Thanksgiving, with your favorite roast chicken, meatloaf or as a pillow for a savory stew to be ladled on top of. I don't completely peel my potatoes, preferring the rustic look of the peel dotted throughout, but feel free to peel if that's your preference. These mashed potatoes are chunky and full of texture, which I love, but if you prefer a more smooth potato, use a ricer instead of a mixer to mash potatoes and then stir in other ingredients by hand once potatoes are riced to desired consistency. Unbelievably Good Mashed Potatoes-serves about 10 2 parsnips, peeled, halved length-wise and cut into 2 inch sections cross-wise 2 cloves garlic, peeled and coarsely chopped 4 1/2 pounds red or gold skinned potatoes (Yukon Gold are my favorite, but gold-fleshed red-skinned potatoes are really great, too), peeled or not, cut into chunks 6 Tablespoons unsalted butter, melted 1 1/2 cup half-n-half warmed, plus additional for thinning 1/4 cups sour cream 2 Tablespoons cream cheese, room temperature 3/4 teaspoons each kosher salt and coarsely ground black pepper 2 Tablespoons minced fresh chives 1. In a large pot place potato, garlic and parsnip chunks, a generous amount of salt and enough water just to cover. Bring a to a boil. Reduce heat and simmer, until tender. Drain completely. 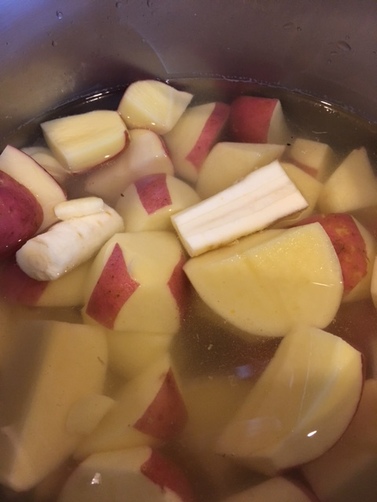 2. Place potato-parsnip-garlic mixture into a bowl of stand mixer with paddle attachment.on low speed. Stir potatoes until they are broken apart (the idea isn't to mash them into a cohesive mass of potatoes here. They should appear fluffy in texture). Increase speed to medium for 1o seconds. Reduce speed to low. 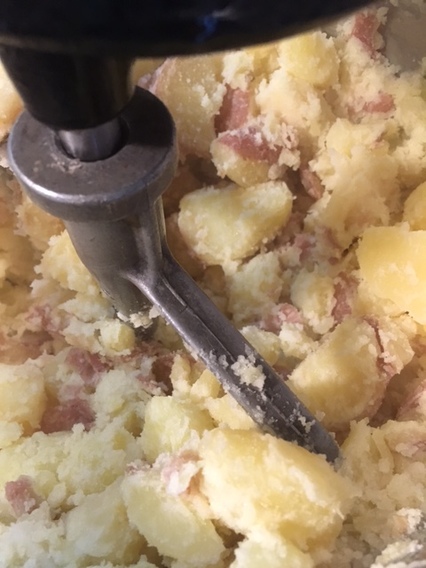 3. Combine melted butter and half and half . With mixer on low speed, pour into potato mixture along with sour cream and cream cheese. mix on low speed for 30-60 seconds.
4. By hand with a wooden spoon or large spatula, mix in chives, salt and pepper. You should be able to taste the salt without thinking the potatoes are actually salty. Make sense? Adjust seasoning gradually to taste. 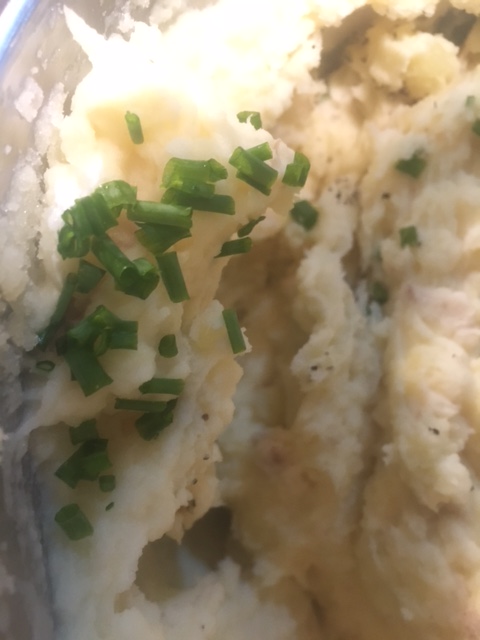 5. Thin potato mixture with additional half-n-half until desired thickness is reached.  6. Place potatoes into serving dish and sprinkle with additional chives, if desired. 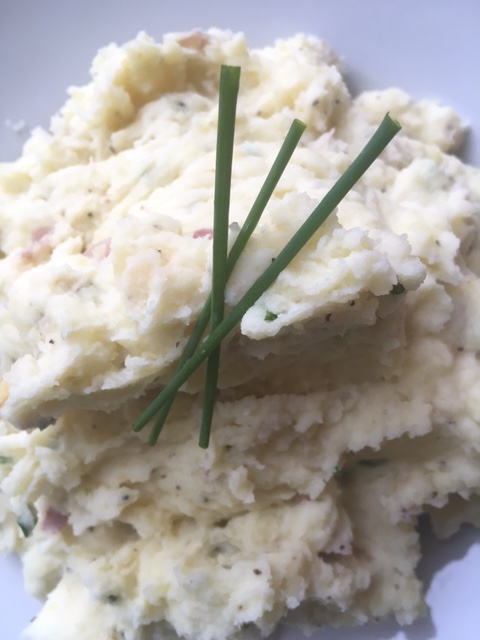 Wishing you a very happy and tasty Thanksgiving. May you have plenty to be grateful for this Thanksgiving holiday and every day. ♥
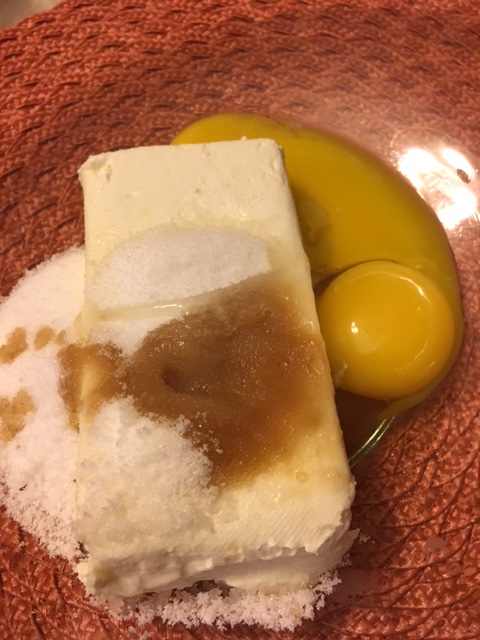
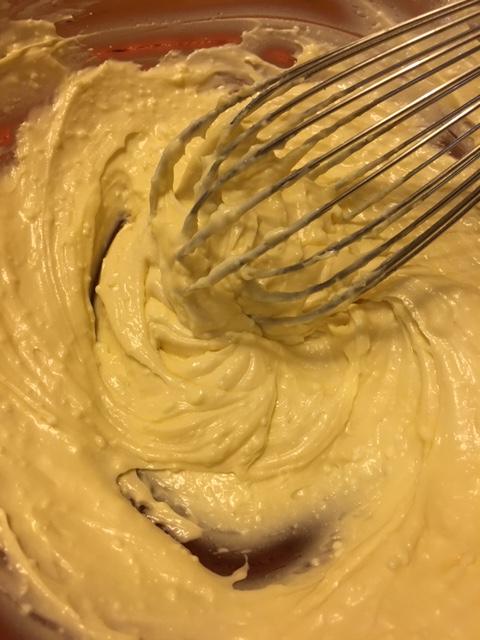
"The only way cheese is dessert is when it is followed by the word cake. " -Michele Gorman, Single in the City It's hard to argue with that kind of logic, Michele! So I hope you are not quite sick of all the sweet posts of late. I promise something savory is on the way, and just in time for Thanksgiving, too! But for now, how about a pan of Cheesecake Swirl Brownies? In fact, any chocoholics on your Thanksgiving guest list will really thank you for thinking of them by having a plate of these for dessert (as opposed to some sweetened vegetable pie- really now). So to start off with you need to make these brownies. I have never tried the cream cheese version with the almond flour version, so can't attest to the results, but the all-purpose or gluten free flour version will definitely work. Once you get the brownie batter in the pan, then get to work on the cheesecake part. Have all the ingredients at room temperature so it will come together quickly. Cheesecake Swirl Batter -enough to swirl through 1-9x13" pan of brownies 8 ounces cream cheese, preferably Kraft Philadelphia brand 1/4 cup granulated sugar 2 egg yolks 3/4 teaspoon pure vanilla extract 1. Combine all ingredients in a bowl with a whisk. Beat until smooth-ish.
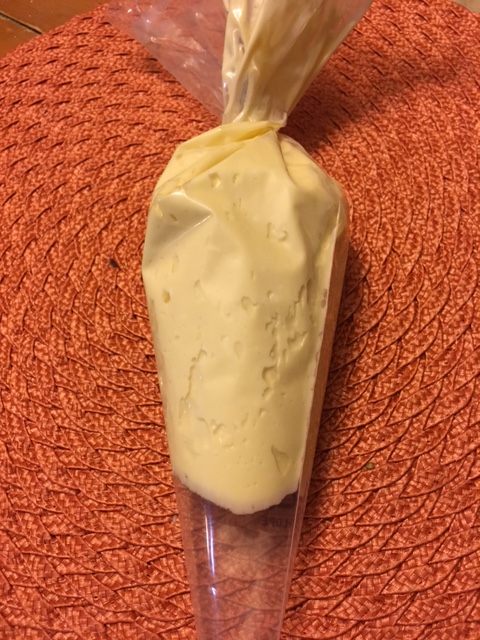
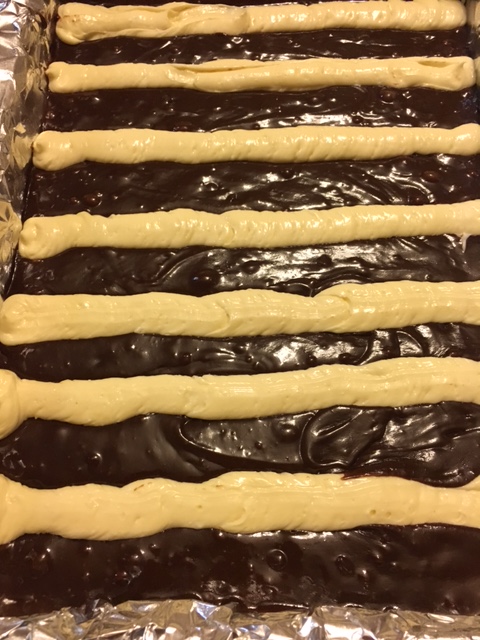
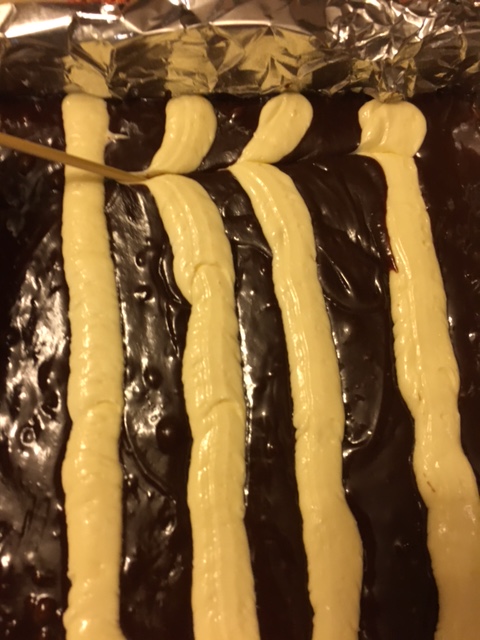
2. Transfer cream cheese mixture to a piping bag or a gallon ziploc bag. Twist to close or seal. Cut off about 1/2 inch at the tip or corner. 3. Inserting tip of bag slightly into brownie batter, pipe evenly spaced rows of cream cheese mixture horizontally across short edge of the pan.
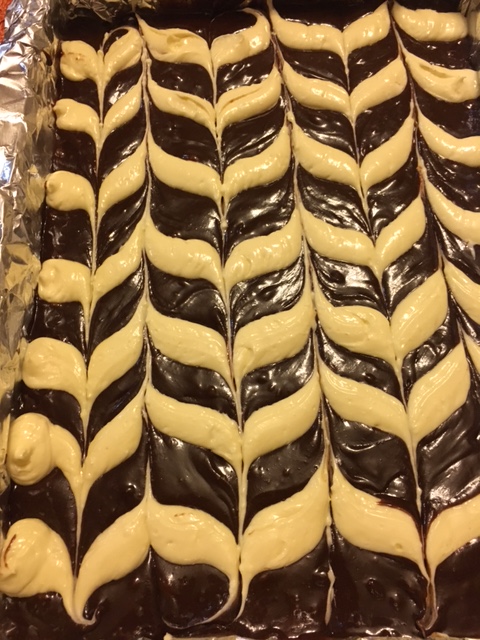
4. Using a toothpick, wooden skewer or tip of a very thin bladed knife, draw the tip through the rows in one direction and then in the alternate direction and so on until a beautiful chevron design is throughout batter.
5. Bake in a preheated 325 degree F oven for approximately 40-50 minutes until brownie is done (moist crumbs are on toothpick inserted in center (do not over-bake).. 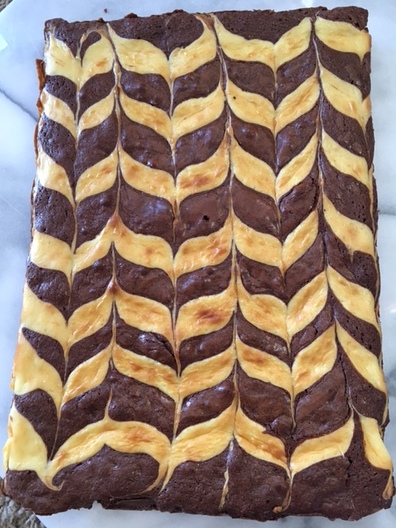 6. Let cool completely before cutting into squares. Store in airtight container in refrigerator for up to a week. 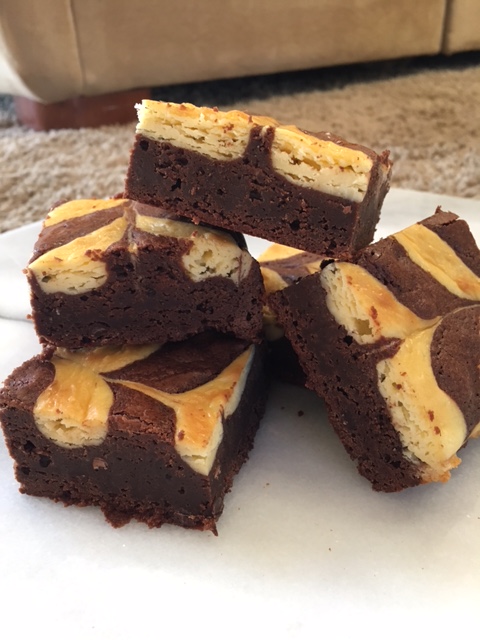  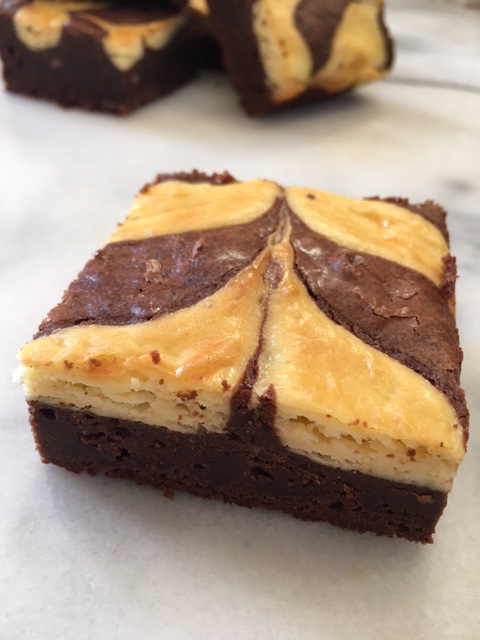 Happy baking! Be sure to share! ; ) ♥
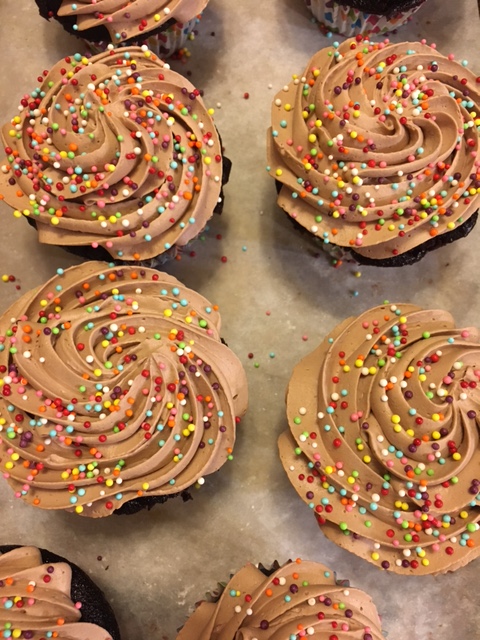
“I've never met a problem a proper cupcake couldn't fix." -Sarah Ockler
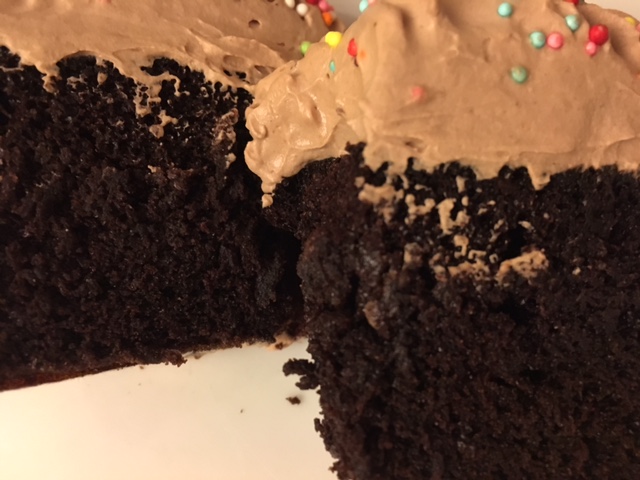
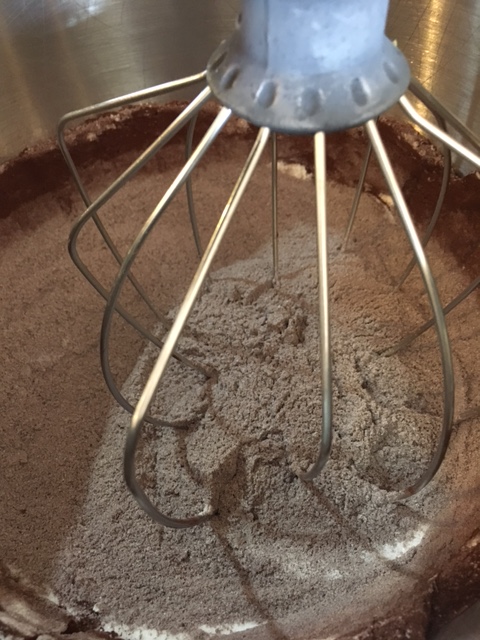
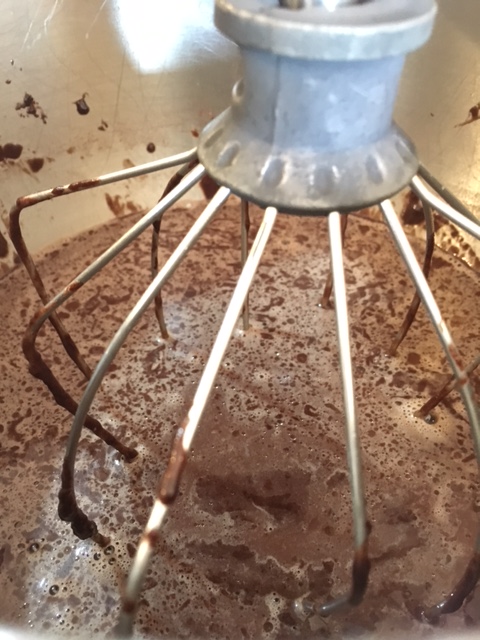
I'm thinking happy thoughts. They say the mind is so powerful if we can change our mind about something then we can change our lives. So happy it is. And what food could be happier than cupcakes, specifically, moist chocolate cupcakes? I mean, who wouldn't want essentially a mini cake all to him or herself? And let's face it, the ratio of frosting to cake is way better in a cupcake than in a slice of cake. We all know the frosting is the only reason to eat any cake anyway. So, all the more reason to love those little joy cakes. This recipe is super easy to make and you can frost it any way you please. My favorite ways are with a dense chocolate cream frosting (shown below) or a delicious , tangy cream cheese frosting. What's your favorite way? Moist Chocolate Cupcakes - yields about 22 regular cupcakes 2 1/8 cups granulated sugar 1 3/4 cup all purpose flour 3/4 cup plus 1 Tablespoon good quality cocoa powder such as Valrhona or Cocoa Barry 1 1/2 teaspoons baking powder 1 1/2 teaspoons baking soda 1 teaspoon salt 1 cup milk 2 large eggs, room temperature 1/2 cup vegetable or melted coconut oil 2 teaspoons pure vanilla extract 1 cup hot freshly brewed coffee or boiling water 1. Preheat oven to 350 degrees F . Line 2 standard muffin tins with cupcake liners (22 of the 24 wells); set aside. 2. In bowl of stand mixer, sift together flour, sugar, salt, baking powder, soda and cocoa powder. Place on mixer and turn on lowest speed. 3. In a medium bowl whisk together the eggs, milk, oil and vanilla ( if using coconut oil, make sure milk and eggs are at room temp or slightly warm) until well blended. Add to flour mixture on low speed and mix for 1 minute on low. Scrape down bowl, increase to medium speed and and continue mixing for 2 minutes.
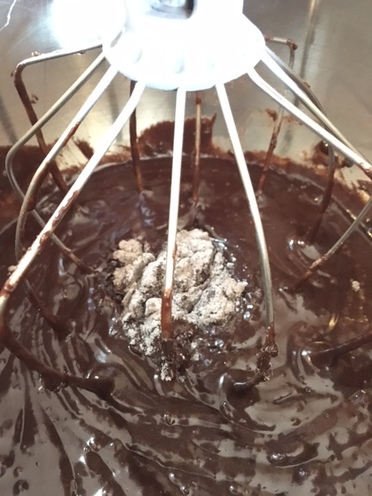
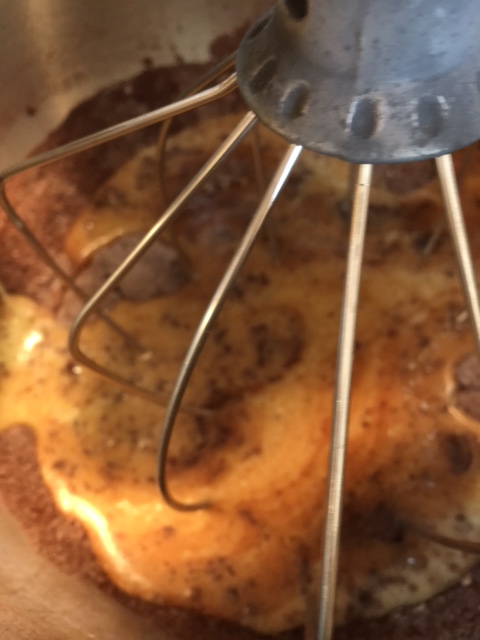
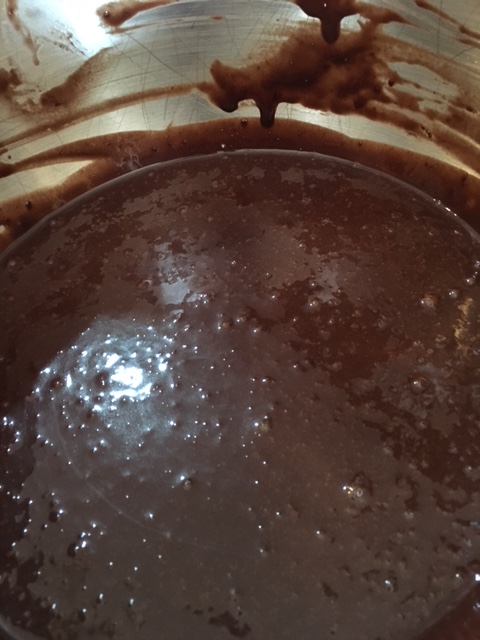
4. Off mixer, using a rubber spatula stir in boiling water or hot coffee by hand until fully combined.
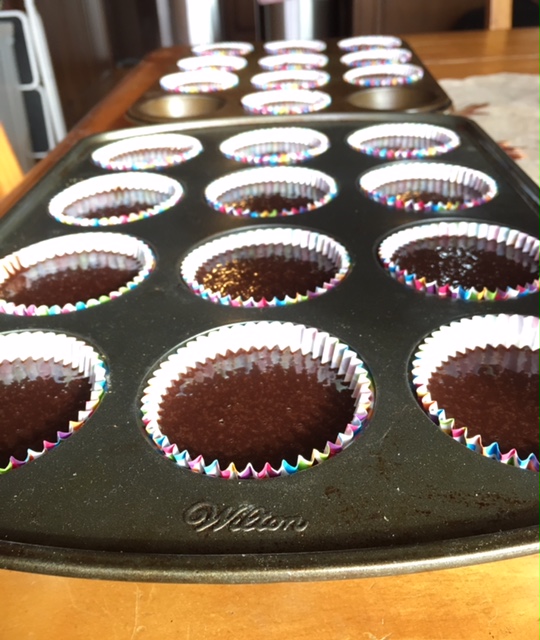
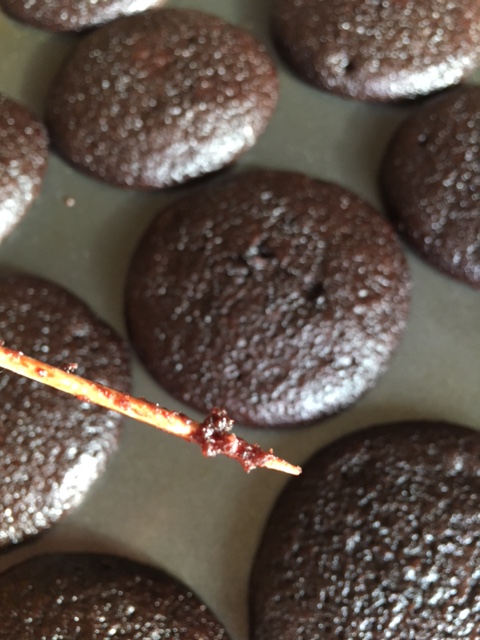
5. Using a 1/4 cup measuring cup , pour batter into each liner.* Bake at 350 F until cupcakes come out with moist crumbs attached, about 15-20 minutes. Do not over-bake!
6. Let cool completely then frost as desired. If using cream cheese or creamy chocolate icing, keep frosted cupcakes in refrigerator for storage.

Notes: If you live at high altitude (5000-ish ft above sea level like I do), make the following changes:
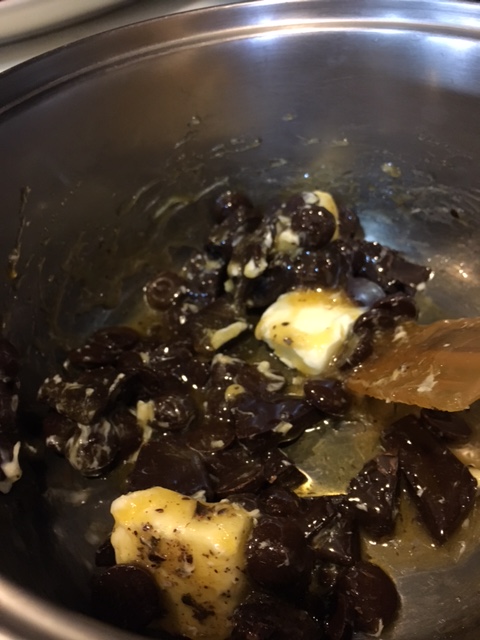
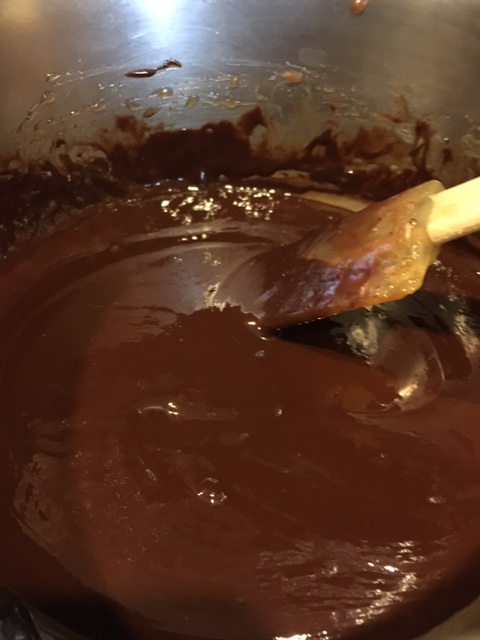
reduce both baking soda and powder to 1 1/8 tsp each, add in 2 Tablespoons unsweetened applesauce with liquid ingredients and increase flour to 1 3/4 cups PLUS 2 tablespoons and reduce sugar to 2 cups. Bake as directed. "A balanced diet is a cookie in each hand." - unknown October is just about over, so this is my last post commemorating National Cookie Month. I thought I'd end it with a no-bake cookie, so simple yet so unbelievably good. I tell you they are addicting! This is an adaptation of a recipe by the acclaimed British food writer/cookbook author/television personality Nigel Slater. I love how honest his food is. I am in love with his book Real Food, although he has 7 other titles to his name. I call these no bake cookies, Nigel's Fudge Crunchies. They have been a hit in my house for many years now. My kids love them! You may argue they are more confection than cookie, but that would just be superfluous (one of the only big words I know -lol!), Any way you call them they are delicious. I will admit they don't photograph as well as some, but you'll get a good idea nonetheless. Another (any) holiday favorite perhaps? If you want more cookie recipes, you can scroll through here. Nigel's Fudge Crunchies- Makes about 21 3 Tablespoon unsalted butter teensy weensy pinch of sea salt 3 Tablespoons Lyle's Golden Syrup* 1/2 ounce Unsweetened chocolate, fienly chopped 3 ounces bittersweet chocolate (60-72%) ** 2 1/2 cups corn flakes colored non-pareils of your choice- optional, but recommended 1. In a medium saucepan over low heat stir together the butter, golden syrup, salt and chocolates until melted and smooth, stirring continuously.
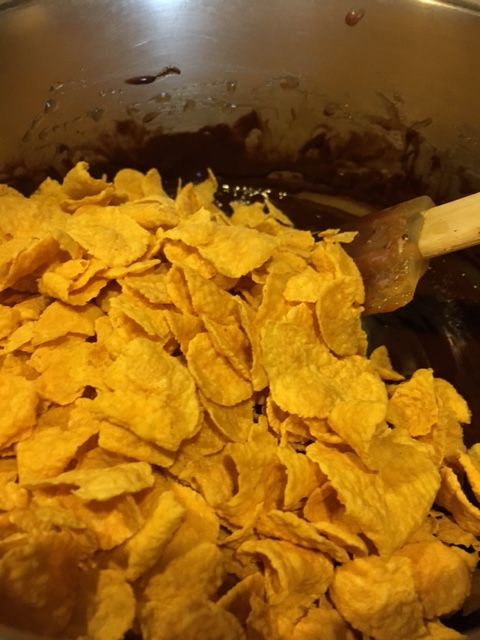
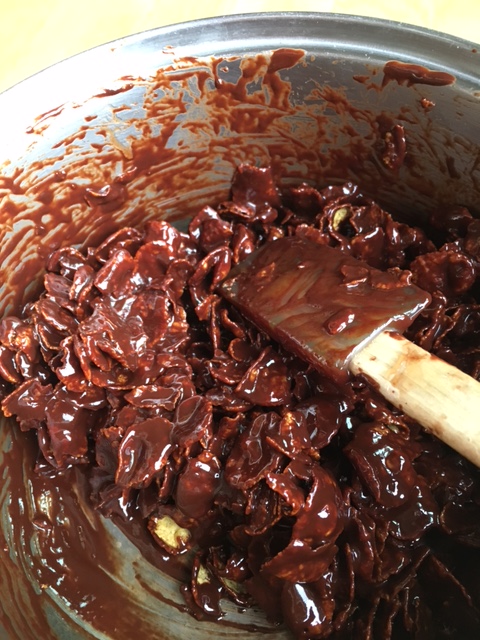
2. Remove chocolate mixture from heat and gently stir in corn flakes with a rubber spatula until completely coated with chocolate.
3. Place 21 mini muffin cups on a sheet pan if you want to have a more polished presentation. Alternatively, line a baking sheet with parchment or waxed paper. Scoop 1 tablespoon of cookie mixture into each mini muffin cup or straight onto lined baking sheet. 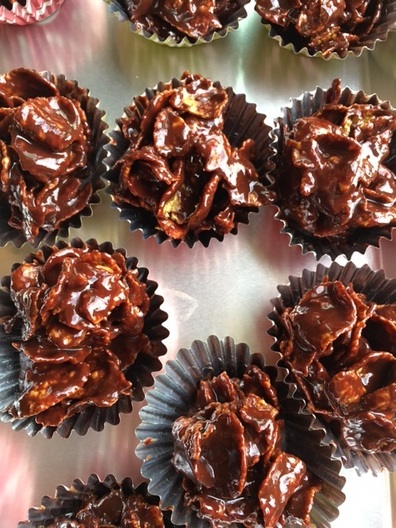 4. Sprinkle the tops with a small pinch of non-pareils or to taste. 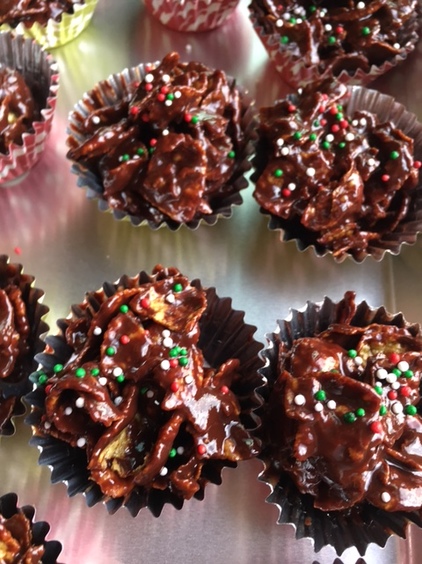 5. Place tray in refrigerator to set up cookies. Best stored in refrigerator... if they last that long. ; ) 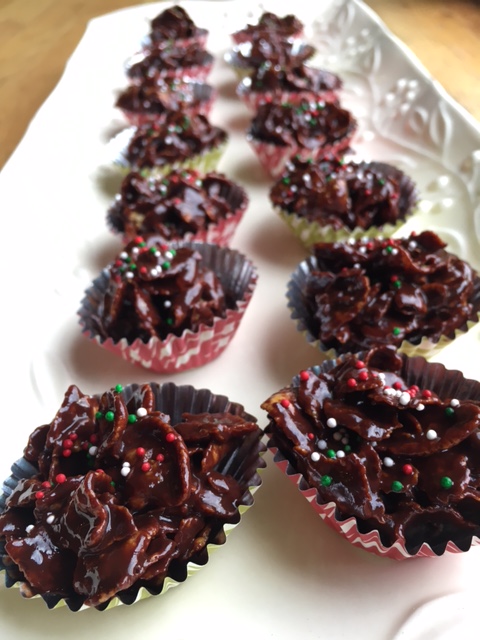 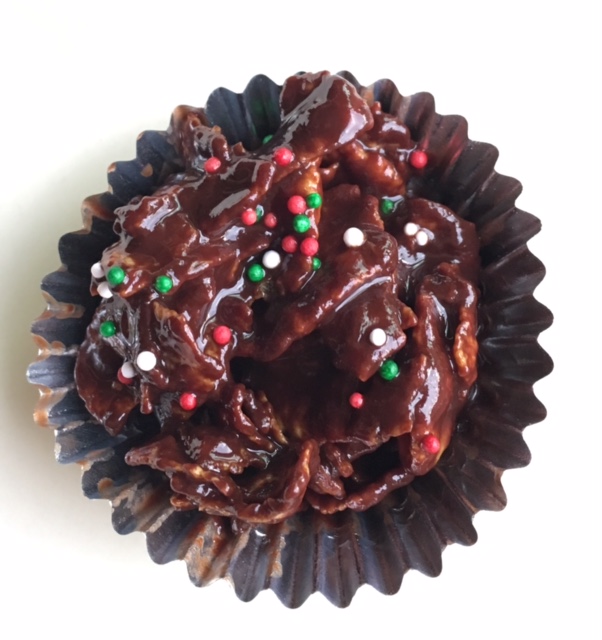 Notes:
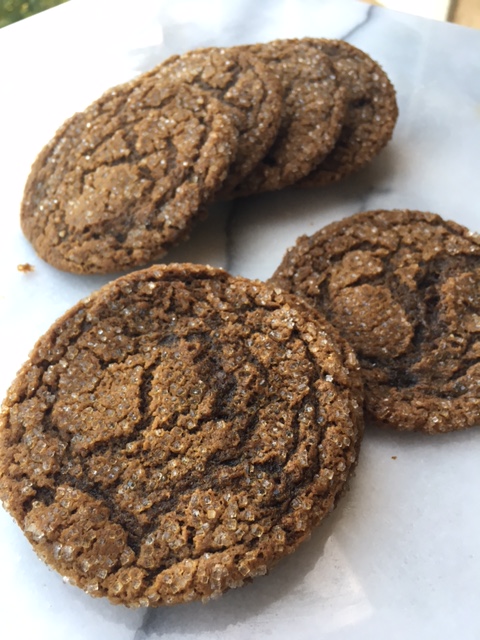
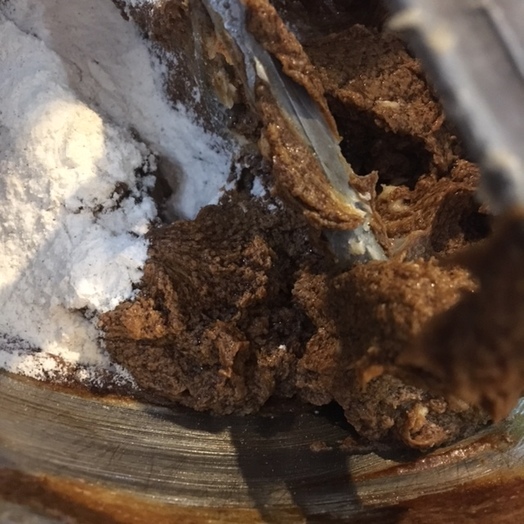
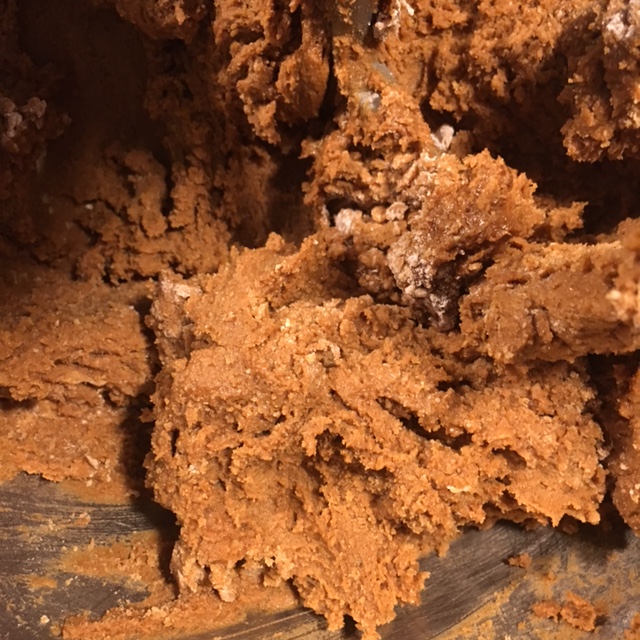
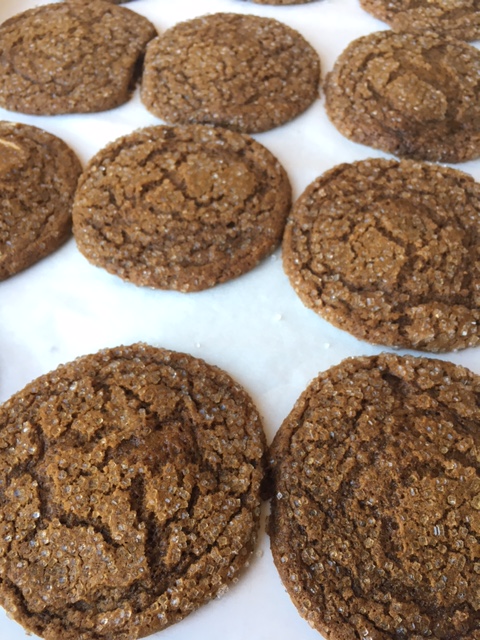
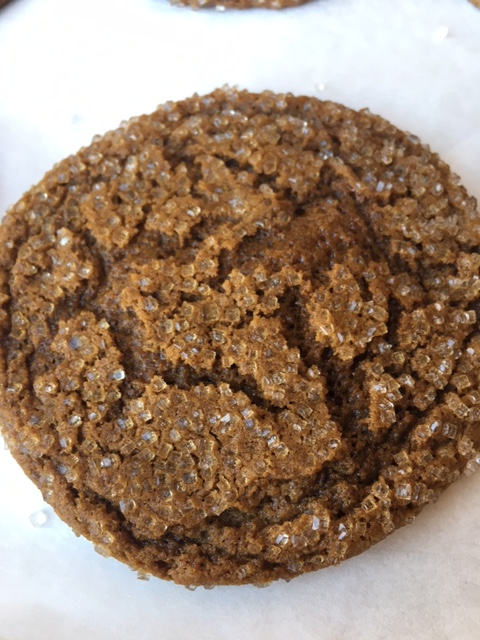
* Lyle's Golden Syrup is a very unique tasting cane sugar product. It has the flavor of almost a caramelized, slightly burnt sugar. It is superb tasting. You will not get the same flavor substituting another liquid sugar syrup such as corn or rice syrup or honey, but you can feel free to experiment. Besides on-line you may find Lyle's Golden Syrup at specialty Food stores, international grocer's or if you live in the US, at Cost Plus World Market. ** Since this recipe relies on so few ingredients they all have to be top notch. Use the best chocolate you can afford here. This is not the place to use chocolate chips or candy bar chocolate. Some reliable quality brands are Valrhona, Callebaut, E Guittard, El Rey or Lindt. "Cookies are made with butter and love."- Norwegian Proverb By now you all know October is National Cookie Month, right? So in the spirit of sharing and without further ado, here is my favorite Ginger Cookie. It's got some yummy, fragrant spice to it, perfect for fall.It's crisp around the edges then soft everywhere else with some nice added crunch from the coarse sanding sugar. It also makes a mean vehicle for ice cream sandwiches, if you are feeling like taking it in that direction (lemon or blackberry sorbet would be nice inside, but vanilla ice cream would also be delicious or vanilla ice cream with some lemon curd folded in....just sayin'). I do offer one quick variation at the end, too, if you are looking to dress them up a bit. Chewy Ginger Cookies 2 1/2 cups (11 1/2 ounces) all-purpose flour 1 3/4 teaspoons, scant, baking soda* 1/2 teaspoon fine sea salt 1 Tablespoon ground ginger 1/2 teaspoon ground cinnamon 1/2 teaspoon ground allspice 1/4 teaspoon ground black pepper 2 sticks plus 2 Tablespoons (9 ounces) unsalted butter, room temperature 1/2 cup (3.5 ounces) packed light brown sugar 1/2 cup (3.5 ounces) granulated sugar 6 Tablespoons unsulfured molasses 1 large egg 1/2 teaspoon pure vanilla extract sanding or pearl sugar 1. With a whisk, mix together the first seven ingredients; set aside. 2. In the bowl of a stand mixer with the paddle attachment, cream together the butter, granulated sugar and brown sugar on low speed until well combined. 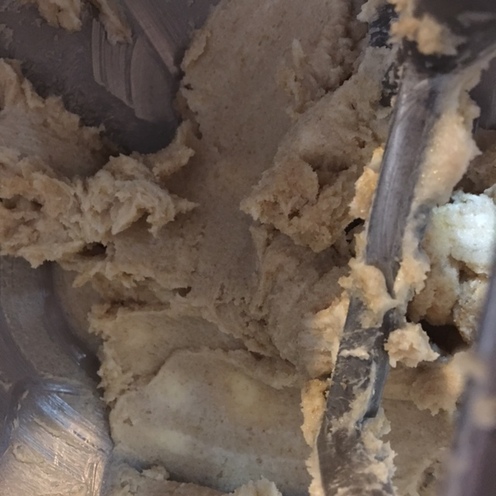 3. On low speed mix in the egg, molasses and vanilla. Increase speed to medium to help combine the mixture well for about 20 seconds. Reduce speed to low. 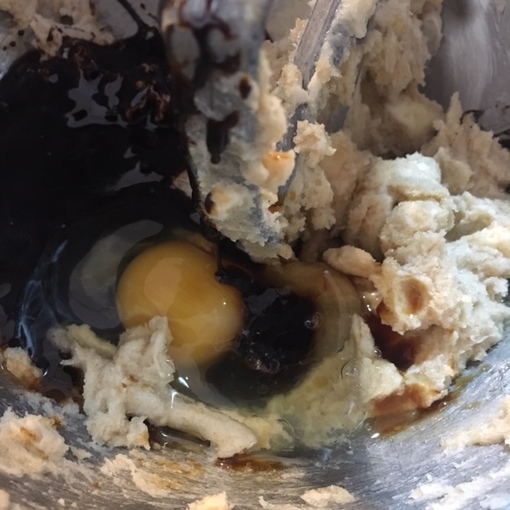 4. Mix in flour mixture until just combined.
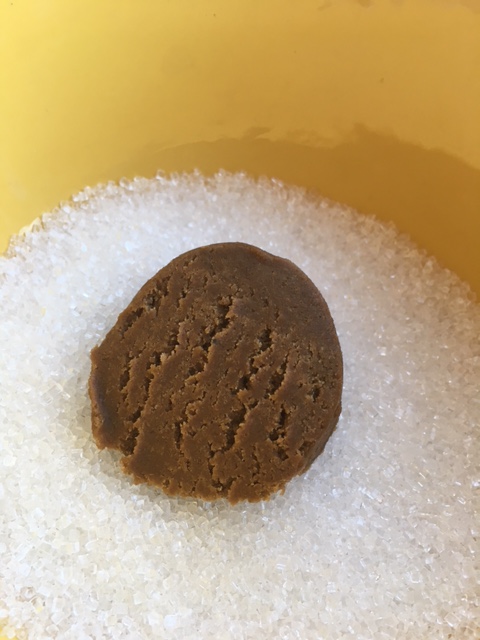
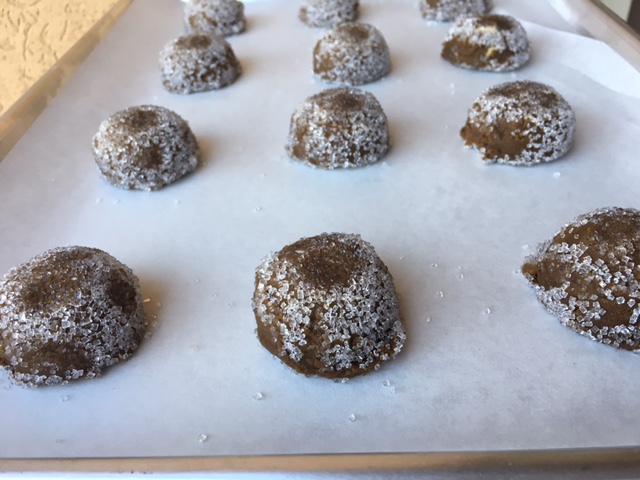
5. Remove bowl from mixer and cover tightly with plastic wrap. Refrigerate dough for 24 hours. This gives all the spices time to really meld into the dough for the best flavor. 6. When you are ready to bake, preheat oven to 350 degrees Line baking sheets with parchment paper. 7. Remove dough from fridge and scoop out using an ice cream scoop to get uniform cookies. Dip cookies into sanding or pearl sugar. Place dough 2" apart on prepared baking sheets. Lightly pat down the tops of the dough.
8. Bake cookies in preheated oven for 10- 12 minutes until edges are golden brown and center seems set and crackles. Cookie will have puffed up, then sank back down.
  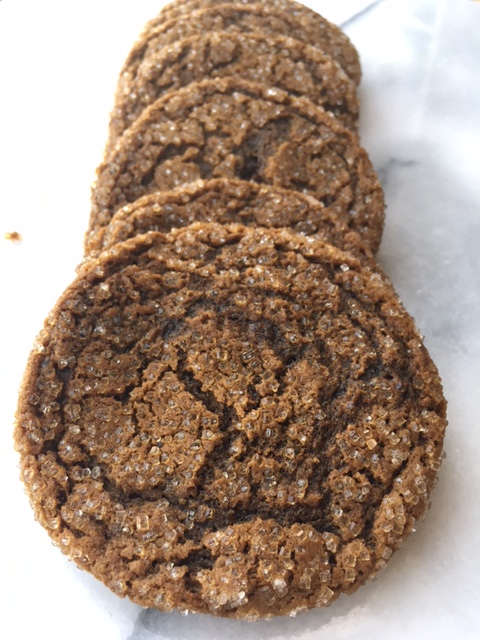 Variation: White Chocolate-Ginger Chews: Stir in 1 cup of fine quality, coarsely chopped white chocolate such as Lindt, Callebaut or Valrhona into batter after the flour. Proceed as directed in the recipe. The sweetness and creaminess of the white chocolate is a really nice complement to the spiced dough and looks really pretty , too. 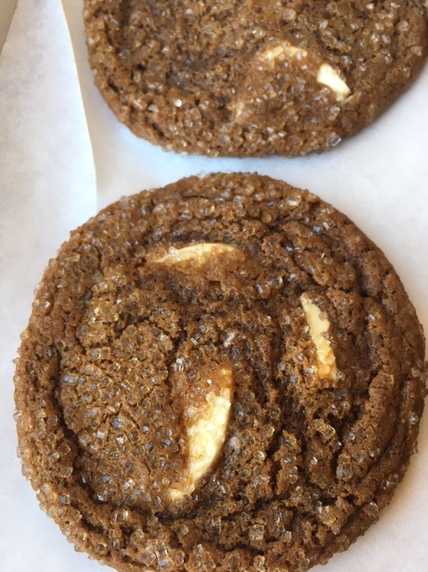 * Note: this recipe is for cooking at high altitude (about 5,000 ft, where I live). If baking closer to or at sea level, increase baking soda to 2 1/4 teaspoons.
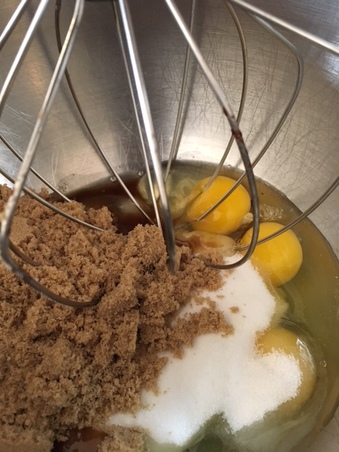
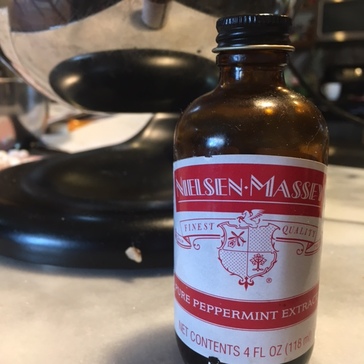
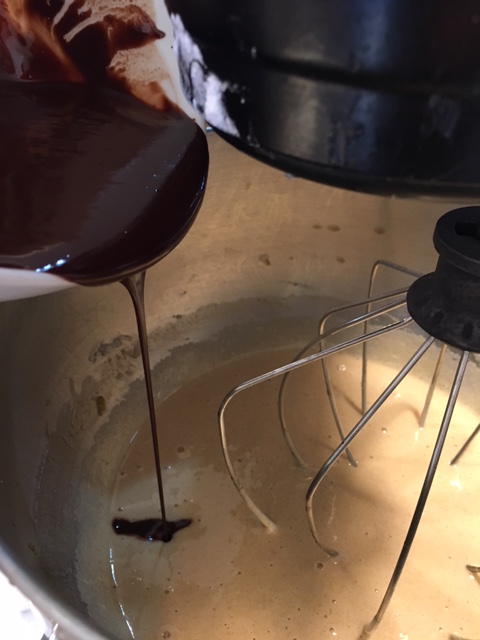
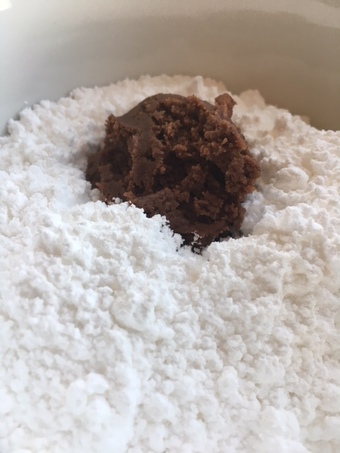
"C is for Cookie. That's good enough for me." -Cookie Monster National Cookie month continues! I posted a picture of this cookie a while back on my Facebook and Instagram feed and it was quickly voted the recipe most of my followers there wanted to see. It is worth their adoration, too. It is fudgy and minty and beautiful. I know it's only a little early to talk about this, but what a great addition to your holiday cookie trays this would be, am I right? They are super easy to make. Just make sure you use good quality chocolate like the mint infused Lindt chocolate bar here. Be sure to check out the interesting variations below. Also if mint and chocolate are your thing, check out these recipes here and here. Mint Crinkle Cookies 2 cups (9 ounces)all purpose flour 1 1/2 teaspoons baking powder * 1/8 teaspoons sea salt 5 ounces unsweetened chocolate, finely chopped 8 tablespoons (4 ounces ) unsalted butter, cubed 4 large eggs 1 cup (7 ounces) granulated sugar 1 cup (7 ounces) packed light brown sugar 1 1/2 teaspoons pure vanilla extract 1/4 teaspoon pure peppermint extract 2 ounces mint infused chocolate such as Lindt 1/3 cup mini marshmallows (stale is even better) Powdered Sugar 1. Melt the chocolate and butter together in a medium bowl; set aside. 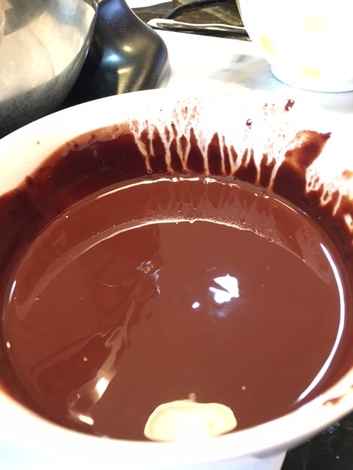 2. Whisk together flour, baking powder and salt; set aside. 3. In the bowl of a mixer whisk together the eggs, granulated and brown sugars and extracts on medium speed until well combined and just slightly increased in volume
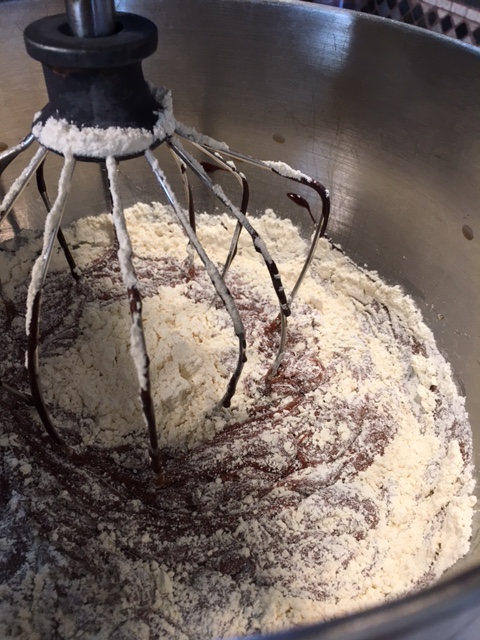
4. Stir in melted chocolate on low speed a. Scrape down bowl and then add in flour until almost fully combined.
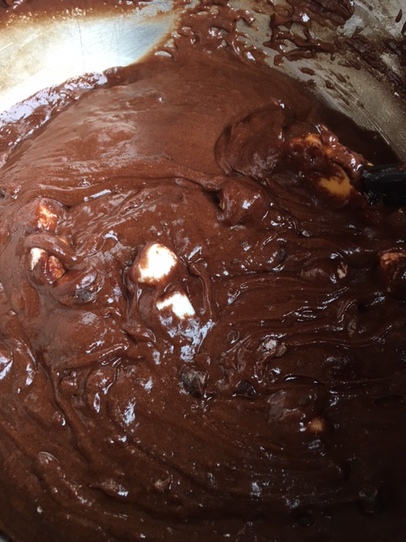
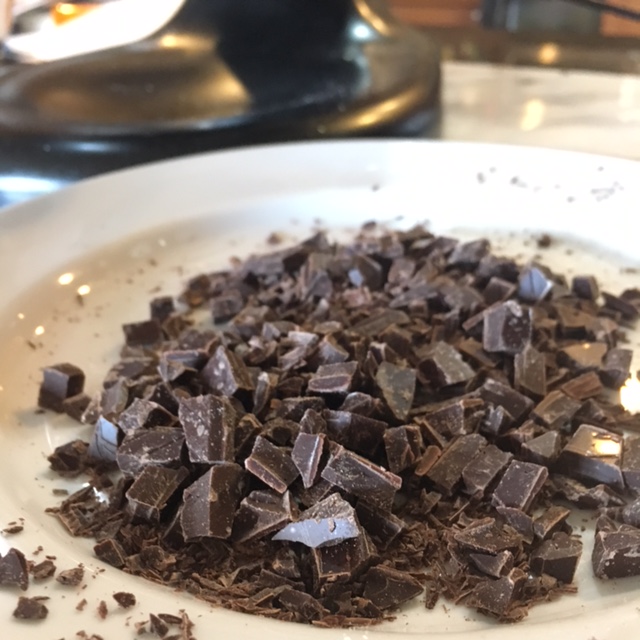
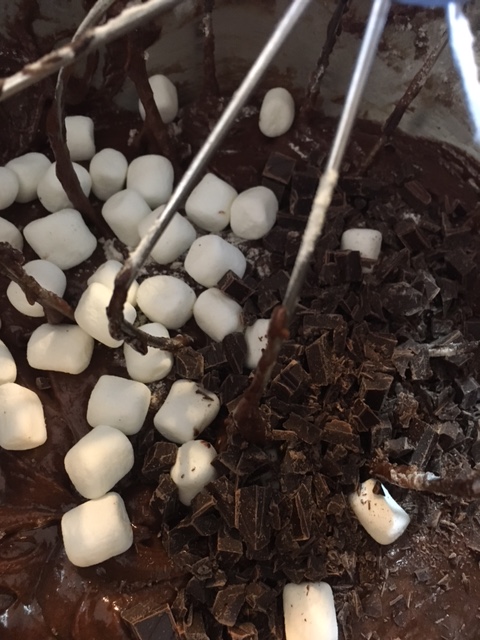
5. By hand, using a rubber spatula, stir in chopped mint infused chocolate and mini marshmallows until well combined.
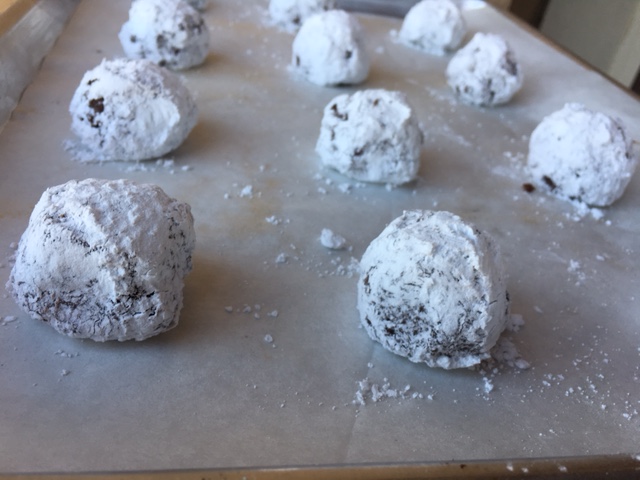
 6. Cover dough tightly with plastic wrap and chill for at least 2 hours or over-night. 7. When you are ready to bake cookies, preheat oven to 350 Degrees F and line baking sheets with parchment paper. 8. Remove dough from fridge and using an ice cream scoop, portion out dough into approximately 2 1/2 Tablespoon balls. Coat dough thoroughly in powdered sugar. Space 2" apart on prepared baking sheets.
9. Bake cookies in preheated oven for 10-12 minutes until tops are crackled and middle appears set and is no longer glossy. Remove from oven and allow to cool for several minute before transferring to a cooling rack. 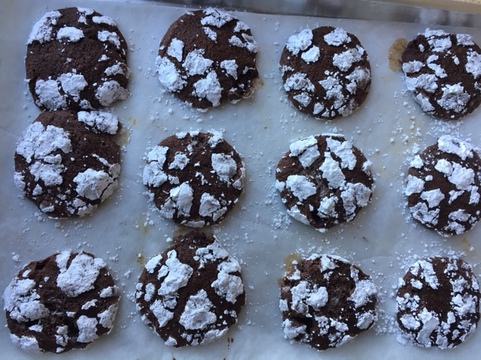  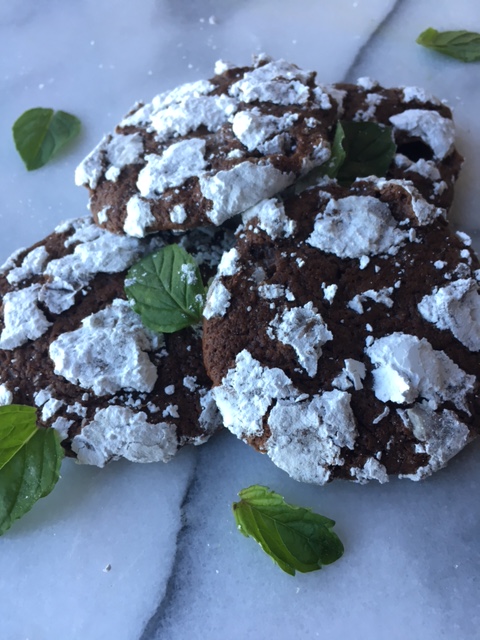 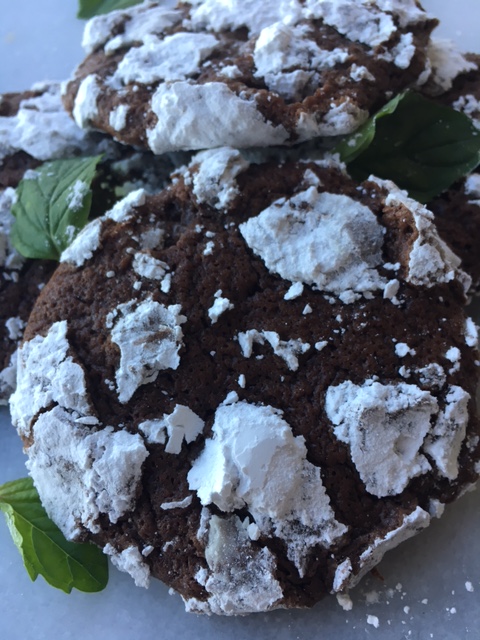 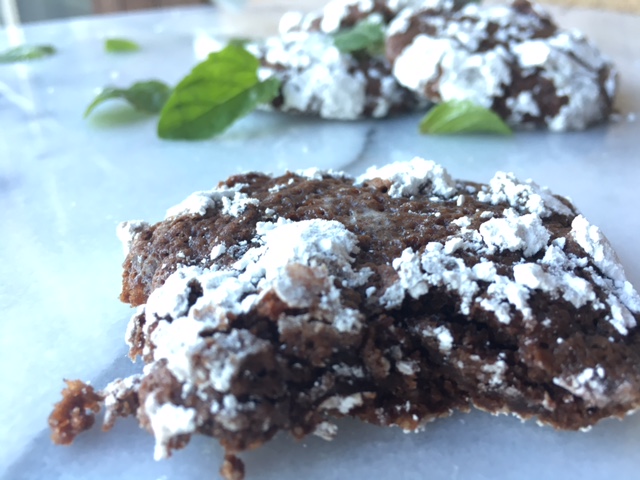 Note:
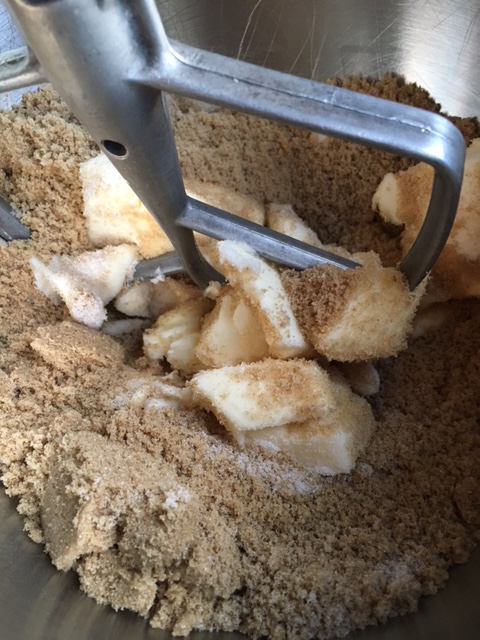
* if baking at sea level (I am at high altitude) increase baking powder to 2 teaspoons. These cookies freeze beautifully, wrapped air-tight for up to 2 months if you want to get a head start on your holiday baking. Variations: Chocolate Orange Crinkles- Omit pepermint extract. Increase vanilla extract to 2 teaspoons, Stir in 1/2 teaspoon fresh orange zest with eggs and sugar. Omit mint chocolate and use 2 ounces Lindt Intense Orange instead. Mocha Crinkles: Omit peppermint extract.Increase vanilla to 2 teaspoons Stir in 1/2 teaspoon espresso powder with vanilla. Omit mint chocolate and use finely chopped good quality milk chocolate instead. Chocolate Chili Crinkles-Omit peppermint extract. Kee vanilla at 1 1/2 teaspoons. Add 1/4 teaspoon PURE chile powder (not a spice blend chili powder) to the dry ingredients. Omit Mint chocolate and use 2 ounces of Lindt Chili Chocolate instead. Dark Fudge Crinkles: Omit peppermint extract. Increase vanilla to 2 teaspoons. Add a little pinch of instant espresso powder to dry ingredients. Omit mint chocolate and substitute mini chocolate chips or chopped up bittersweet chocolate instead. “I want to take all our best moments, put them in a jar, and take them out like cookies and savor each one of them forever.” - Crystal Woods, Write Like No One is Reading If you read my last post you know that here in the US, October is National Cookie Month. Unfortunately, with our Presidential election only weeks away, and all the attention directed toward that, the cookie has been over-looked. I know, it's truly a sad state affairs. For one, if both (which should read all) parties would just sit down with some cookies and commit to the greater good, I am certain things would go a lot smoother. Who writes the policy for that? In any case, here is my second entry for the month....the quintessential Chocolate Chip Cookie. It is buttery, brown sugary and so full of chocolate! I worked on this recipe for a long time and I may still tweak it here and there, but for now, it's better than good. I know everyone says their recipe is the best, but I really mean it! Just kidding....but hey why not try it and see what you think? The worst thing that will happen is that you will make somebody really happy when you pull them out of the oven! Or spread the love by bringing a plate to someone special just because! #cookiesandkindness Chocolate Chip Cookies:-makes a lot* 16 1/2 ounces (2 cups plus 1 tablespoon) unsalted butter, softened 12 ounces (approx. 1 3/4 cup lightly packed) light brown sugar 8 ounces (approx. 1 cup 2 Tablespoon) granulated sugar 1 tablespoon Pure Vanilla Extract 2 large eggs 1 1/2 teaspoon kosher salt 21 ounces ( approcimately 4 1/2 cups) all-purpose flour 1 1/8 teaspoon baking soda** 1/4 teaspoon baking powder 1 pound 12 ounces chocolate chips, chopped bittersweet chocolate or a combination of the two 1. With a whisk, mix together, flour, salt, baking soda and baking powder in a medium bowl. Set aside 2. Cream butter and sugar on low speed of stand mixer until combined.
3. On low speed, add in eggs and vanilla. Raise speed to medium for about 20 seconds, to combine well. Reduce speed to low. Stir in flour mixture and mix until almost combined.
4. Stir in chocolate chips/chopped chocolate (I like to use different kinds mixed together just for fun and variation).
5. Wrap dough tightly with plastic wrap and chill for 24 -48 hours*** 6. When ready to bake, remove dough from fridge about 2o-30 minutes before baking, line baking sheets with parchment paper and preheat oven to 350 degrees. 7. Scoop out dough using an ice cream scoop that holds about 2 1/2 tablespoons. Place them 2" apart on lined baking sheets. Pat down the tops slightly. 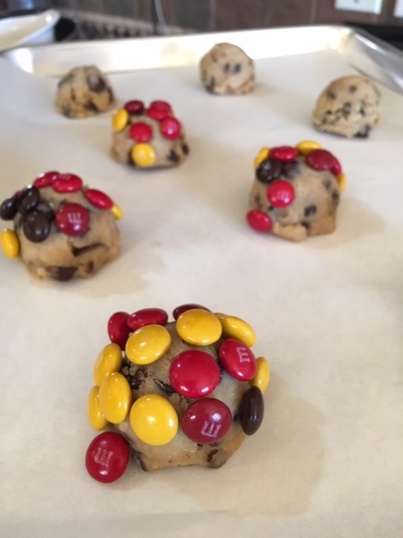 8. Bake cookies for 10-12 minutes until edges are golden brown and middles are set. Let cool a few minutes before transferring to a wire cooling rack and/or devouring them. Hint: try eating them frozen- my personal favorite!! 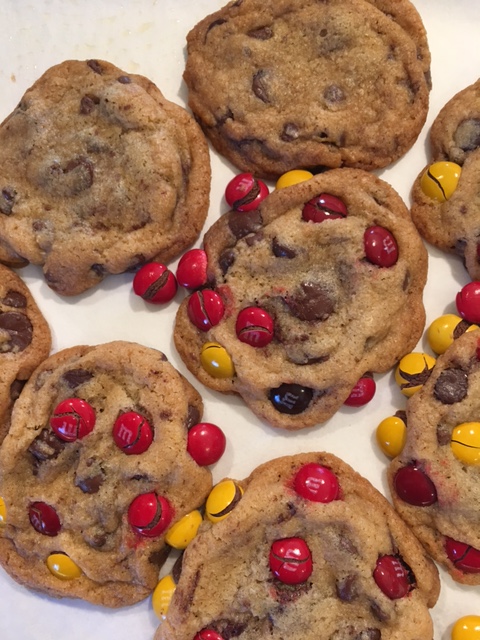 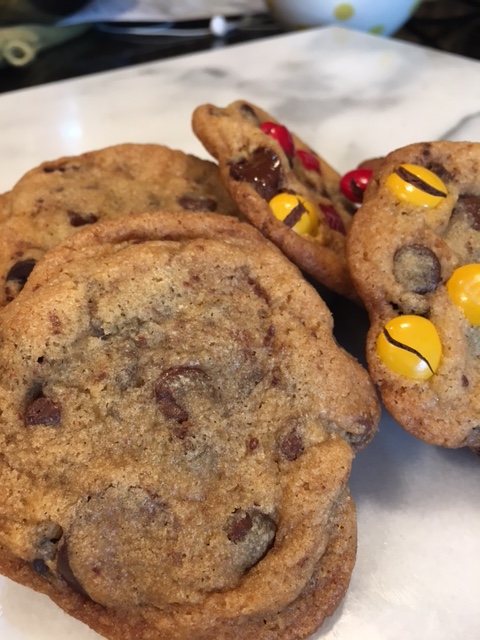 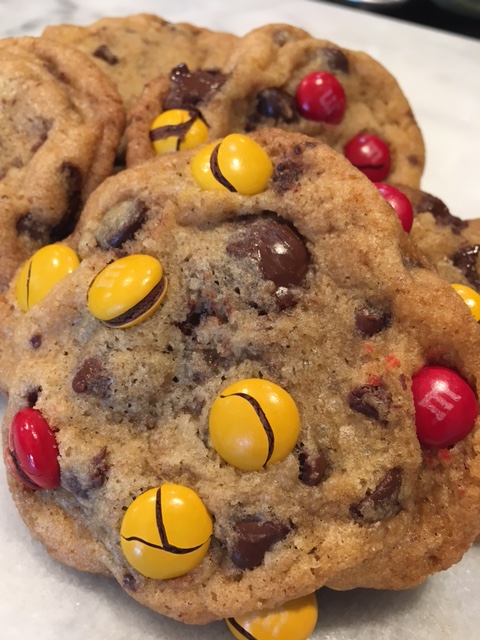 Notes:
* I like to make this really large batch, scoop out what I want for cookies then scoop out the rest of the dough balls onto a cookie sheet and freeze until firm. Transfer the dough balls to a freezer bag and store in the freezer, as air-tight as possible, for up to 2 months. Then when you want cookies, simply remove some dough balls from freezer, let sit out 2o-30 minutes before baking and you get cookies with little to no effort! ** this recipe was developed at high altitude. If you live closer to sea level you may have to increase your baking soda to 1 1/2 teaspoons, maybe even 1 3/4. Baking powder is just to give it a little lift. Do not change. *** if you chill the dough before baking, this gives all the ingredients time to really meld together and that in turn will give you more golden brown cookies with a more pronounced caramelization of the edges, which tastes so good. IF you can't stand to wait, baking them immediately after mixing will still be fine. Variations: M&M chocolate chip cookies (my favorite): Reduce chocolate chips from 28 ounces to 24 ounces. Dip tops of dough balls into a bowl of your favorite plain M&M's (I love making them using all the seasonal M&M varieties-autumn colors shown here), Mini M&M's are also fun. Bake as directed. Chocolate Chip with Walnuts: Reduce Chocolate chips from 28 ounces to 22 ounces. Stir in 1 1/2 cups lightly toasted, coarsely chopped walnuts along with chocolate chips. Bake as directed. (These remind me of my paternal grandma, Julia Byrnes). ♥ |

Archives
December 2019
Categories
All
|
||||||||||||||||||||||||||||||||||||||||||||||||||||


 RSS Feed
