|
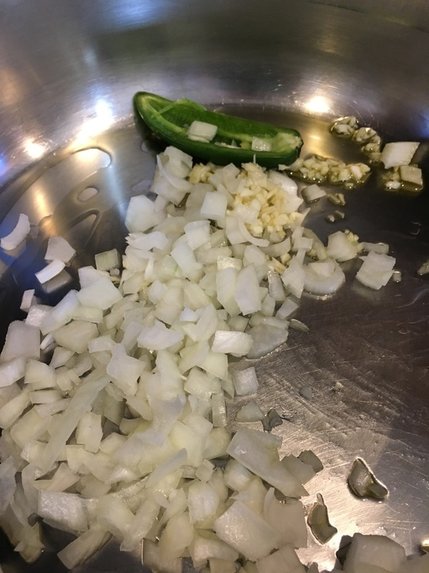
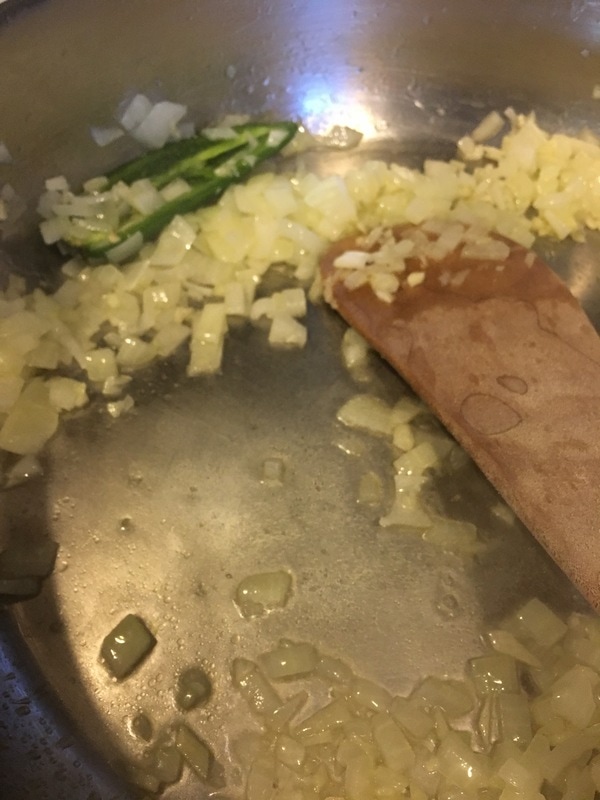
“Tacos are like what the voices of a hundred angels singing Bob Dylan while sitting on rainbows and playing banjos would taste like if that sound were edible.” -Isabel Quintero I found the above quote on Goodreads. I'm not sure I have ever come across a more glorious food quote! Made my whole being smile. Then again, it makes me think this recipe really has a lot to live up to, and I am a little nervous about that! I also just realized it has been a long time since I posted a recipe or a Gratitude Diaries (entry coming soon!). So I thought I'd quickly share where my crazy brain has been the last month. First of all I have a senior in high school who will be graduating in just a little over a month. I am wanting to make the most of the time we have together before she (my youngest of two kids) heads off to college out of state. I work almost full-time outside of the house, so that's an added time taker. Lastly I have been doing some creative exploration that I have not shared here. I have created some mixed media art and some leather wrap bracelets specifically and the act of creating has just taken me to such a happy place, I neglected many other things (blog, laundry, clearing the paper clutter off my counters....) But I re-grouped recently to handle some of those issues and thus a new blog post in the form of a recipe. So I hope it was worth the wait. Thanks for hanging in there. Weebly, my blog host, gives me stats, and somehow, you have been still visiting and reading! So thank you so much for that! xoxo This recipe is inspired by one I saw travel on Facebook from Better Homes and Gardens. I made their version and it was time consuming and messier than I liked. Don't get me wrong, it tasted very good, but not good enough to justify how long it took me to make it. So I stream-lined things a bit and came up with the following. Yummy good and super easy thanks to the use of a pre-cooked rotisserie chicken from Costco (or wherever...mine had a net weight of about 3 lbs). Try it and see what you think. It was a huge hit at my house and is already being requested for an encore appearance. Buen Provecho! Green Chile-Tequila Chicken Tacos (Serves 6 or so) Breast and Thigh meat from 1 pre-cooked Rotisserie chicken, shredded, skin removed, pan juices reserved.* 1 c. diced onion 1 Tbsp. minced garlic olive oil 1/2 jalapeno pepper, seeded 2 Tbsp. Tequila (I used Jose Cuervo Gold) 1 1/2 cups salsa verde (if you are near a Trader Joe's, I really like their brand, too) 1 cup chicken stock pinch salt pinch coarse ground black pepper 1/2 tsp ground cumin 1/8 tsp. ground coriander 1/4 tsp dried oregano, crumbled 6" corn tortillas (GF are available) Assorted toppings to taste: Cilantro, crumbled cotija cheese**, radishes julienned, chopped red or green cabbage, diced fresh tomatoes, diced white or green onion, minced jalapeno or pickled jalapeno slices, fresh lime wedges 1. In a large skillet heat 2 Tablespoons olive oil until hot, but not smoking. Add in onion, garlic and jalapeno half. Cook, stirring until softened and translucent, about 5 minutes. Stir in Tequila and cook until nearly evaporated.
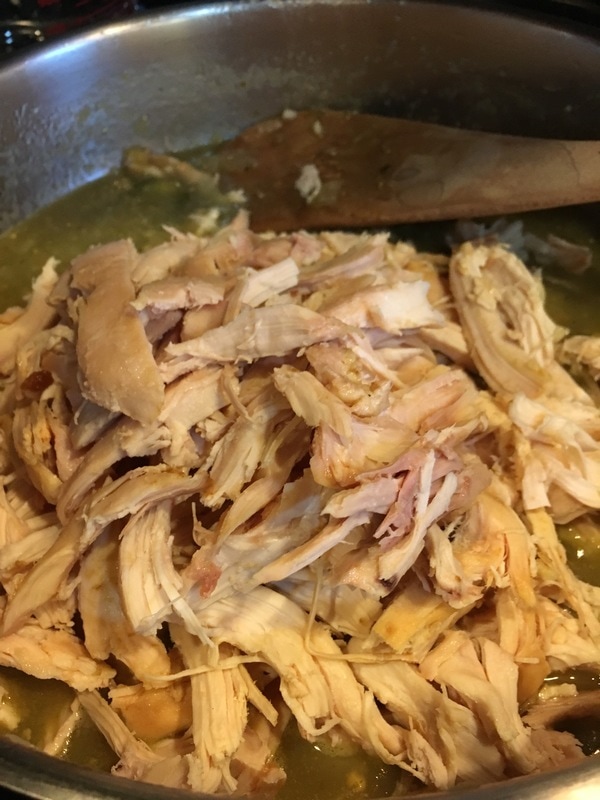
2. Stir in salsa verde , chicken stock, salt, pepper, cumin, coriander, oregano and reserved pan juices. Bring to a boil then reduce heat to a simmer. Cook, stirring occasionally, until slightly thickened and reduced, about 10-15 minutes. Remove and discard jalapeno OR you can chop it up and stir it back in if you want some extra kick. Stir in reserved chicken.
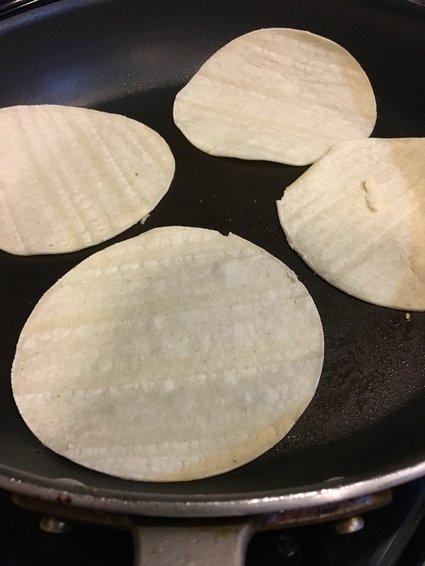
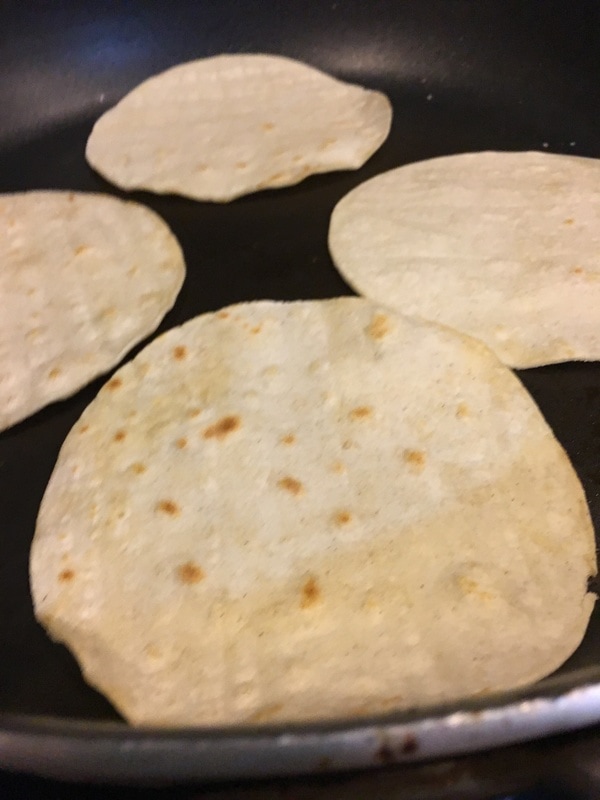
3. Combine chicken and pan sauce until fully coated. Simmer until heated through. Taste for seasoning and adjust as needed. (remember the cotija cheese is on the salty side if using). Remove from heat, cover and set aside . 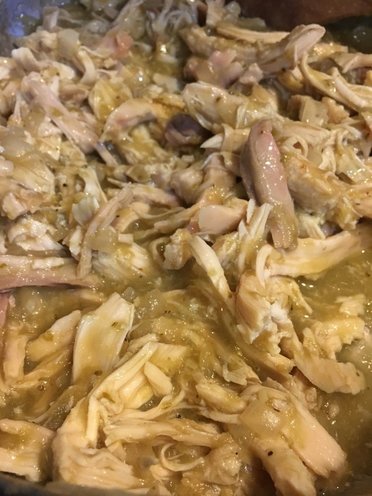 4. Meanwhile heat another skillet or griddle and heat corn tortillas on medium to medium high heat on both sides to make them soft and malleable, about 30-60 seconds per side.
5. Have a variety of toppings nearby. Create tacos by filling warm tortillas with a small amount of chicken the topping as desired. Don't overfill! Squeeze lime juice on top if that's to your taste. 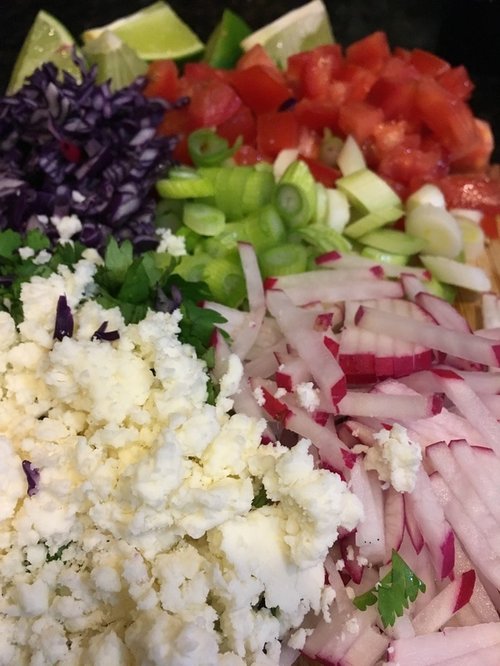 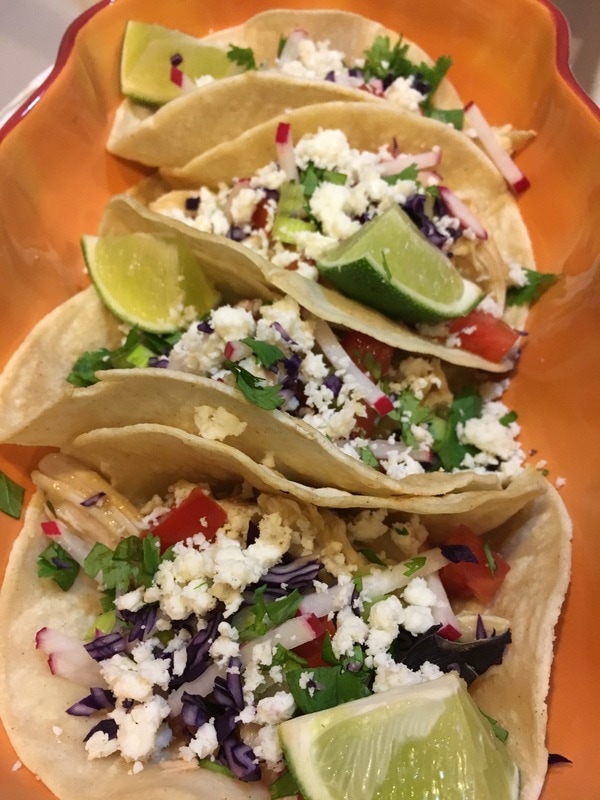  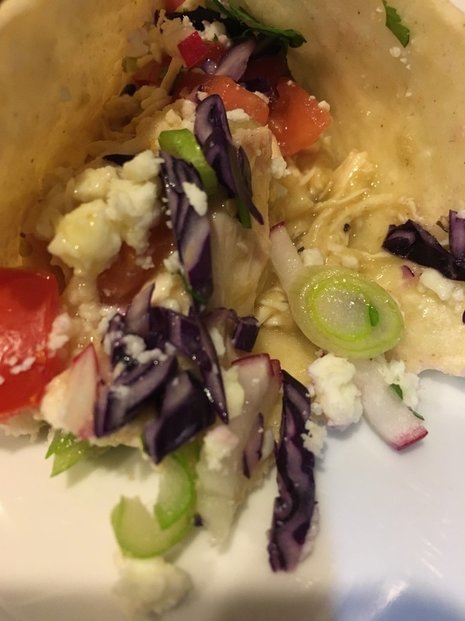 Notes: * Chicken demi-glace would be a good substitute for the rotisserie chicken pan juices. It's available on-line or in some gourmet grocery stores. Use 1 Tbsp or to taste. A little goes a long way. Store leftover in freezer, air-tight.
** a substitute for Cotija cheese, if it's not available, near you, is just a basic domestic crumbled feta from the dairy aisle of your grocery store.
0 Comments
"Cauliflower is nothing more than cabbage with a college education." -Mark Twain We've had a couple weeks of rather unseasonably warm weather recently, broken up by a day or two of winter re-visited. The warmer, spring-like weather piqued my taste buds for something fresh and light. Fresh and light brings to mind salads for me. I have long been wanting to create a grain-free tabbouleh, the middle eastern dish of bulgur, tomatoes, cucumbers and parsley among other ingredients. I adore the flavors in it yet avoiding gluten, so the traditional version is not a match for me right now. Enter the versatile cauliflower that is popularly being used in everything from pizza crusts to rice substitute to potato substitute to now bulgur substitute. In many stores it comes already pre-chopped in a bag for convenience. My local Costco has organic chopped cauliflower which made me so happy ( if you can't find it pre-chopped, just pulse it in batches in your food processor or chop it by hand.).It turned out to be a great substitute in my opinion. The dish was so fresh and crunchy and cool, it really hit the spot. Instead of the more typical lemony -olive oil dressing though, I dressed it in a version of my Hummus recipe. I thought the result was beyond delicious. I ate the entire recipe myself in two sittings. Oh, yes, did I mention it stays fresh for 2-3 days in the refrigerator? Make ahead salad for the win! It's a great start to a Meatless Monday, if you want to try it out. Grain-Free Tabbouleh -Serves 4-6 as a side dish 4 cups finely chopped cauliflower 4 roma tomatoes, seeded and diced 1 cup diced red onion 1 cup chopped Italian parsley, stemmed 1 1/2 cups diced cucumber (I use organic English or hot house cucumbers, skin on) salt and pepper to taste Hummus Dressing: 1 can chick peas, rinsed and drained 3 Tablespoons Tahini (sesame paste) 1 small clove garlic 1/3 cup fresh squeezed lemon juice 3/4 teaspoon Himalayan pink salt or sea salt 1/4 cup water or more to get desired consistency 1 pinch ground cumin, optional 1. Place all of the salad ingredients in a bowl. 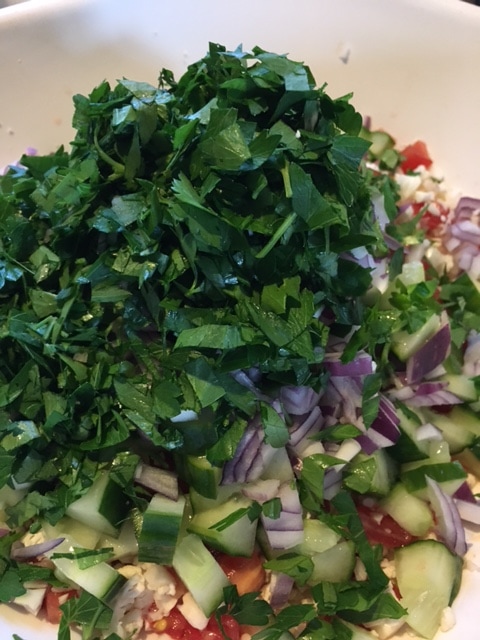 2. For Dressing: Place all of hummus ingredients in bowl of food processor with metal blade in place. 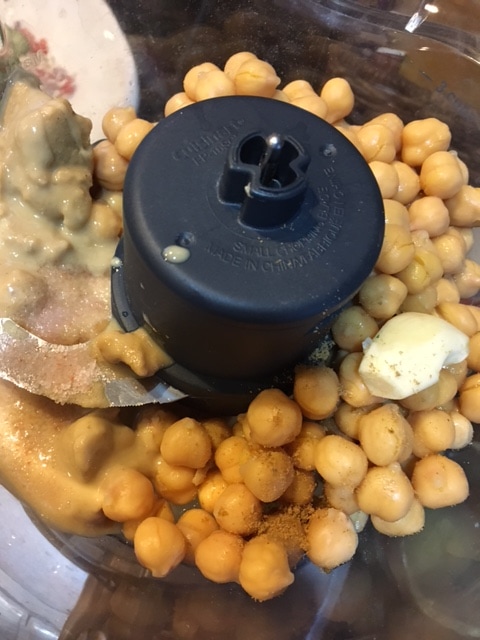 3. Process hummus until smooth and creamy. Add in more water to thin to desired consistency. 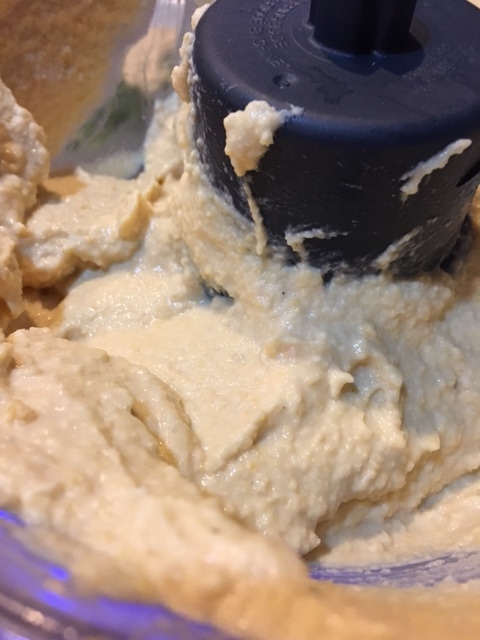 4. Spoon 2/3 cup, or to taste, of hummus onto salad ingredients. Toss to combine. Use as much or as little hummus as you'd like (leftover hummus will keep, covered, in the refrigerator for up to 4 days- use as a dip for your favorite raw veggies or pita chips or as a spread for a veggie-full sandwich or wrap). Taste for seasoning and adjust accordingly with salt and pepper. 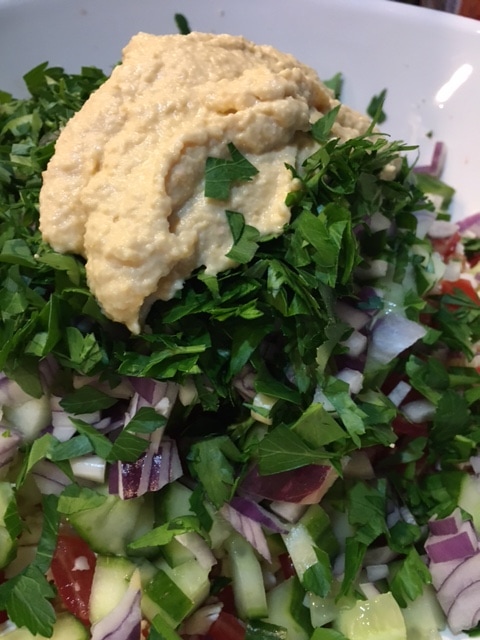 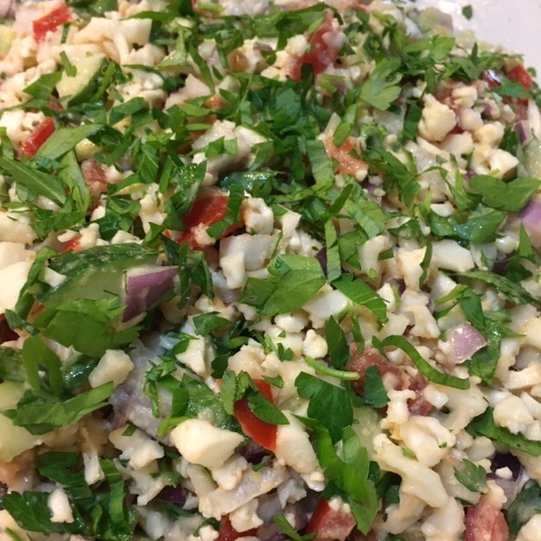 5. Serve immediately, or cover and store in refrigerator until needed. May be kept refrigerated for up to 3 days. 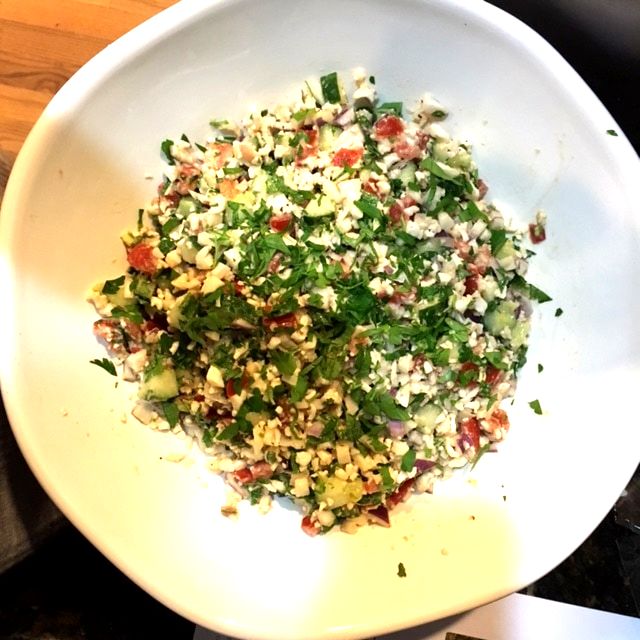  Happy eating! ♥
"One of the very best things about life is the way we must regularly stop whatever it is we are doing and devote our attention to eating. " - Luciano Pavarotti It's January, the month of healthy habits for many, so I'd like to encourage that by offering you one of my favorite winter salads. It's fresh and bright, healthy and delicious and full of powerhouse nutrients. It's also super simple to make. Leftovers keep well for up to 2 days so you can double the recipe to have some for lunch or dinner the next day or two. The main ingredients are shredded Brussels Sprouts and Fresh Kale. I've never been a huge fan of cooked Brussels Sprouts, but a couple of years ago I had my first fresh Brussels sprouts in an amazing salad served at Pizzeria Da Lupo in Boulder, Colorado and I became an instant convert! .To shred the Brussels Sprouts I use my Cuisinart food processor's shredding disc. Before I cut the kale in strips I remove the thick stems and discard them. They are not really all that palatable. THe dressing has a little natural sweetness from the apple juice concentrate which is a great counterpoint to the savory whole grain mustard. It's my favorite salad dressing to use in the colder months as it complements so well any fruits or nuts added to mixed greens. I hope you will love it, too! This month also brings a change to the blog. I am now including a PDF file link so you can download or print the recipe to make it even easier for you! Winter Greens Salad- serves 4-6 ...or just me. 3 cups shredded raw Brussels Sprouts 3 cups thinly sliced fresh Lacinto (aka Dinosaur) Kale 3/4 cup thinly sliced fresh celery 1/4 fresh pomegranate seeds plus more for garnish (or substitute Dried cranberries for seeds) 1/4 cup lightly toasted walnuts, coarsely chopped plus more for garnish Apple Cider Vinaigrette- 2 Tablespoons Thawed Organic Aple Juice concentrate 2 Tablespoons Organic Apple CIder vinegar Pinch each Kosher salt and Coarsely ground black pepper 1 teaspoon Dijon mustard 3 Tablespoons mild oil (Grapeseed, canola, Avocado or Light Olive Oil) 1 Tablespoon Walnut Oil 2 Teaspoons Whole Grain Mustard 1. Make Vinaigrette: In a medium bowl whisk together all the ingredients except whole grain mustard and oils. 2. Whisking continuously, drizzle in both oils. Stir in whole grain mustard. Taste for seasoning and adjust as needed. (Store in lidded jar in fridge until needed. Shake well before using). 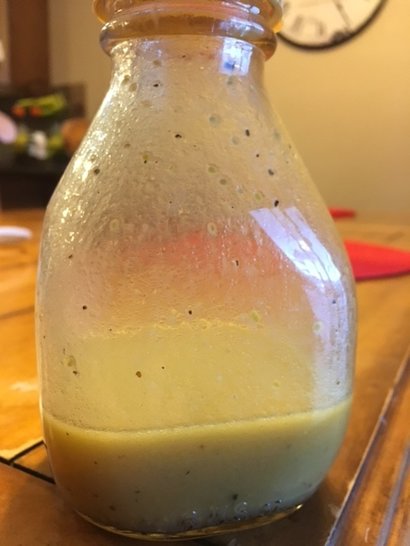 3. In a large salad bowl, place the shredded Brussels sprouts, kale, celery, pomegranate seeds and walnuts. 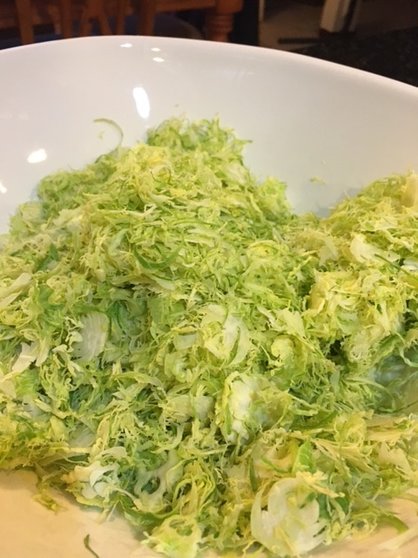 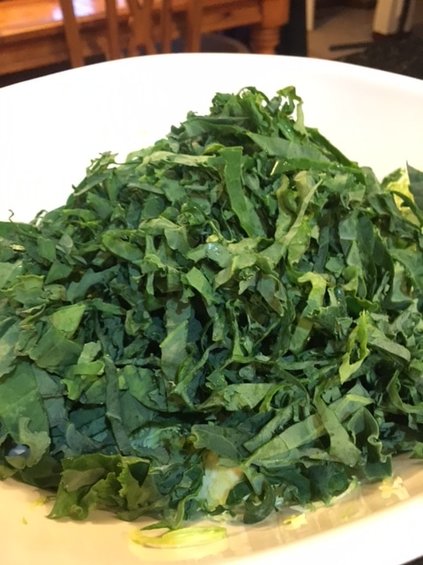 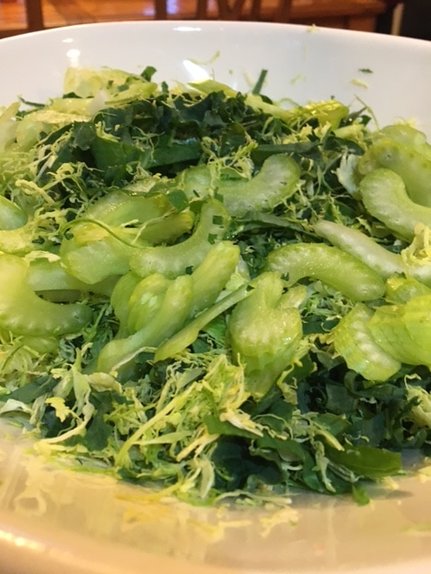 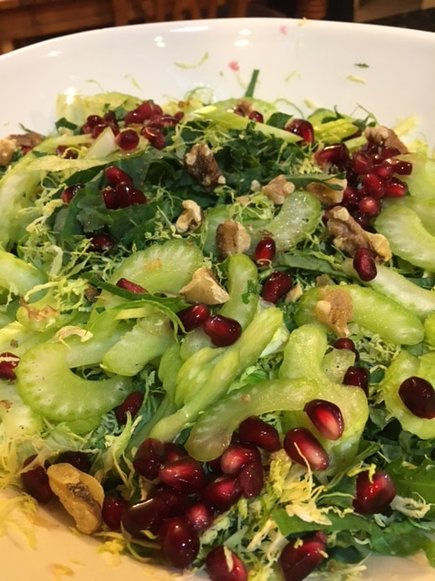 4. Toss to combine. Drizzle with desired amount of dressing (I am firmly in the less is more camp). Toss to combine. 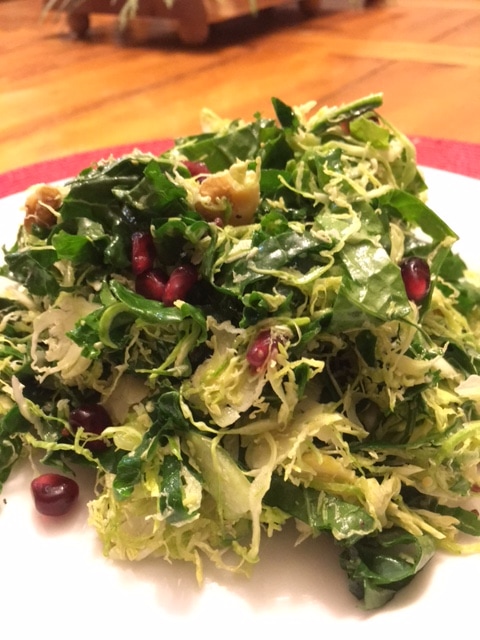 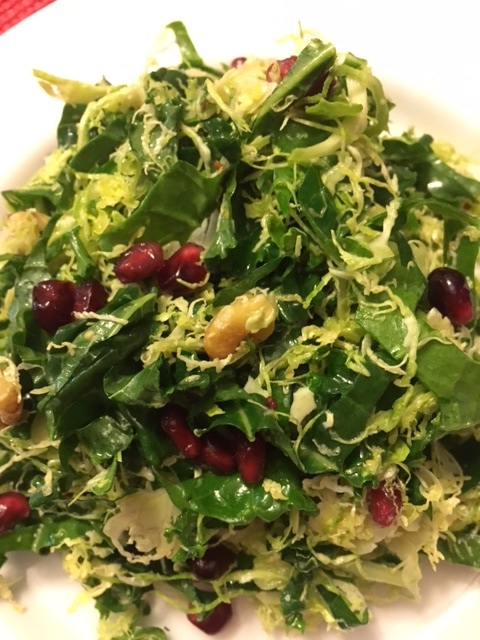 5. Serve immediately, garnishing with additional seeds and nuts, if desired.. Store leftovers, covered, in the fridge for up to 2 days. Here's to your health! ♥ Printable Recipe Here:
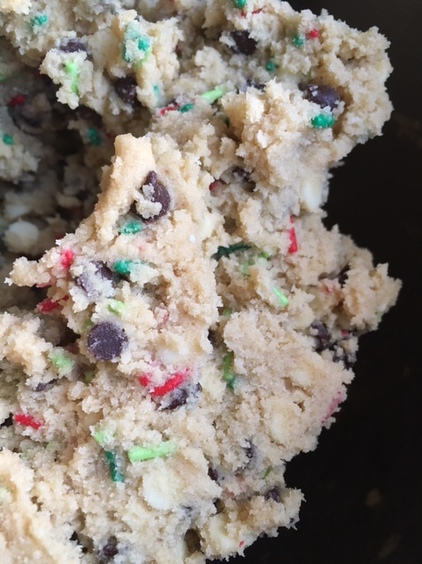
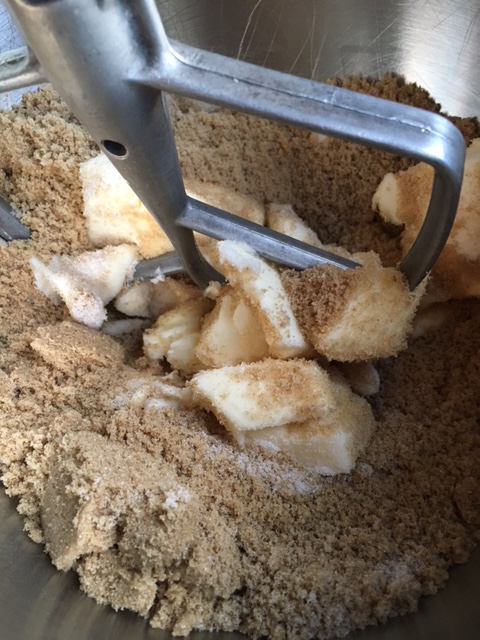
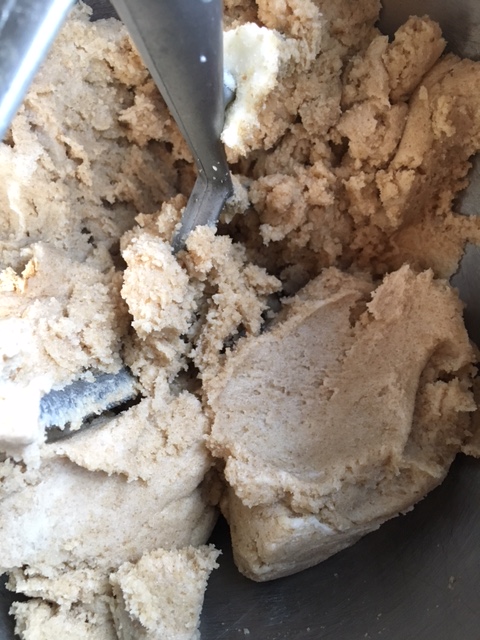
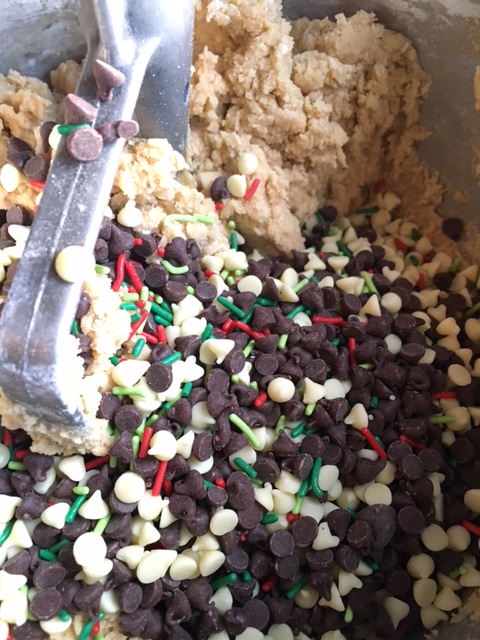
"All you need is love and Christmas Cookies." - unknown I can hardlly believe Christmas is only 19 days away. This year has gone by so very fast to me! And since it's the Christmas season, seems only fitting to offer up a cookie to add to Santa's plate. This is a cookie that's a rif on the Funfetti (PIllsbury trademark) cake that's beloved by children everywhere. You can make them any time of the year by customizing the jimmies (elongated sprinkles) used. In this case I used a mix of light and dark green with red. Festive, no? Last year I made logs of raw dough which I festively wrapped as gifts leaving the actual baking to my friends. It sure saved me a lot of time and it turned out really cute. It's another idea for you to keep in mind if you are gifting treats this holiday season. Some of my other favorite cookie recipes are here. If toffee is your thing, the ever popular Christmas Crack is a sure crowd pleaser, but for now, Confetti Cookies it is! So let's hop on over to the mixer and get this holiday baking going! Christmas Confetti Cookies 11 1/2 ounces( 1 cup 7 Tablespoons) unsalted butter, room temperature 7 ounces (1 cup) granulated sugar 10 ounces brown sugar (1 1/4 cups) packed 2 large eggs 2 teaspoons pure vanilla extract 16 ounces (about 3 1/3 cups) all-purpose flour 2 ounces (4 Tablespoons, plus 2 teaspoons) yellow cake mix* 1 1/8 teaspoons baking powder 1 1/8 teaspoons baking soda 1 1/2 teaspoons kosher salt 3 ounces (about 1/2 cup) holiday colored jimmies 10 ounces( about 1 1/2 cups) mini chocolate chips 6 ounces (about 1 cup) mini (or regular) white chocolate chips** 1 Preheat oven tp 350 degrees F. In a medium bowl, whisk together flour, cake mix, baking powder and soda and salt; set aside. 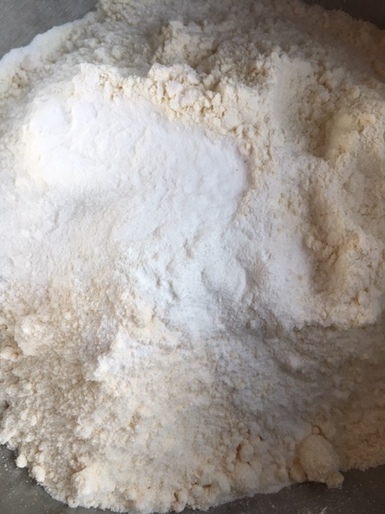 2. in bowl of a stand mixer, cream together butter and sugars on low speed until well combined.
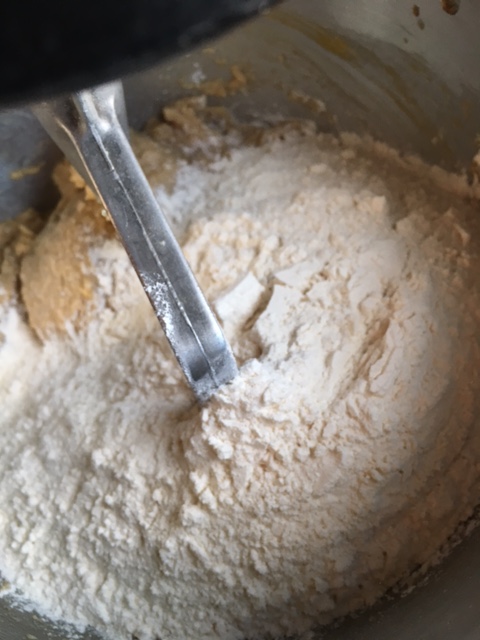
3. On low speed stir in eggs and vanilla. Increase speed to medium for 15 seconds. Reduce speed to low, and scrape down sides of bowl. 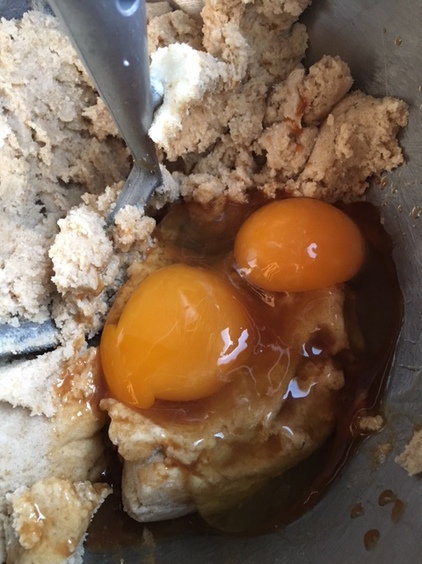 4. Stir in dry ingredients until almost completely incorporated. Scrape down sides of bowl and stir in both mini chips and jimmies.
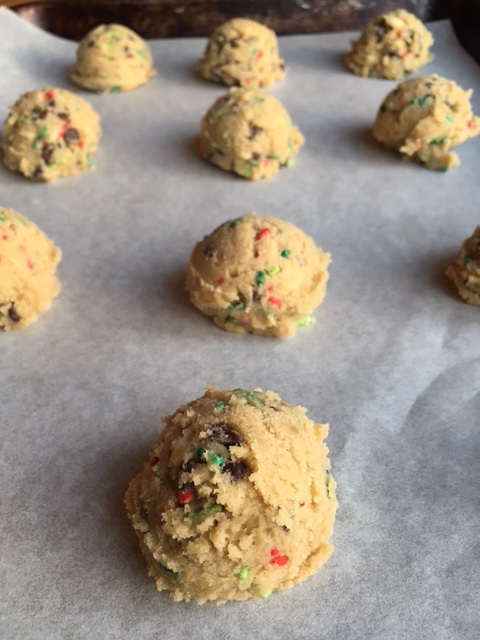
 5. Scoop dough onto parchament lined baking sheets. Bake for 10-12 minutes until done.
6. Let cool completely before wrapping or storing. can keep frozen, wrapped air-tight for about 1 month. 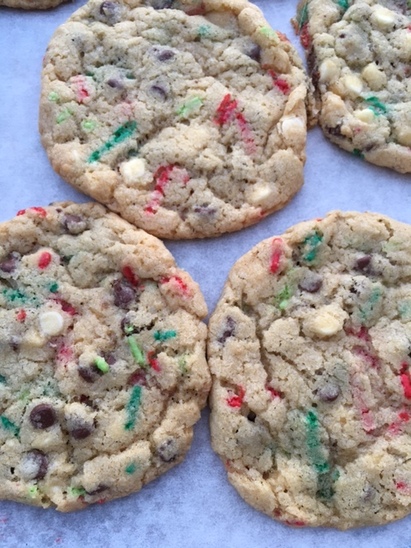 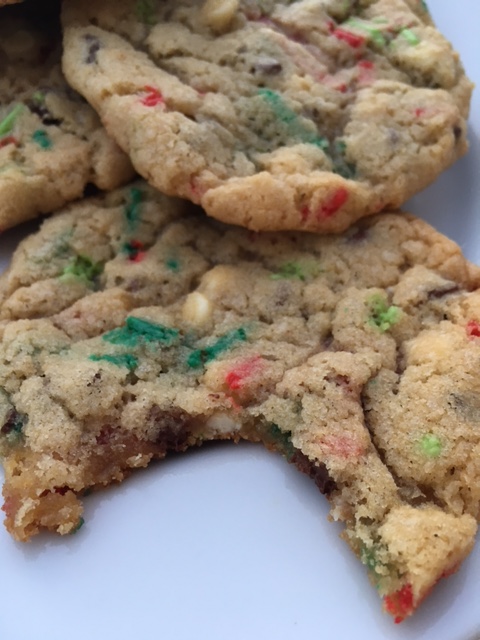 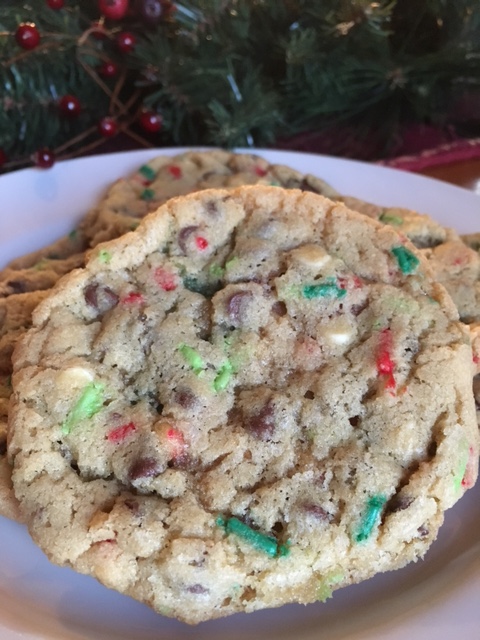 * Keep leftover cake mix wrapped air-tight in the freezer for future cookie making sessions.
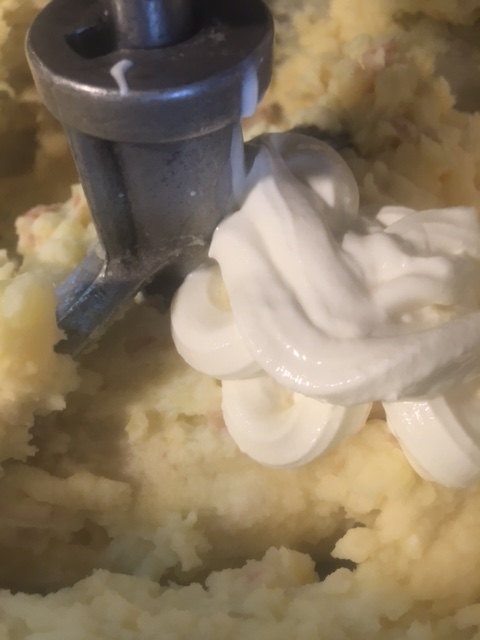
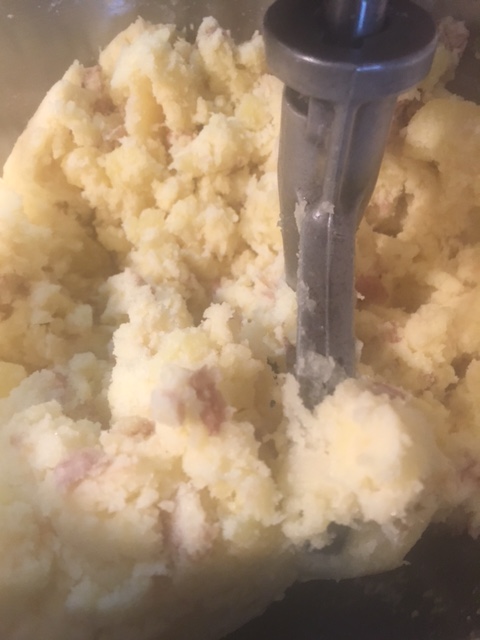
** for best results and flavor, please use the ones that contain cocoa butter and not alternative fats. Happy Baking and sharing! ♥ #cookiesandkindness "If you are grateful for everything, then whatever you have is enough."-unknown Thanksgiving is just a couple days away. Do you have your entire menu already planned? Well, if it isn't too late, may I recommend these potatoes? They are unbelievably good, ridiculously luxurious and all together worthy of any celebration. These are not boring, pedestrian mashed potatoes, these are pull out all the stops potatoes. They are inspired by the potatoes my good friend Suzi used to make with the added touch of a little bit of parsnip and with all the ingredients measured out for consistent results every time. They will be great on Thanksgiving, with your favorite roast chicken, meatloaf or as a pillow for a savory stew to be ladled on top of. I don't completely peel my potatoes, preferring the rustic look of the peel dotted throughout, but feel free to peel if that's your preference. These mashed potatoes are chunky and full of texture, which I love, but if you prefer a more smooth potato, use a ricer instead of a mixer to mash potatoes and then stir in other ingredients by hand once potatoes are riced to desired consistency. Unbelievably Good Mashed Potatoes-serves about 10 2 parsnips, peeled, halved length-wise and cut into 2 inch sections cross-wise 2 cloves garlic, peeled and coarsely chopped 4 1/2 pounds red or gold skinned potatoes (Yukon Gold are my favorite, but gold-fleshed red-skinned potatoes are really great, too), peeled or not, cut into chunks 6 Tablespoons unsalted butter, melted 1 1/2 cup half-n-half warmed, plus additional for thinning 1/4 cups sour cream 2 Tablespoons cream cheese, room temperature 3/4 teaspoons each kosher salt and coarsely ground black pepper 2 Tablespoons minced fresh chives 1. In a large pot place potato, garlic and parsnip chunks, a generous amount of salt and enough water just to cover. Bring a to a boil. Reduce heat and simmer, until tender. Drain completely. 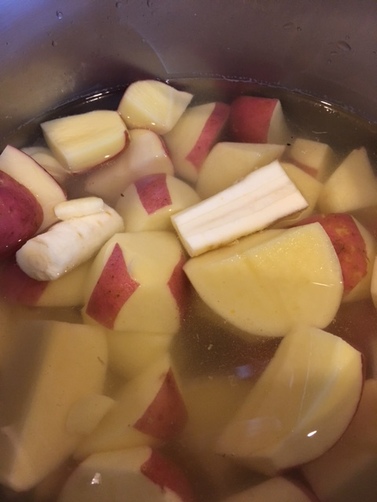 2. Place potato-parsnip-garlic mixture into a bowl of stand mixer with paddle attachment.on low speed. Stir potatoes until they are broken apart (the idea isn't to mash them into a cohesive mass of potatoes here. They should appear fluffy in texture). Increase speed to medium for 1o seconds. Reduce speed to low. 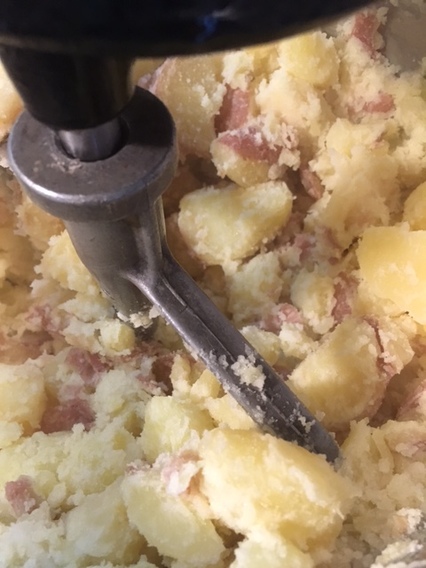 3. Combine melted butter and half and half . With mixer on low speed, pour into potato mixture along with sour cream and cream cheese. mix on low speed for 30-60 seconds.
4. By hand with a wooden spoon or large spatula, mix in chives, salt and pepper. You should be able to taste the salt without thinking the potatoes are actually salty. Make sense? Adjust seasoning gradually to taste. 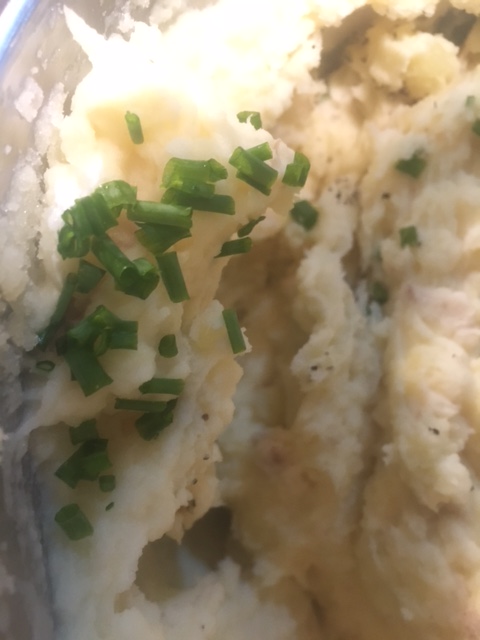 5. Thin potato mixture with additional half-n-half until desired thickness is reached.  6. Place potatoes into serving dish and sprinkle with additional chives, if desired. 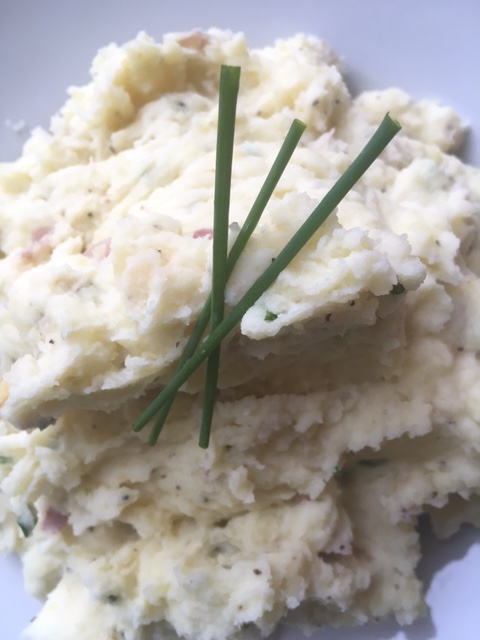 Wishing you a very happy and tasty Thanksgiving. May you have plenty to be grateful for this Thanksgiving holiday and every day. ♥
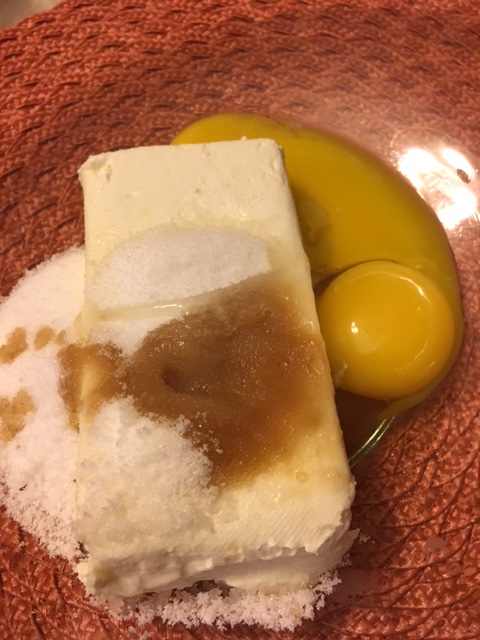
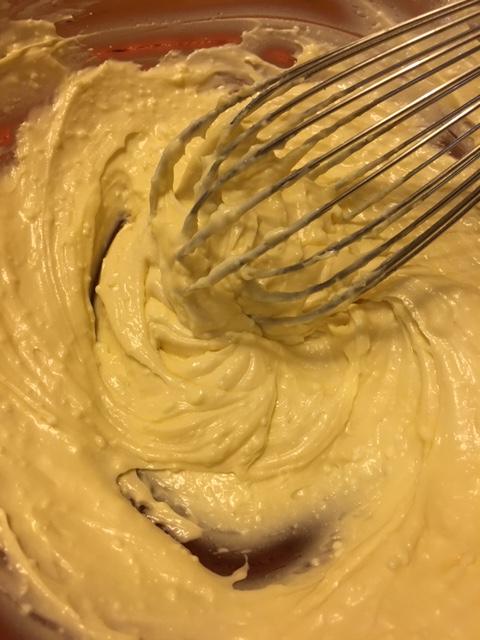
"The only way cheese is dessert is when it is followed by the word cake. " -Michele Gorman, Single in the City It's hard to argue with that kind of logic, Michele! So I hope you are not quite sick of all the sweet posts of late. I promise something savory is on the way, and just in time for Thanksgiving, too! But for now, how about a pan of Cheesecake Swirl Brownies? In fact, any chocoholics on your Thanksgiving guest list will really thank you for thinking of them by having a plate of these for dessert (as opposed to some sweetened vegetable pie- really now). So to start off with you need to make these brownies. I have never tried the cream cheese version with the almond flour version, so can't attest to the results, but the all-purpose or gluten free flour version will definitely work. Once you get the brownie batter in the pan, then get to work on the cheesecake part. Have all the ingredients at room temperature so it will come together quickly. Cheesecake Swirl Batter -enough to swirl through 1-9x13" pan of brownies 8 ounces cream cheese, preferably Kraft Philadelphia brand 1/4 cup granulated sugar 2 egg yolks 3/4 teaspoon pure vanilla extract 1. Combine all ingredients in a bowl with a whisk. Beat until smooth-ish.
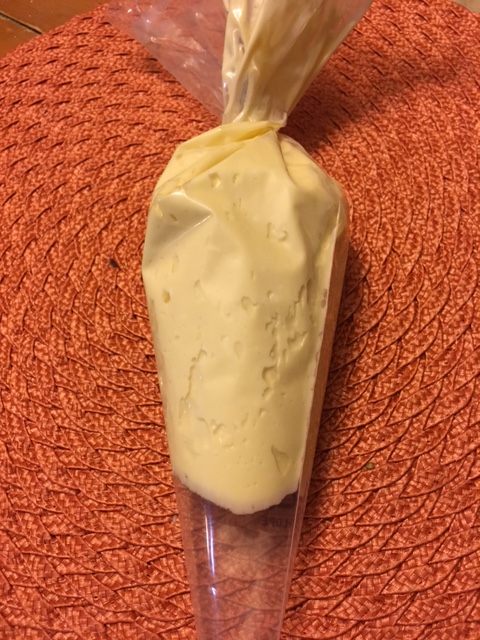
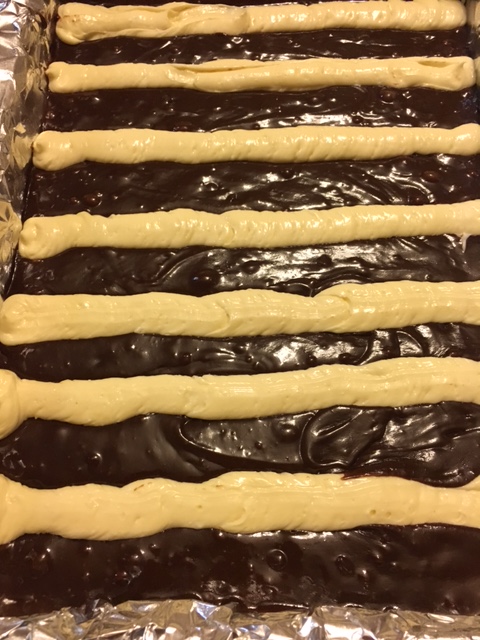
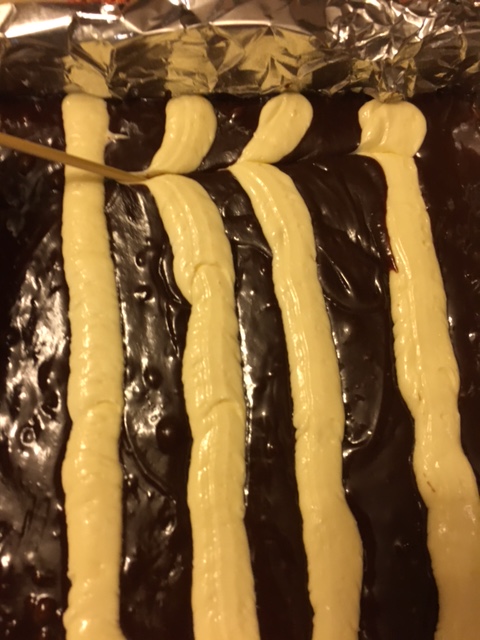
2. Transfer cream cheese mixture to a piping bag or a gallon ziploc bag. Twist to close or seal. Cut off about 1/2 inch at the tip or corner. 3. Inserting tip of bag slightly into brownie batter, pipe evenly spaced rows of cream cheese mixture horizontally across short edge of the pan.
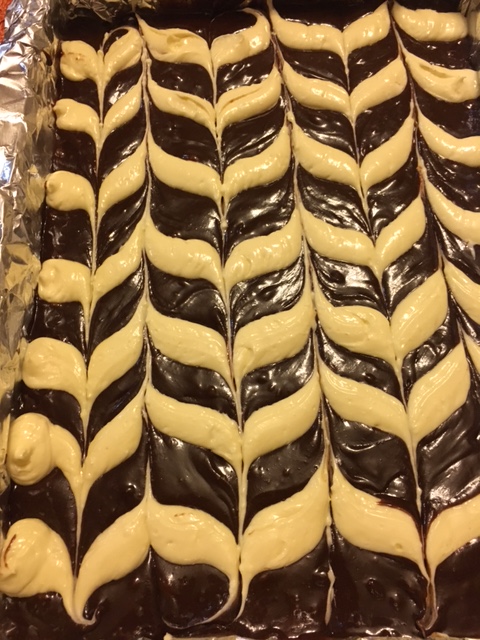
4. Using a toothpick, wooden skewer or tip of a very thin bladed knife, draw the tip through the rows in one direction and then in the alternate direction and so on until a beautiful chevron design is throughout batter.
5. Bake in a preheated 325 degree F oven for approximately 40-50 minutes until brownie is done (moist crumbs are on toothpick inserted in center (do not over-bake).. 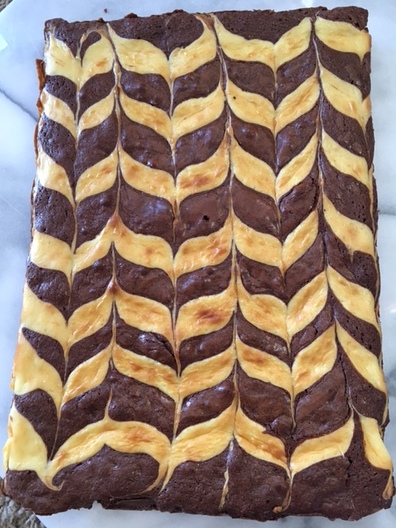 6. Let cool completely before cutting into squares. Store in airtight container in refrigerator for up to a week. 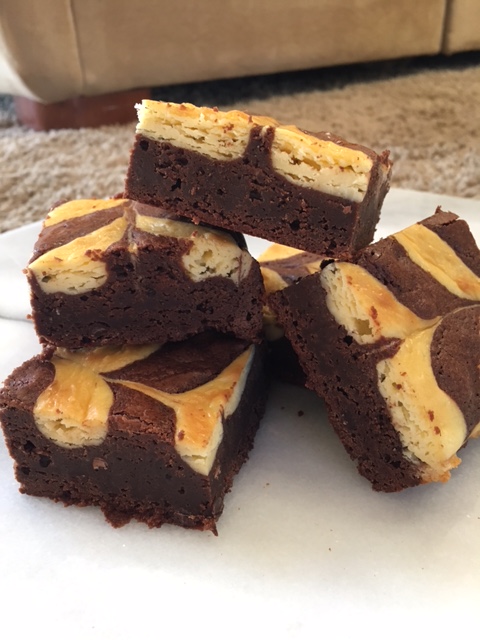  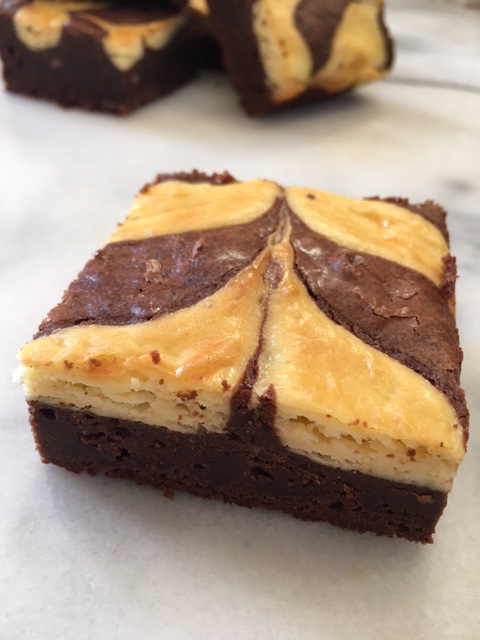 Happy baking! Be sure to share! ; ) ♥
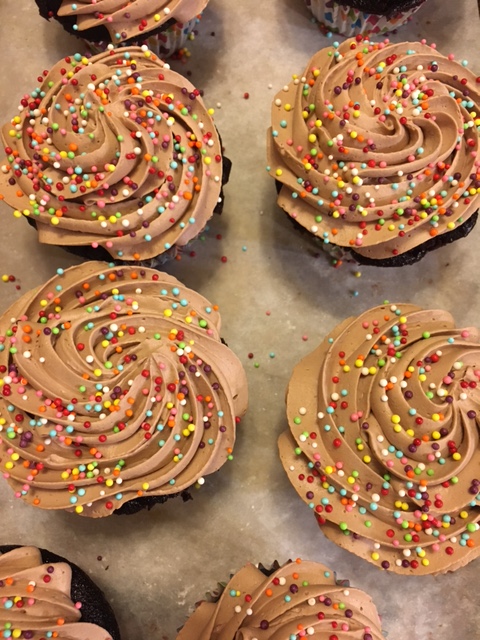
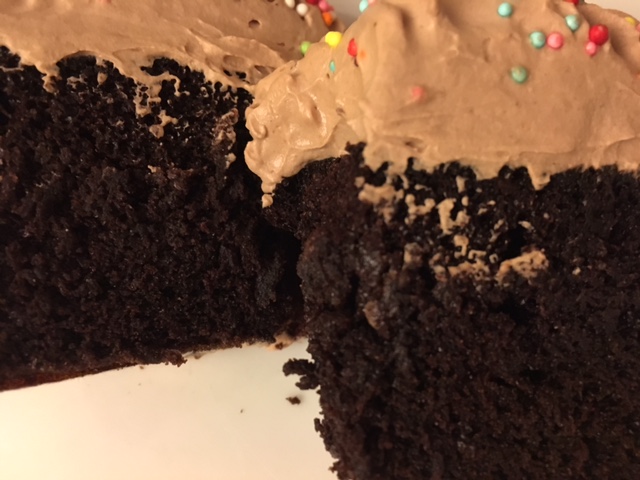
“I've never met a problem a proper cupcake couldn't fix." -Sarah Ockler
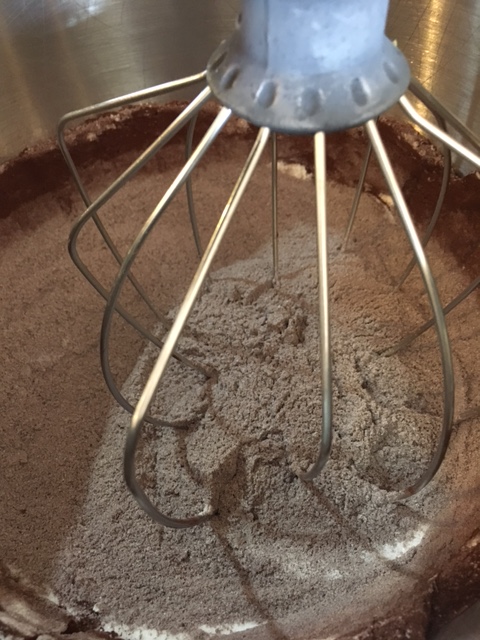
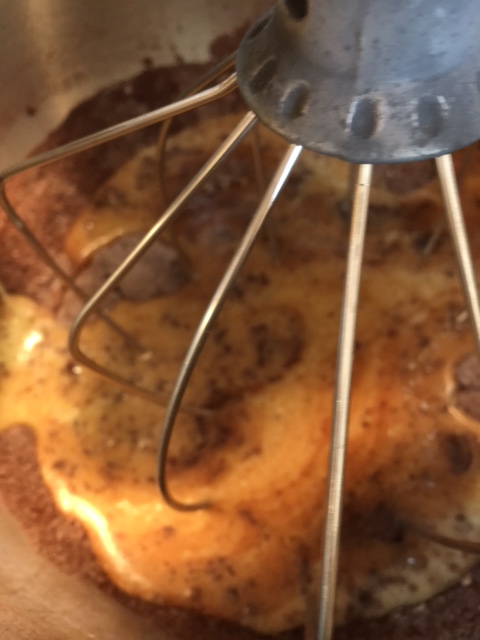
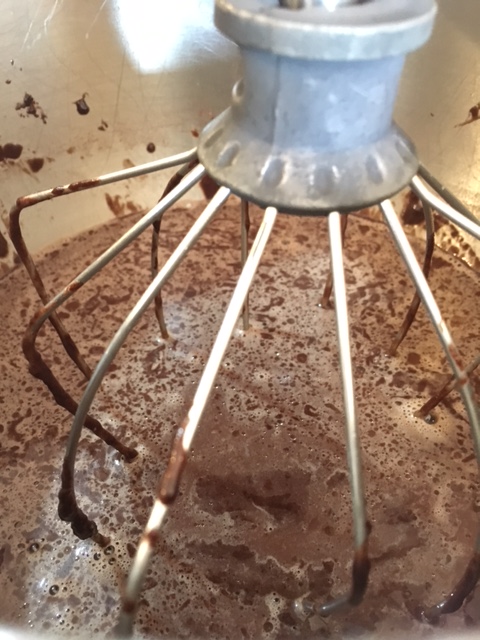
I'm thinking happy thoughts. They say the mind is so powerful if we can change our mind about something then we can change our lives. So happy it is. And what food could be happier than cupcakes, specifically, moist chocolate cupcakes? I mean, who wouldn't want essentially a mini cake all to him or herself? And let's face it, the ratio of frosting to cake is way better in a cupcake than in a slice of cake. We all know the frosting is the only reason to eat any cake anyway. So, all the more reason to love those little joy cakes. This recipe is super easy to make and you can frost it any way you please. My favorite ways are with a dense chocolate cream frosting (shown below) or a delicious , tangy cream cheese frosting. What's your favorite way? Moist Chocolate Cupcakes - yields about 22 regular cupcakes 2 1/8 cups granulated sugar 1 3/4 cup all purpose flour 3/4 cup plus 1 Tablespoon good quality cocoa powder such as Valrhona or Cocoa Barry 1 1/2 teaspoons baking powder 1 1/2 teaspoons baking soda 1 teaspoon salt 1 cup milk 2 large eggs, room temperature 1/2 cup vegetable or melted coconut oil 2 teaspoons pure vanilla extract 1 cup hot freshly brewed coffee or boiling water 1. Preheat oven to 350 degrees F . Line 2 standard muffin tins with cupcake liners (22 of the 24 wells); set aside. 2. In bowl of stand mixer, sift together flour, sugar, salt, baking powder, soda and cocoa powder. Place on mixer and turn on lowest speed. 3. In a medium bowl whisk together the eggs, milk, oil and vanilla ( if using coconut oil, make sure milk and eggs are at room temp or slightly warm) until well blended. Add to flour mixture on low speed and mix for 1 minute on low. Scrape down bowl, increase to medium speed and and continue mixing for 2 minutes.
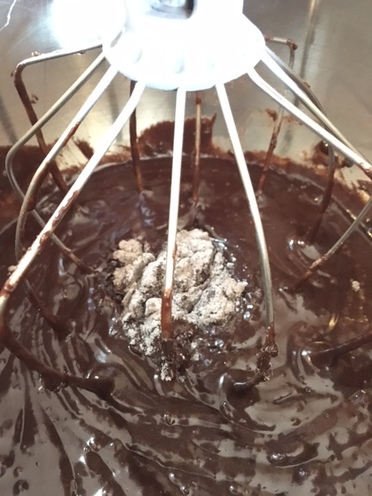
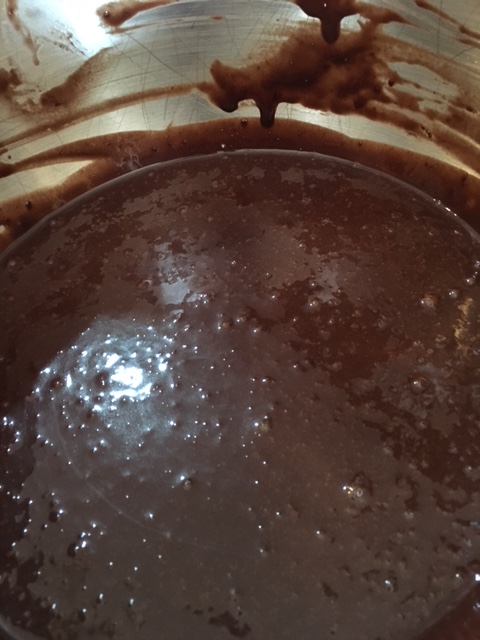
4. Off mixer, using a rubber spatula stir in boiling water or hot coffee by hand until fully combined.
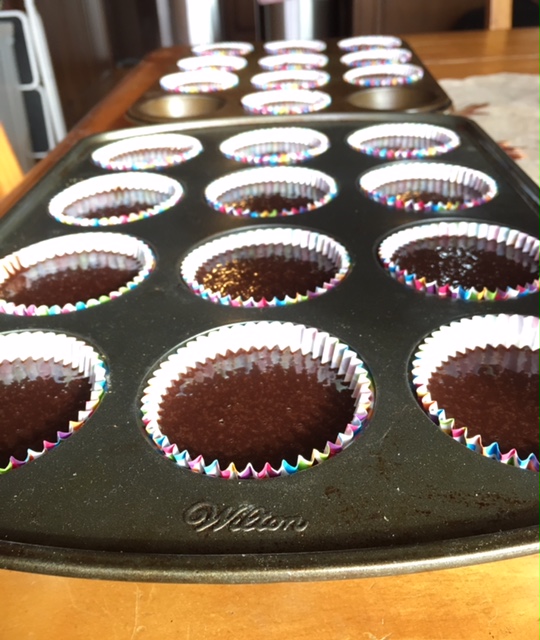
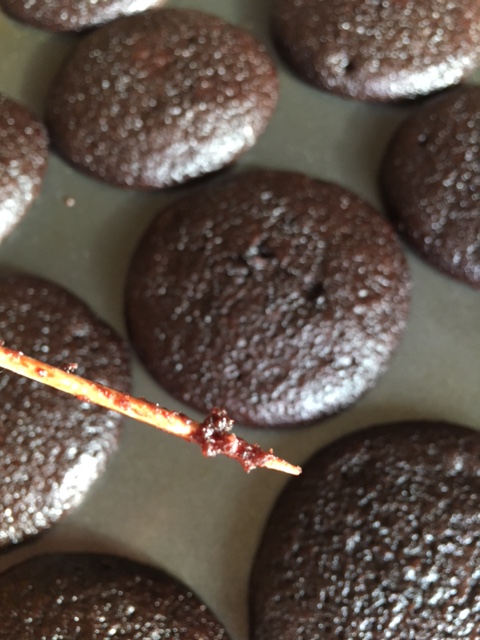
5. Using a 1/4 cup measuring cup , pour batter into each liner.* Bake at 350 F until cupcakes come out with moist crumbs attached, about 15-20 minutes. Do not over-bake!
6. Let cool completely then frost as desired. If using cream cheese or creamy chocolate icing, keep frosted cupcakes in refrigerator for storage.

Notes: If you live at high altitude (5000-ish ft above sea level like I do), make the following changes:
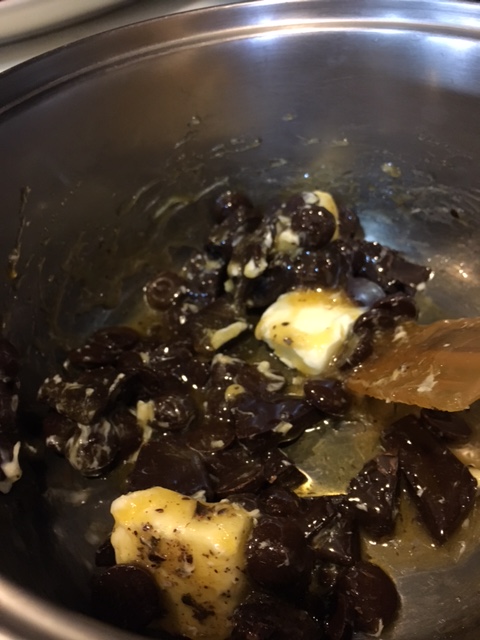
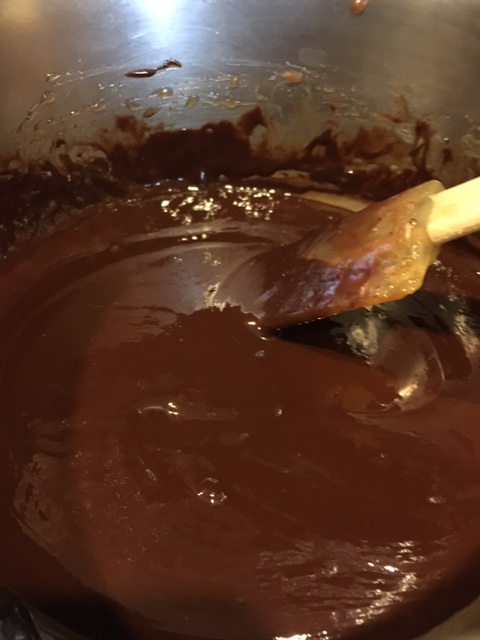
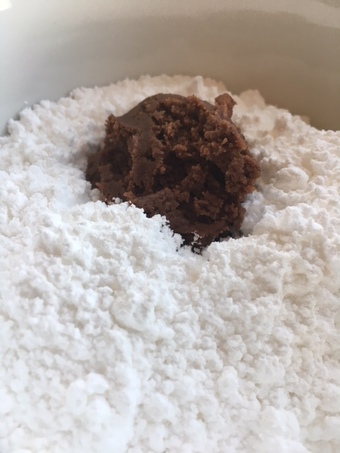
reduce both baking soda and powder to 1 1/8 tsp each, add in 2 Tablespoons unsweetened applesauce with liquid ingredients and increase flour to 1 3/4 cups PLUS 2 tablespoons and reduce sugar to 2 cups. Bake as directed. "A balanced diet is a cookie in each hand." - unknown October is just about over, so this is my last post commemorating National Cookie Month. I thought I'd end it with a no-bake cookie, so simple yet so unbelievably good. I tell you they are addicting! This is an adaptation of a recipe by the acclaimed British food writer/cookbook author/television personality Nigel Slater. I love how honest his food is. I am in love with his book Real Food, although he has 7 other titles to his name. I call these no bake cookies, Nigel's Fudge Crunchies. They have been a hit in my house for many years now. My kids love them! You may argue they are more confection than cookie, but that would just be superfluous (one of the only big words I know -lol!), Any way you call them they are delicious. I will admit they don't photograph as well as some, but you'll get a good idea nonetheless. Another (any) holiday favorite perhaps? If you want more cookie recipes, you can scroll through here. Nigel's Fudge Crunchies- Makes about 21 3 Tablespoon unsalted butter teensy weensy pinch of sea salt 3 Tablespoons Lyle's Golden Syrup* 1/2 ounce Unsweetened chocolate, fienly chopped 3 ounces bittersweet chocolate (60-72%) ** 2 1/2 cups corn flakes colored non-pareils of your choice- optional, but recommended 1. In a medium saucepan over low heat stir together the butter, golden syrup, salt and chocolates until melted and smooth, stirring continuously.
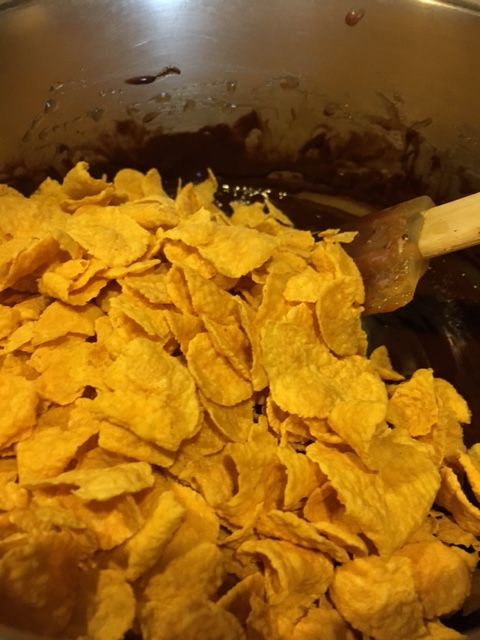
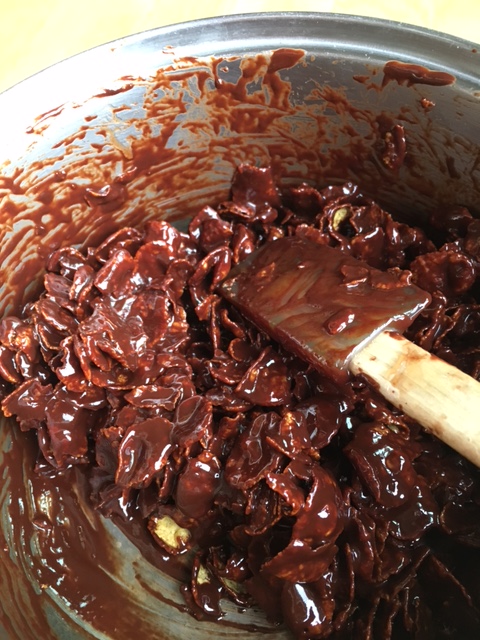
2. Remove chocolate mixture from heat and gently stir in corn flakes with a rubber spatula until completely coated with chocolate.
3. Place 21 mini muffin cups on a sheet pan if you want to have a more polished presentation. Alternatively, line a baking sheet with parchment or waxed paper. Scoop 1 tablespoon of cookie mixture into each mini muffin cup or straight onto lined baking sheet. 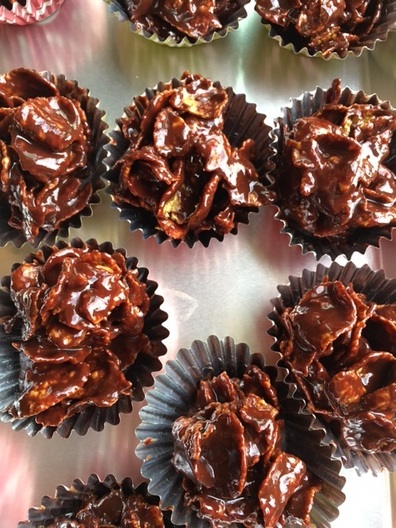 4. Sprinkle the tops with a small pinch of non-pareils or to taste. 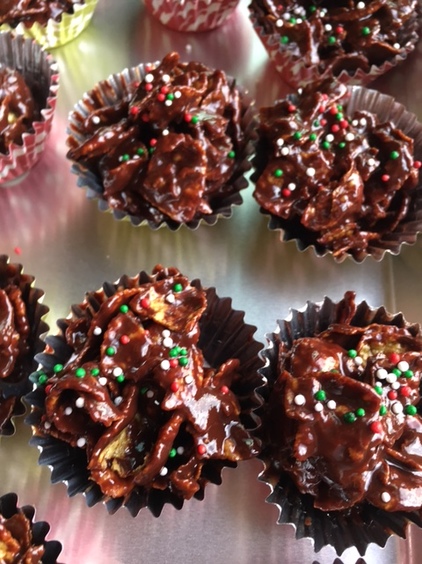 5. Place tray in refrigerator to set up cookies. Best stored in refrigerator... if they last that long. ; ) 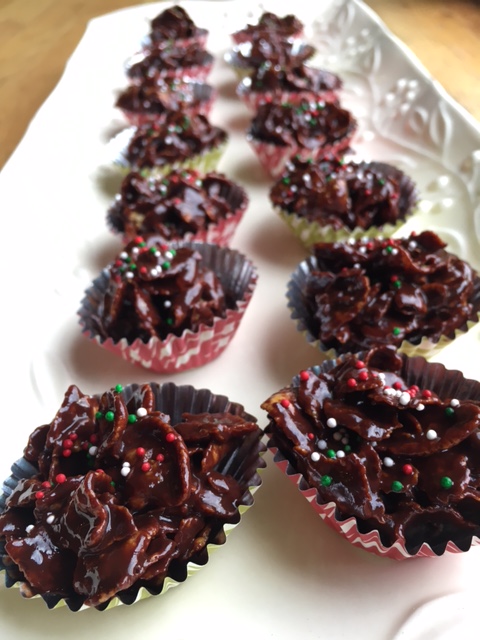 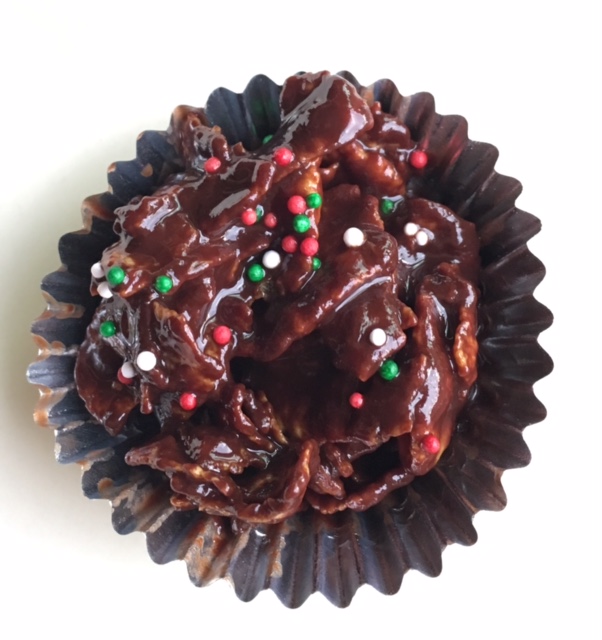 Notes:
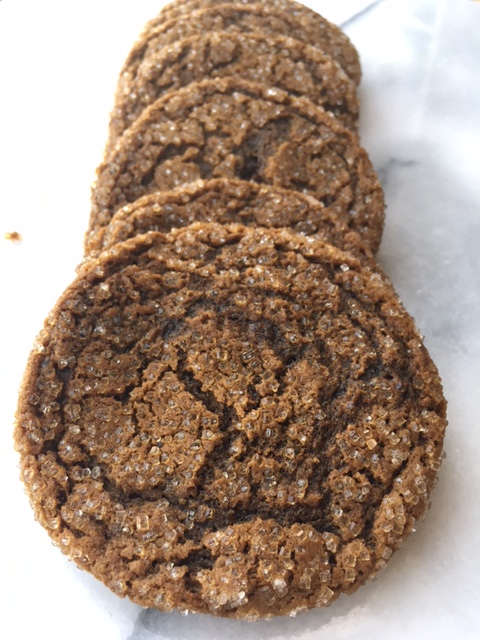
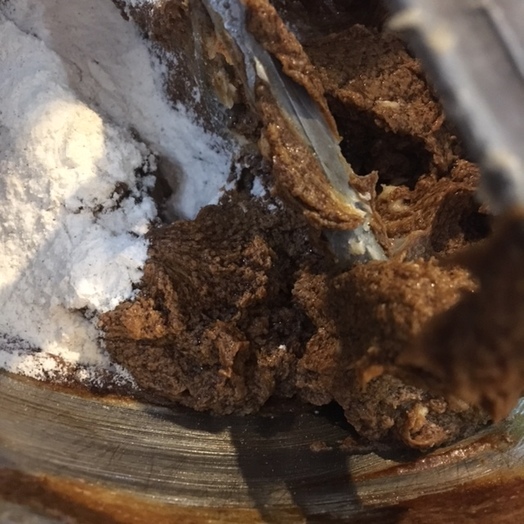
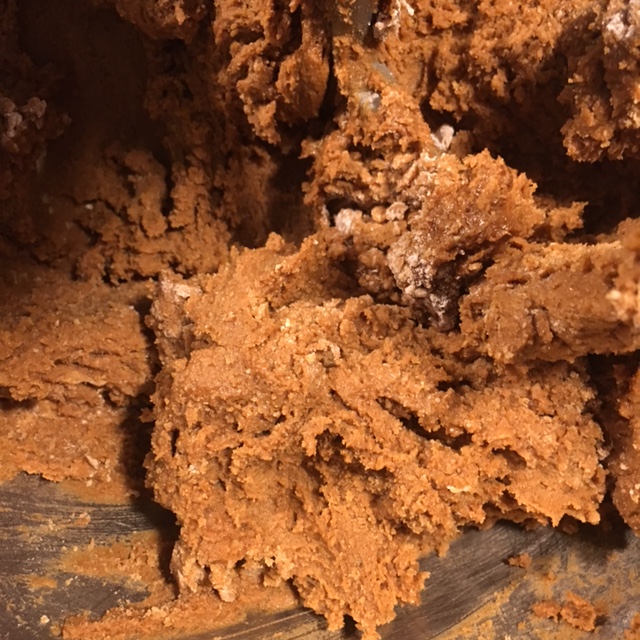
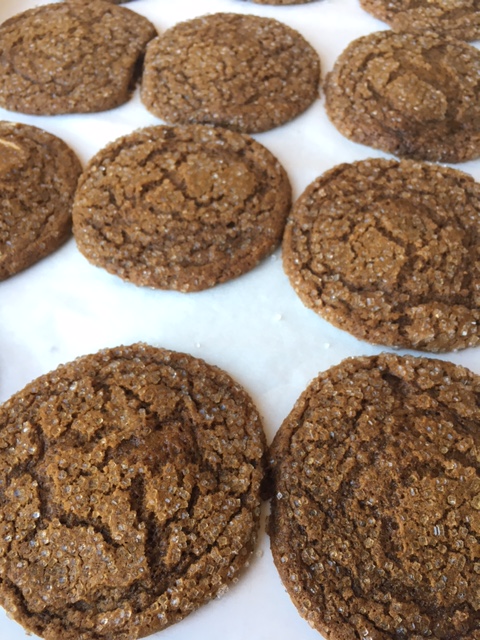
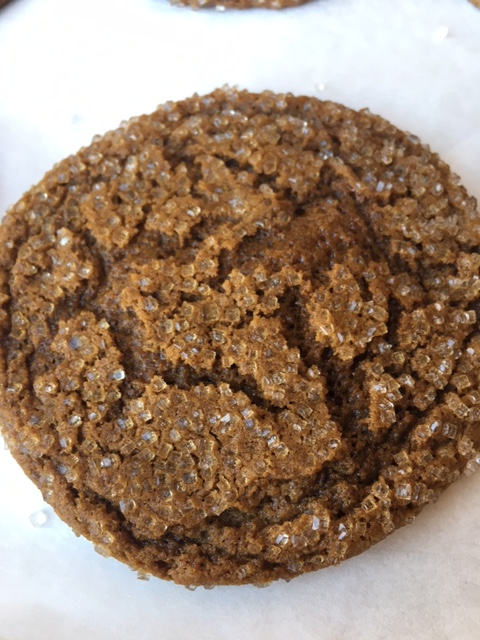
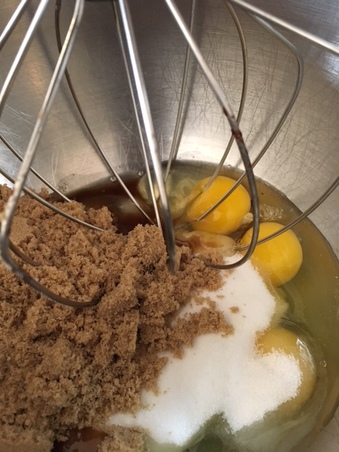
* Lyle's Golden Syrup is a very unique tasting cane sugar product. It has the flavor of almost a caramelized, slightly burnt sugar. It is superb tasting. You will not get the same flavor substituting another liquid sugar syrup such as corn or rice syrup or honey, but you can feel free to experiment. Besides on-line you may find Lyle's Golden Syrup at specialty Food stores, international grocer's or if you live in the US, at Cost Plus World Market. ** Since this recipe relies on so few ingredients they all have to be top notch. Use the best chocolate you can afford here. This is not the place to use chocolate chips or candy bar chocolate. Some reliable quality brands are Valrhona, Callebaut, E Guittard, El Rey or Lindt. "Cookies are made with butter and love."- Norwegian Proverb By now you all know October is National Cookie Month, right? So in the spirit of sharing and without further ado, here is my favorite Ginger Cookie. It's got some yummy, fragrant spice to it, perfect for fall.It's crisp around the edges then soft everywhere else with some nice added crunch from the coarse sanding sugar. It also makes a mean vehicle for ice cream sandwiches, if you are feeling like taking it in that direction (lemon or blackberry sorbet would be nice inside, but vanilla ice cream would also be delicious or vanilla ice cream with some lemon curd folded in....just sayin'). I do offer one quick variation at the end, too, if you are looking to dress them up a bit. Chewy Ginger Cookies 2 1/2 cups (11 1/2 ounces) all-purpose flour 1 3/4 teaspoons, scant, baking soda* 1/2 teaspoon fine sea salt 1 Tablespoon ground ginger 1/2 teaspoon ground cinnamon 1/2 teaspoon ground allspice 1/4 teaspoon ground black pepper 2 sticks plus 2 Tablespoons (9 ounces) unsalted butter, room temperature 1/2 cup (3.5 ounces) packed light brown sugar 1/2 cup (3.5 ounces) granulated sugar 6 Tablespoons unsulfured molasses 1 large egg 1/2 teaspoon pure vanilla extract sanding or pearl sugar 1. With a whisk, mix together the first seven ingredients; set aside. 2. In the bowl of a stand mixer with the paddle attachment, cream together the butter, granulated sugar and brown sugar on low speed until well combined. 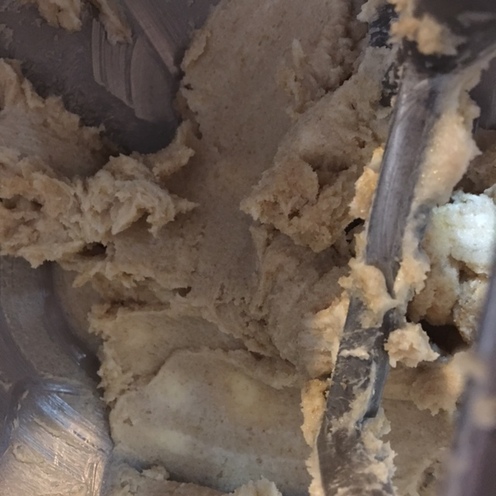 3. On low speed mix in the egg, molasses and vanilla. Increase speed to medium to help combine the mixture well for about 20 seconds. Reduce speed to low. 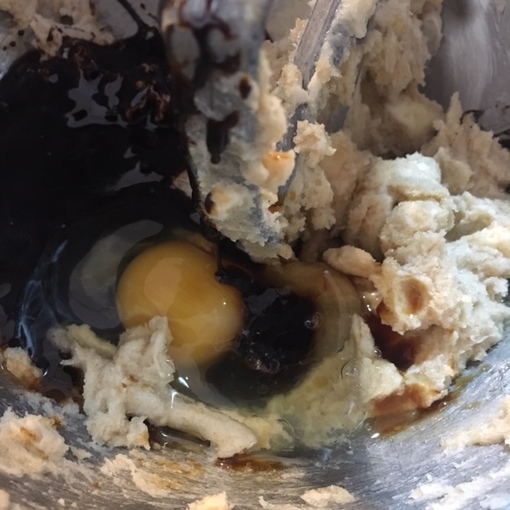 4. Mix in flour mixture until just combined.
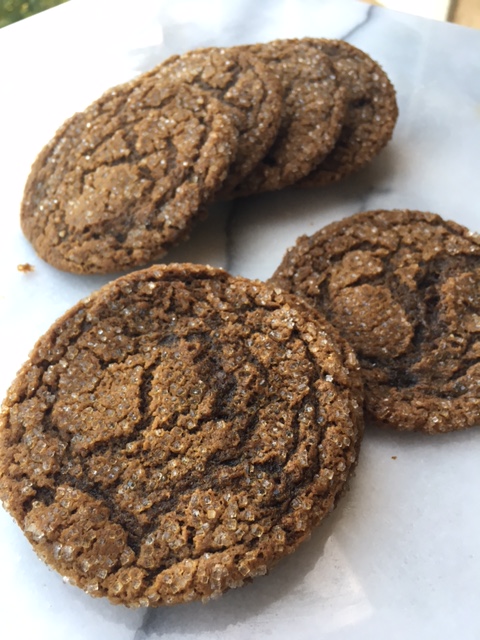
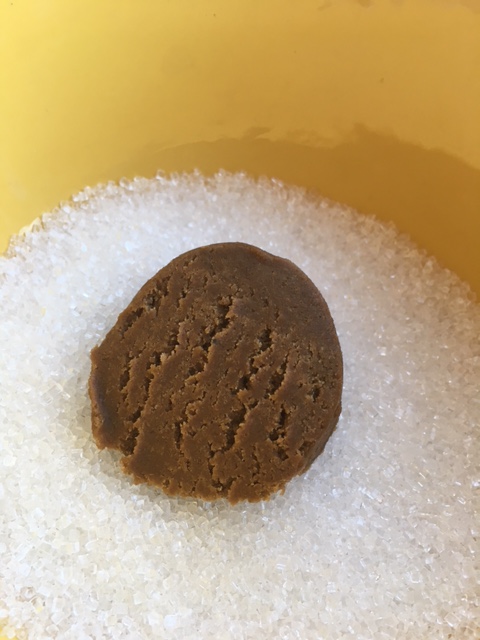
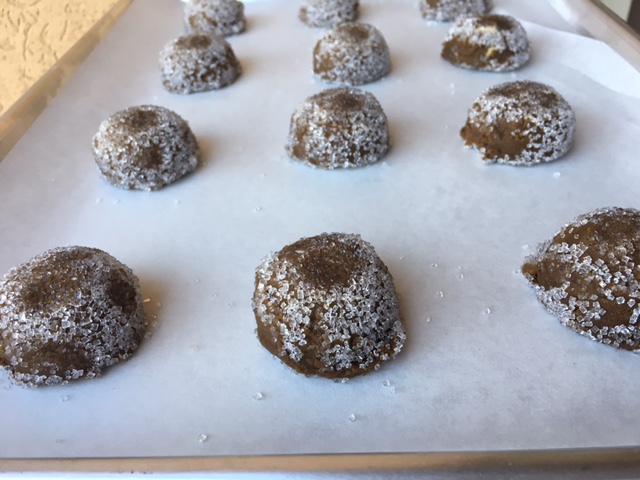
5. Remove bowl from mixer and cover tightly with plastic wrap. Refrigerate dough for 24 hours. This gives all the spices time to really meld into the dough for the best flavor. 6. When you are ready to bake, preheat oven to 350 degrees Line baking sheets with parchment paper. 7. Remove dough from fridge and scoop out using an ice cream scoop to get uniform cookies. Dip cookies into sanding or pearl sugar. Place dough 2" apart on prepared baking sheets. Lightly pat down the tops of the dough.
8. Bake cookies in preheated oven for 10- 12 minutes until edges are golden brown and center seems set and crackles. Cookie will have puffed up, then sank back down.
   Variation: White Chocolate-Ginger Chews: Stir in 1 cup of fine quality, coarsely chopped white chocolate such as Lindt, Callebaut or Valrhona into batter after the flour. Proceed as directed in the recipe. The sweetness and creaminess of the white chocolate is a really nice complement to the spiced dough and looks really pretty , too. 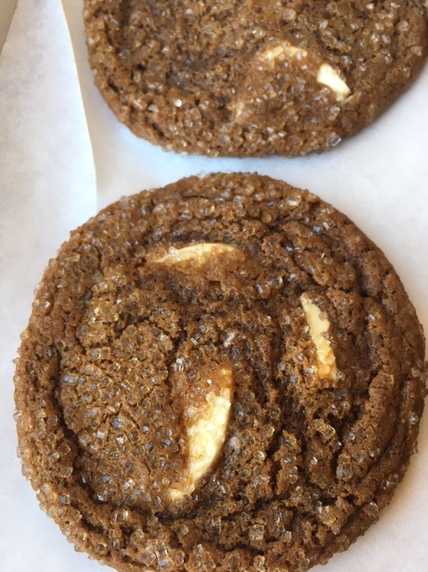 * Note: this recipe is for cooking at high altitude (about 5,000 ft, where I live). If baking closer to or at sea level, increase baking soda to 2 1/4 teaspoons.
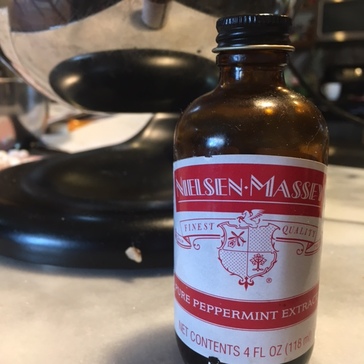
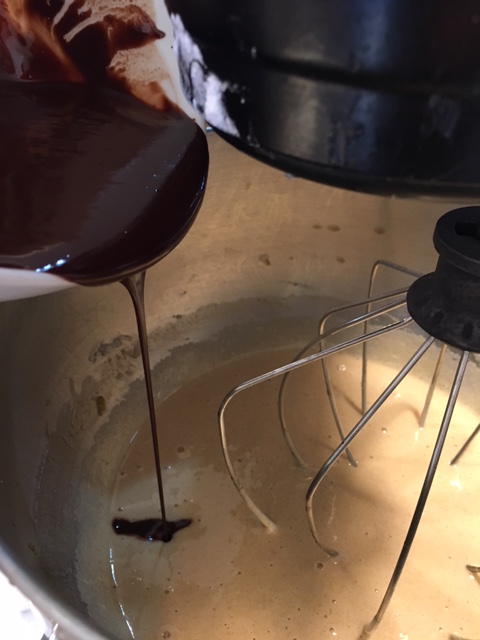
"C is for Cookie. That's good enough for me." -Cookie Monster National Cookie month continues! I posted a picture of this cookie a while back on my Facebook and Instagram feed and it was quickly voted the recipe most of my followers there wanted to see. It is worth their adoration, too. It is fudgy and minty and beautiful. I know it's only a little early to talk about this, but what a great addition to your holiday cookie trays this would be, am I right? They are super easy to make. Just make sure you use good quality chocolate like the mint infused Lindt chocolate bar here. Be sure to check out the interesting variations below. Also if mint and chocolate are your thing, check out these recipes here and here. Mint Crinkle Cookies 2 cups (9 ounces)all purpose flour 1 1/2 teaspoons baking powder * 1/8 teaspoons sea salt 5 ounces unsweetened chocolate, finely chopped 8 tablespoons (4 ounces ) unsalted butter, cubed 4 large eggs 1 cup (7 ounces) granulated sugar 1 cup (7 ounces) packed light brown sugar 1 1/2 teaspoons pure vanilla extract 1/4 teaspoon pure peppermint extract 2 ounces mint infused chocolate such as Lindt 1/3 cup mini marshmallows (stale is even better) Powdered Sugar 1. Melt the chocolate and butter together in a medium bowl; set aside. 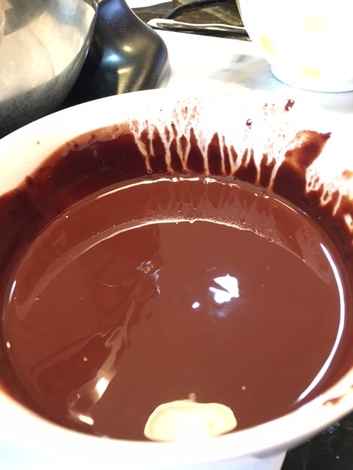 2. Whisk together flour, baking powder and salt; set aside. 3. In the bowl of a mixer whisk together the eggs, granulated and brown sugars and extracts on medium speed until well combined and just slightly increased in volume
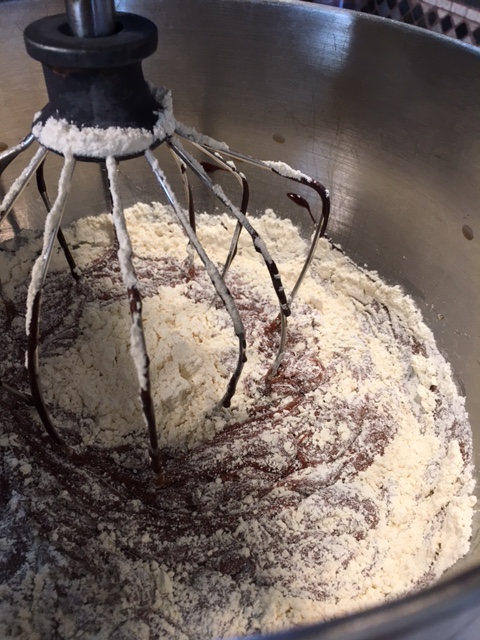
4. Stir in melted chocolate on low speed a. Scrape down bowl and then add in flour until almost fully combined.
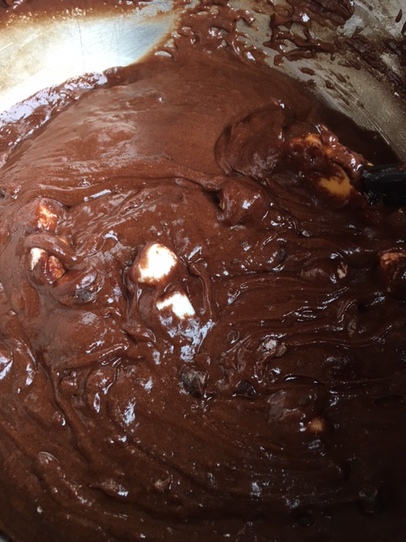
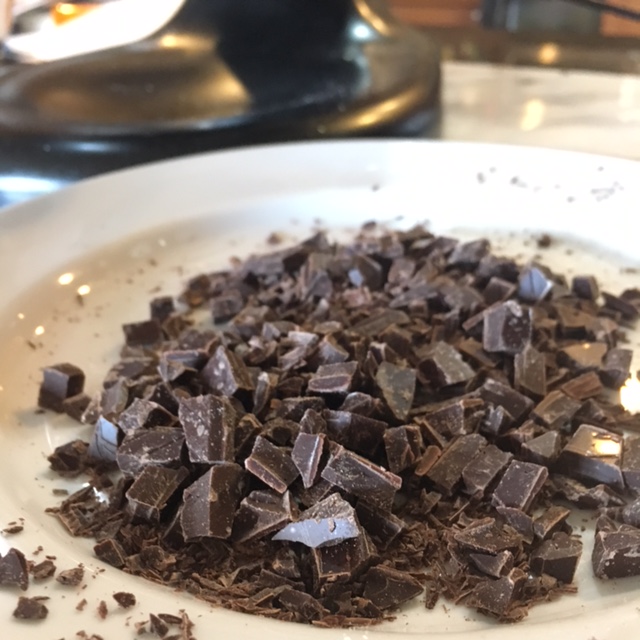
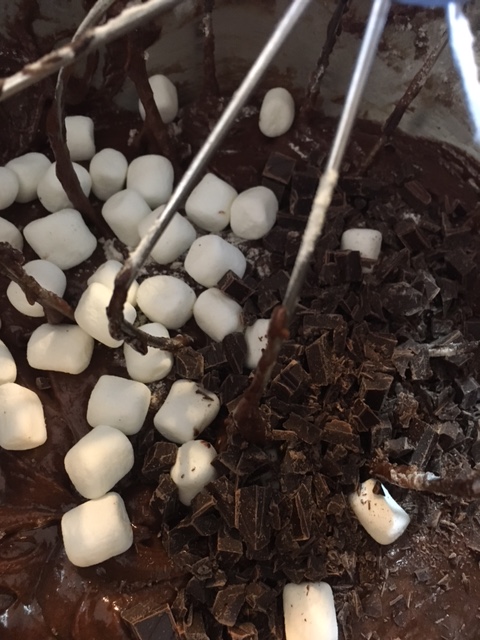
5. By hand, using a rubber spatula, stir in chopped mint infused chocolate and mini marshmallows until well combined.
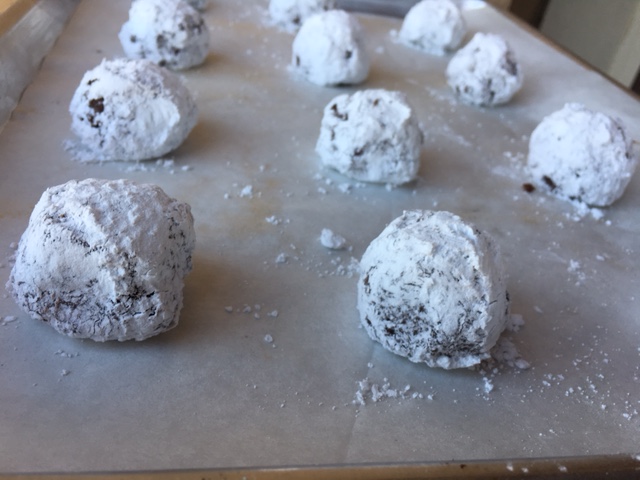
 6. Cover dough tightly with plastic wrap and chill for at least 2 hours or over-night. 7. When you are ready to bake cookies, preheat oven to 350 Degrees F and line baking sheets with parchment paper. 8. Remove dough from fridge and using an ice cream scoop, portion out dough into approximately 2 1/2 Tablespoon balls. Coat dough thoroughly in powdered sugar. Space 2" apart on prepared baking sheets.
9. Bake cookies in preheated oven for 10-12 minutes until tops are crackled and middle appears set and is no longer glossy. Remove from oven and allow to cool for several minute before transferring to a cooling rack. 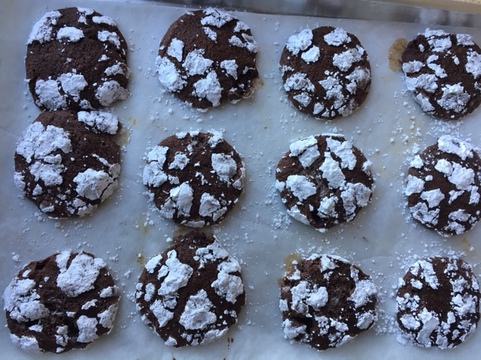  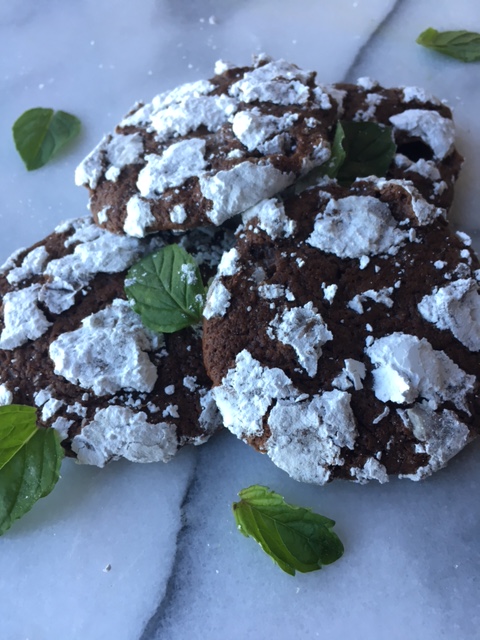 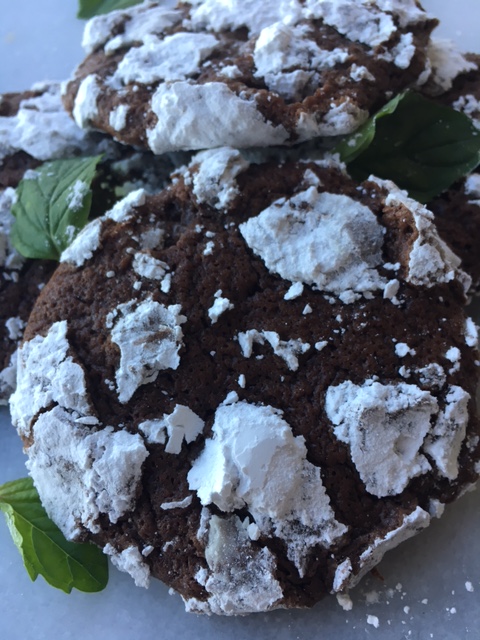 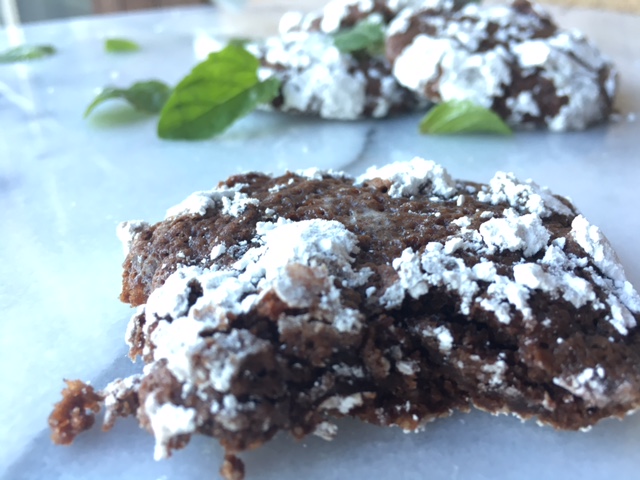 Note:
* if baking at sea level (I am at high altitude) increase baking powder to 2 teaspoons. These cookies freeze beautifully, wrapped air-tight for up to 2 months if you want to get a head start on your holiday baking. Variations: Chocolate Orange Crinkles- Omit pepermint extract. Increase vanilla extract to 2 teaspoons, Stir in 1/2 teaspoon fresh orange zest with eggs and sugar. Omit mint chocolate and use 2 ounces Lindt Intense Orange instead. Mocha Crinkles: Omit peppermint extract.Increase vanilla to 2 teaspoons Stir in 1/2 teaspoon espresso powder with vanilla. Omit mint chocolate and use finely chopped good quality milk chocolate instead. Chocolate Chili Crinkles-Omit peppermint extract. Kee vanilla at 1 1/2 teaspoons. Add 1/4 teaspoon PURE chile powder (not a spice blend chili powder) to the dry ingredients. Omit Mint chocolate and use 2 ounces of Lindt Chili Chocolate instead. Dark Fudge Crinkles: Omit peppermint extract. Increase vanilla to 2 teaspoons. Add a little pinch of instant espresso powder to dry ingredients. Omit mint chocolate and substitute mini chocolate chips or chopped up bittersweet chocolate instead. |

Archives
December 2019
Categories
All
|
||||||||||||||||||||||||||||||||||||||||||||||||||


 RSS Feed
