|
“My love is pizza shaped. Won’t you have a slice? It’s circular, so there’s enough to go around.
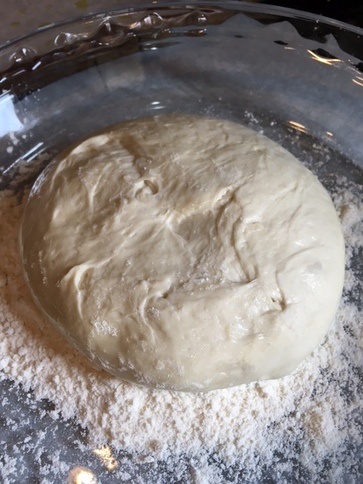
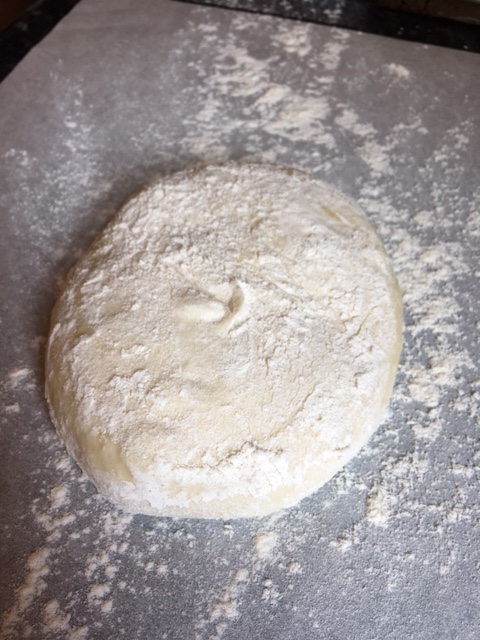
” -Dora J. Arod Last week I was back in Upstate New York where I grew up, helping my mom pack up her house of 51 years. It was at times wonderful, trying, sad and good. Maybe some of you have had a similar experience helping a parent move. I also got to see my brother, sister and their families, which was a delight for me. I don't get back there as often as I would like. One of the highlights was showing my nieces and nephew how to make homemade pizza one night as we celebrated my youngest niece's 11th birthday!. We had so much fun! They took to it like naturals, too. That got me thinking that I hadn't made pizza at home for a very long time. Now that we have a couple gluten free people in my household, we don't make it as often as we once did. So this weekend with some free time on my hands I thought I'd make one of my favorite pizzas-salad topped pizza. It is just baby mixed salad greens tossed lightly in a nice lemony vinaigrette sitting atop a sauce-less cheese pizza. It makes a wonderful lunch or light dinner It is super simple especially if you start with purchased quality dough from your favorite store, pizzeria or Italian deli. I usually make my own dough, but if I didn't plan ahead, I really like to use the fresh dough they sell at Whole Foods. Salad Topped Pizza (makes 2 -10 inch pizzas) 1 lb fresh pizza dough (purchased or homemade) sea salt coarse ground black pepper crushed red pepper flakes 2 cups shredded part-skim mozzarella 2 Tablespoons fresh grated Parmesan cheese plus more for shaving 4 cups lightly packed mixed baby salad greens or baby arugula 2 Tablespoons Extra virgin Olive Oil 2 teaspoons fresh lemon juice 1/4 teaspoon Dijon mustard 1/4 teaspoon minced fresh garlic, peeled all-purpose flour for dusting parchment paper 1. About an hour before making pizzas, place pizza stones inside oven and preheat oven to 550 degrees Farenheit (if you don't have a pizza stone, I have also had good success using inverted, heavy duty baking sheets as my "stones".). 2. Remove dough from fridge*. On a lightly floured surface, divide dough evenly into two pieces. 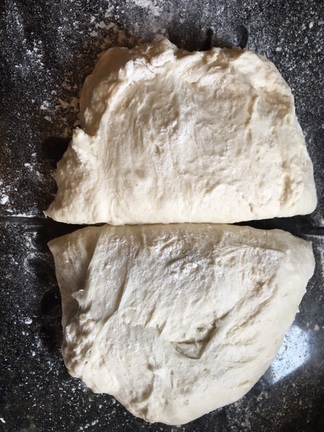 3. Take each half and fold the dough edges into the middle to make a rough ball. With the rough side down, roll the dough, using the counter as an aid, into 2 nice smooth balls. Place the balls on an oiled cookie sheet, several inches apart. Brush the tops of the dough ball with olive oil as well. Let rest on counter for about 1 hour. 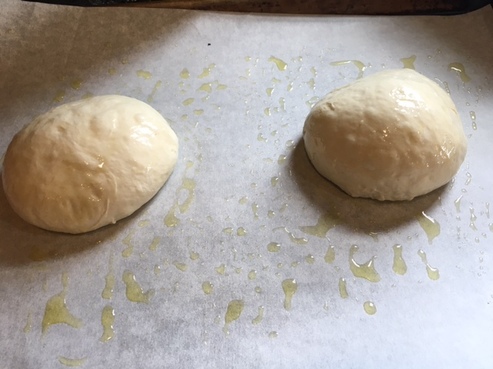 4. After an hour taking one ball of dough at a time, dip both sides of the dough ball in flour. Take a sheet of parchment, sprinkle it lightly with flour. Place the floured ball of dough on it and using your finger tips, dimple the dough.
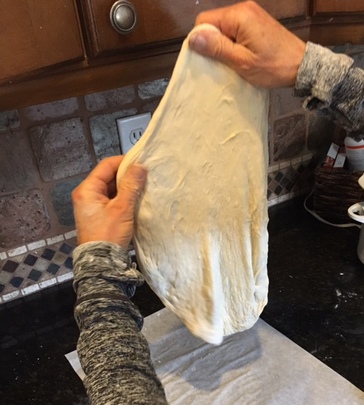
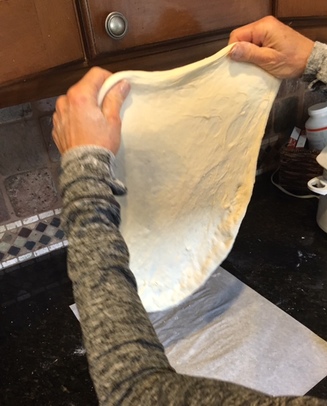
 5. Now pick up the dough with both hands (lightly floured) on the top edge of the dough. Using two hands, lift the dough in the air and letting gravity help you, spin the dough clockwise moving your hands around, until the dough has stretched out to about a 10" round. You can also keep it flat on your floured paper and stretch it by hand on the paper. I think you get a more even crust this way I demonstrate, but do what you are comfortable with. Just remember to keep your hands on the thick outer part of the dough and just allow the pull of gravity to do all the work, keeping the dough round in constant motion If your dough is really elastic. You may have to place the dough down on the floured paper and let it rest several minutes before trying again. Repeat with the other ball of dough. Also do not worry about getting a perfect round. A rustic shape is just as delicious!
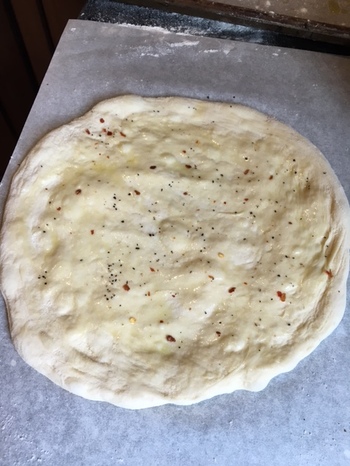
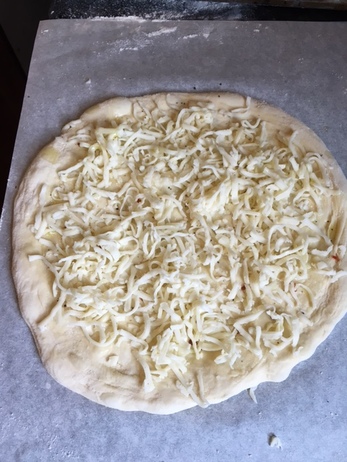
6. Once the dough has reached desired size, lay it gently back down on the floured parchment paper. 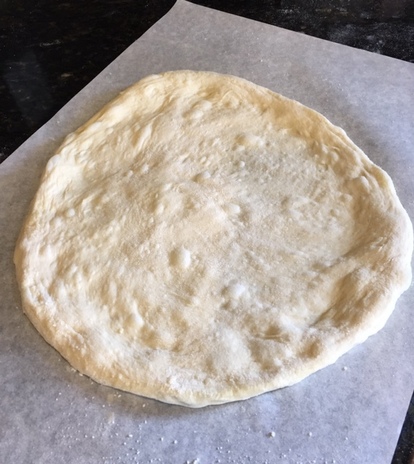 7. Lightly brush the tops with olive oil. Sprinkle each dough round lightly with a small pinch each of sea salt, black pepper and crushed red pepper. Top with mozzarella. Sprinkle each with 1 Tablespoon freshly grated Parmesan and drizzle very lightly with additional olive oil (optional).
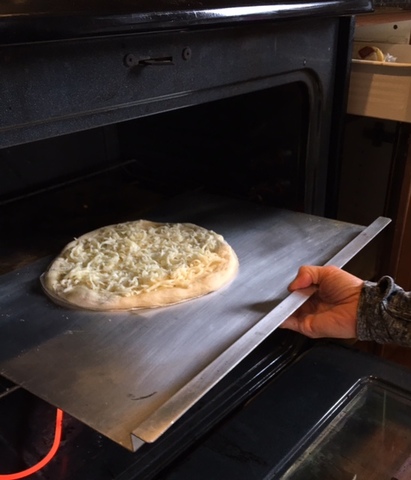
8. Trim parchment with scissors all around dough.  9. Using a pizza peel or rimless baking sheet, transfer pizzas to preheated pizza stones inside oven, parchment paper and all. This is my fool-proof "trick" for building and transferring a pizza into the oven. Works like a charm every time.
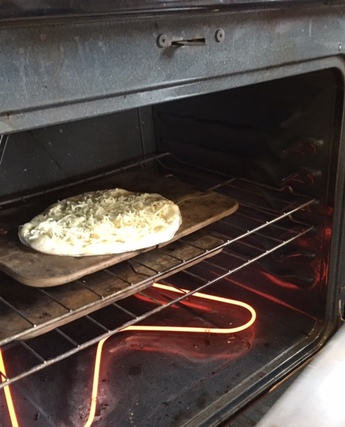
10. Let pizzas bake about 6-10 minutes. (Disclaimer: Every oven is a little different, so please check on your pizzas, rotate them as needed from top to bottom (using peel or rimless baking sheet) or rotate them around on their stone to ensure even baking. Your pizzas are done when the crust is golden and crackly, cheese is bubbly and maybe lightly browned in spots, and bottom of pizza is nicely golden. 11. While pizzas are baking whip up salad dressing: whisk together 2 Tablespoons Extra Virgin Olive Oil, lemon juice, pinch each salt and pepper, garlic and Dijon. Set aside. 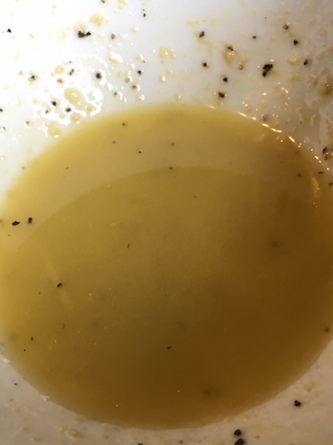 12. When done remove pizzas from oven and transfer to plates. 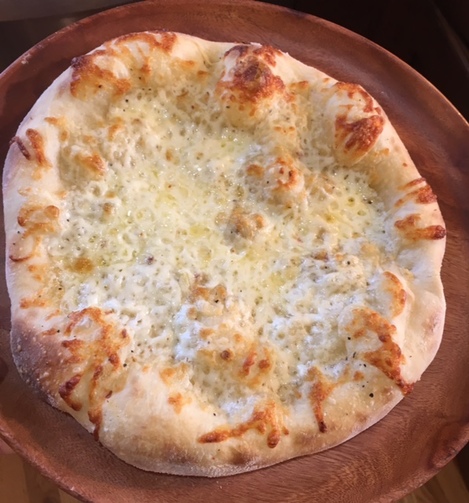 13. Immediately toss salad greens with dressing to taste. 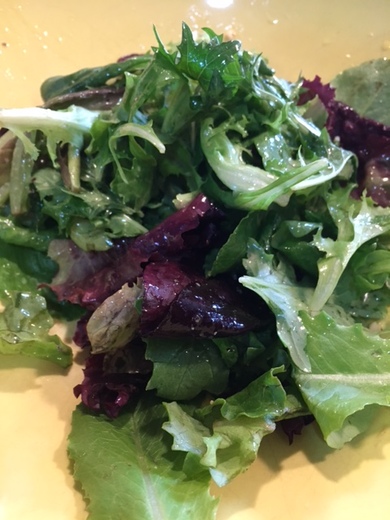 14. Once dressed, top hot pizzas with salad greens. Shave Parmesan cheese on top and serve. Dig in! 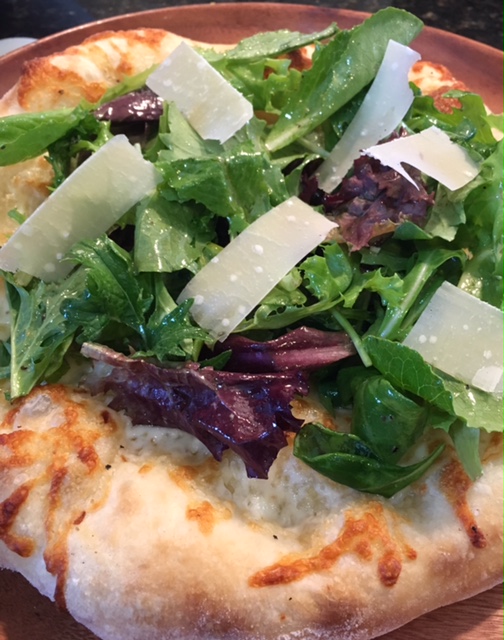 * if you are using home made dough (I have several favorites I will share with you another time) my suggestion is to let it rise slowly in refrigerator for several hours and possibly over-night to develop the best flavor. Don't punch it down, just gently divide the dough and roll into balls as instructed. The time on the counter is less about a second rise than it is about warming up the dough closer to room temp. However, if you have beat down the dough, you may need to let it sit out longer once you form into balls to allow the nice air bubbles to form again. These give the dough great character and lightness.
0 Comments
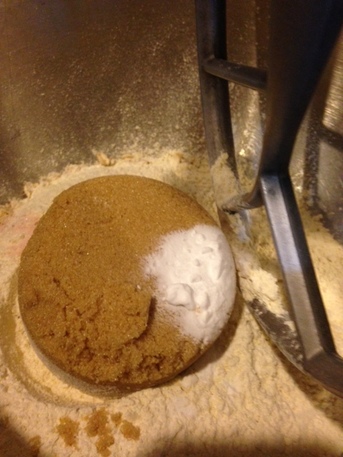
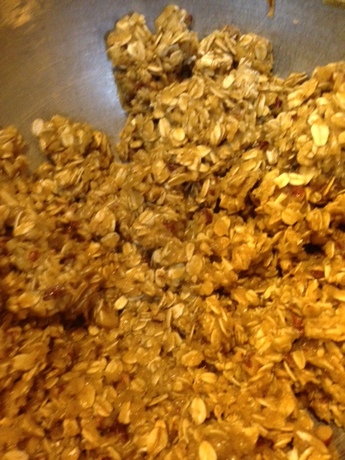
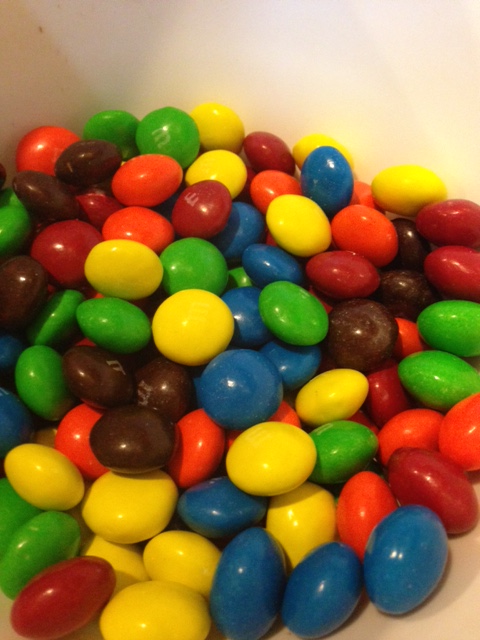
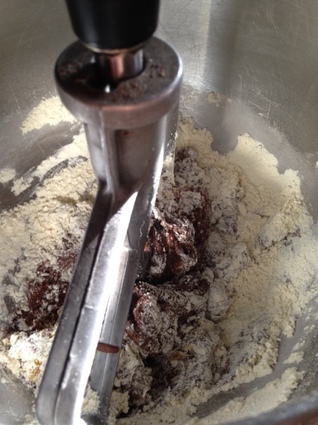
“Baking and love go hand in hand, for as one bakes a tasty treat and fills the room with its sweet aroma, the true joy is to take what has been made and share it with another.” - Heather Wolf, Kipnuk has a Birthday It's true, baking is no fun if the final result isn't going to be shared with anyone. Over the weekend we took a long road trip from our home in Colorado to visit our son who is at the University of Nebraska. He is playing club rugby for UNL and we hadn't had a chance to see him play yet. This past weekend was our opportunity, and we'd been looking forward to it for weeks. I'm firmly in the "food is love" camp, and so I wanted to bring him a treat that would survive the car ride, have a good shelf life and be conducive to sharing. Gooey Peanut Butter M&M Oat Bars fit the bill perfectly. This recipe is an adaptation of one I have been making for a long time. It originally appeared in a little cookbook I bought at a Southern Living at Home party years ago but called for regular Milk Chocolate M&M's. So feel free to make that substitution if you prefer. Each variation is pretty outrageously good! Gooey Peanut Butter M&M Oat Bars- makes 1- 9x13" pan 1 cup chopped pecans, lightly toasted (you could use dry roasted unsalted peanuts, too) but I prefer pecans) 1 cup light brown sugar, lightly packed 1 1/2 cups all-purpose flour (einkorn flour or gluten free flour may be substituted) 2 cups Old-Fashioned (Rolled) oats (use gluten free , if desired) 1/4 teaspoon fine sea salt 1 teaspoon baking soda 1 cup (8 ounces) unsalted butter, melted and cooled* 12 ounces (approx a full 1 1/2 cups) Peanut Butter M&M's , divided (or a mixture of Peanut Butter and Milk Chocolate, per your taste) 1- 14 ounce can sweetened condensed milk 1 Tablespoon creamy peanut butter (I like Jif) 1/8 teaspoon pure vanilla extract 1. Preheat oven to 375 degrees F. Line a 9x13" baking pan with aluminum foil; lightly grease or spray with non-stick baking spray. Set aside. 2. In the bowl of a stand mixer, combine pecans, flour, brown sugar, salt, baking powder and oats. Mix on low to combine.
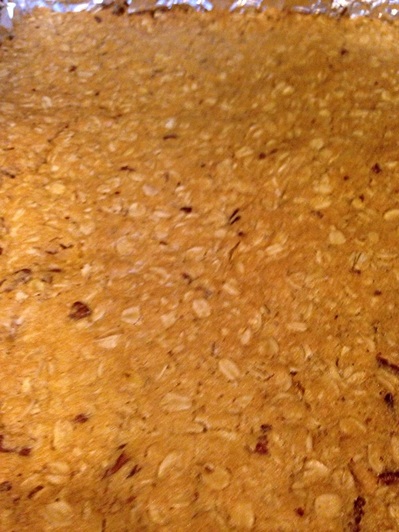
3. On low speed stir in butter until mixture is crumbly. Set aside 1 1/2 cups of crumbs. Press the remainder evenly into the prepared 9x13 pan. Bake at 375 degrees F for about 10 minutes until lightly golden. Remove from oven and let cool. Reduce oven temperature to 350 degrees F.
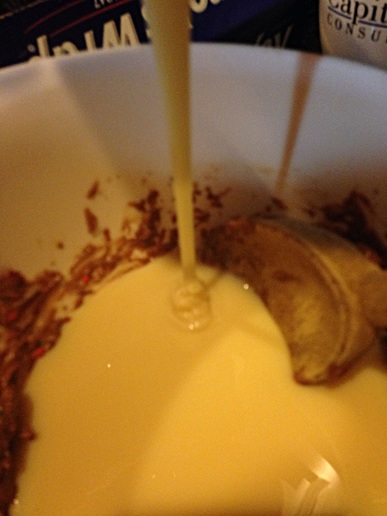
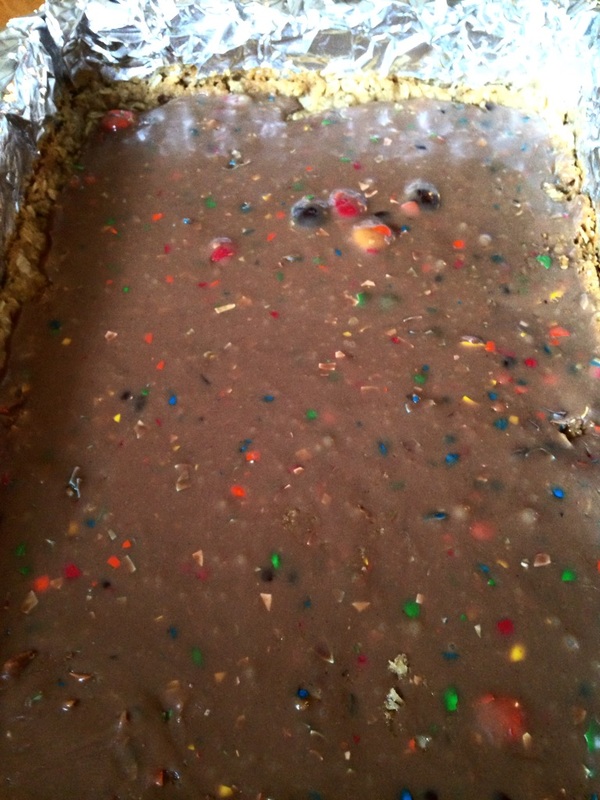
4. Meanwhile, place 8 ounces (approx 1 full cup) of Peanut Butter M&M's in a microwave safe bowl. Microwave on 50% power for 30 second intervals, pressing on candies with back of wooden spoon to mash between intervals, until candies are pretty much all melted with pieces of the candy shell speckling the mix). Stir in sweetened condensed milk, vanilla and peanut butter. Stir until well combined. Pour mixture over cooled base, leaving a small border around all sides.
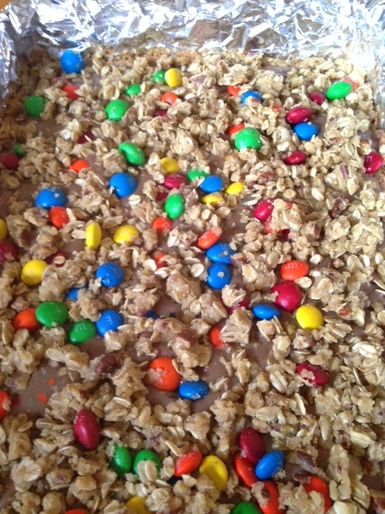
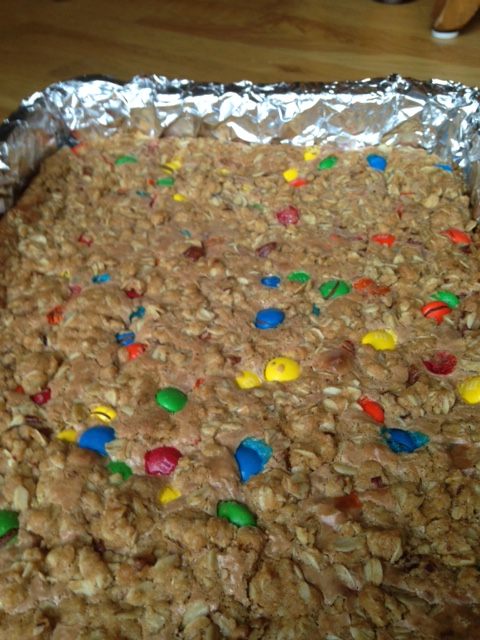
5. Combine reserved crumb mixture with remaining 4 ounces (approximately a full 1/2 cup) M&M candies. 6. Sprinkle crumbs evenly over chocolate-peanut butter mixture. Press lightly to adhere. Bake at 350 degrees for 18-20 minutes or until bars are set and nicely golden.
7. Let bars cool completely before cutting (to cut, remove bars from pan using foil ends. Peel off foil and cut bars into desired size). Bars keep well for 3-4 days, wrapped tightly in foil, at room temperature. They freeze beautifully, too, wrapped air-tight in foil and placed inside zip top freezer bags for up to 2 months. 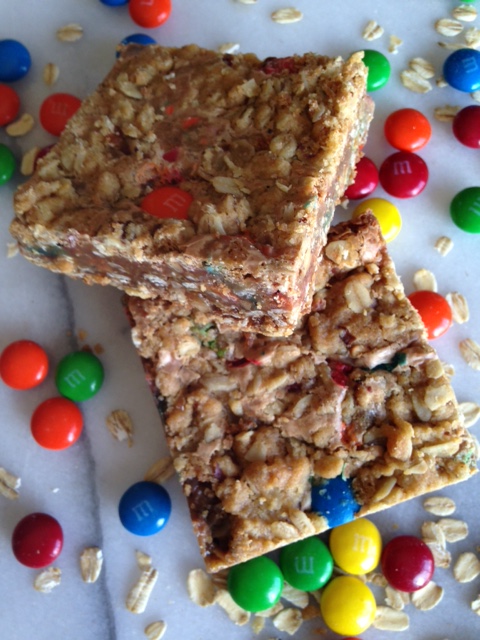 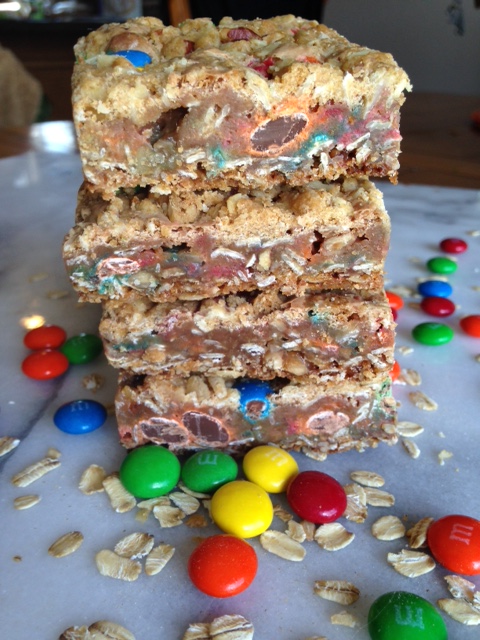 * Note: if using Einkorn flour reduce butter to 7 ounces. Proceed as for bars above.
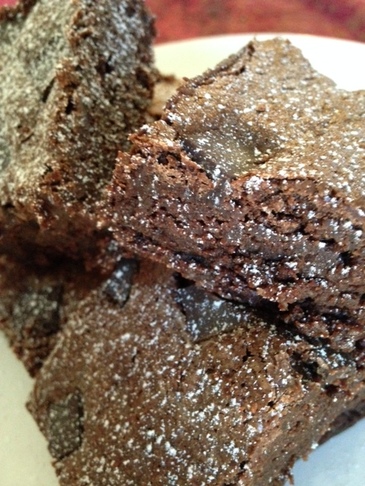
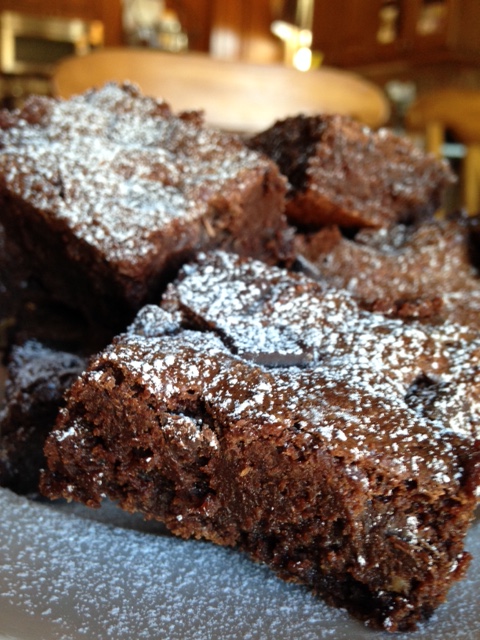
“There is nothing better than a friend, unless it is a friend with chocolate.” -Linda Grayson I am so all about the chocolate, always have been. I grew up in a home where not everything was chocolate (dad always wanted cherry pie for his birthday for example), but it actually seemed like it was. I was out of college before I even knew what a snickerdoodle was (chocolate chip cookies and brownies in rotation were our most common desserts). Now I enjoy lots of different flavors but chocolate remains my true love. I've been working on my chocolate chip cookie and brownie recipes for quite some time. Up until recently I was pretty happy with my current recipes. Then my daughter was diagnosed with gluten sensitivity, and I was also advised to stay clear of gluten as I try to resolve some auto-immune issues. Personally I am not a huge fan of gluten-free baked goods. I find the taste starchy and off-putting. For some reason I find the gluten free flours bother my tummy a bit, too. I have used Bob 's Red Mill 1 to 1 Gluten Free baking flour with really great results, but again, the taste is just not what I am looking for. It's just my personal experience. You may feel differently, and it's all good. So when I started thinking about gluten free brownies, the thought crossed my mind to make them in the style of flourless chocolate cakes, some of which use ground almonds in place of flour to add structure. So I did just that, and not only are they wonderful, I believe they are now my favorite brownie ever! The chocolate flavor is more vibrant than the version with all -purpose flour (which is an awesome brownie anyhow). So unless you are allergic to nuts, these grain free, gluten free (and decadently fudgey) brownies make one hell of a dessert! If you are allergic to nuts, don't worry, I tell you how much all purpose flour to use if you want to make them the traditional way, and you will NOT be disappointed!. Coming on Monday I'll be sharing an amazing dessert to use the brownies in-so stay tuned! It's a 2 for 1! Best Ever Fudge Brownies- makes 1- 9x13" pan 1 1/2 cups plus 1 Tablespoon almond flour (or you can use 1 1/3 cups all-purpose or 1:1 Gluten Free flour or Einkorn flour, if you prefer) 1/2 teaspoon baking powder 1 teaspoon kosher salt 1/8 teaspoon instant espresso powder 4 ounces unsweetened chocolate, chopped 8 ounces bittersweet chocolate, chopped 2 1/2 sticks (10 ounces) unsalted butter, cubed 2 1/2 cups granulated sugar 4 teaspoons pure vanilla extract 6 large eggs, room temperature 2-3 Tbsp whole milk or heavy cream (optional) 1 cup of chocolate chips or chunks (optional) Powdered sugar for dusting (optional) 1. Preheat oven to 325 degrees F. Line a 9x13" baking pan with aluminum foil. Spray with non-stick cooking spray; set aside. 2. With a whisk combine almond flour (OR all-purpose OR gluten-free flour, as you wish), baking powder, salt and espresso powder in a medium bowl; set aside. 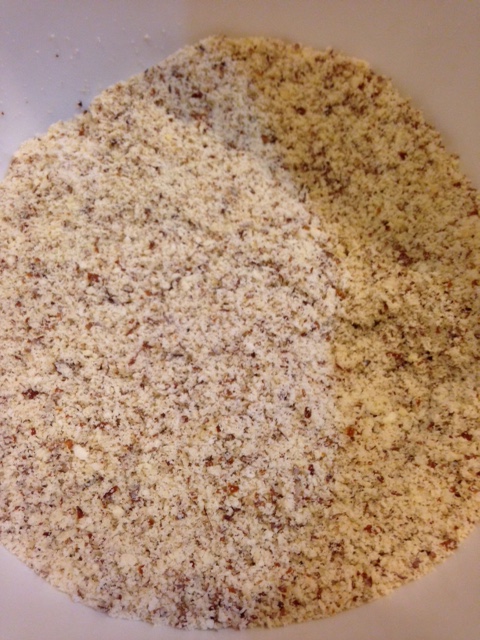 3. In a microwave safe bowl, combine the butter, unsweetened and bittersweet chocolates. Gently melt the chocolate-butter mixture in the microwave, at 1 minute intervals until completely melted and smooth. 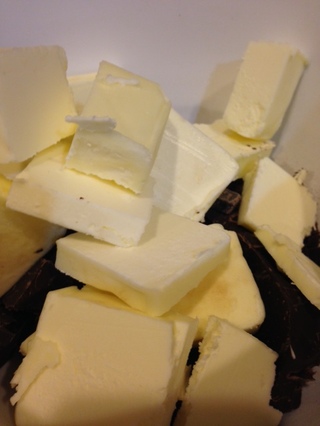 4. Whisk in the sugar until very well combined. Whisk in eggs, 2 at a time, and vanilla. Whisk until smooth. 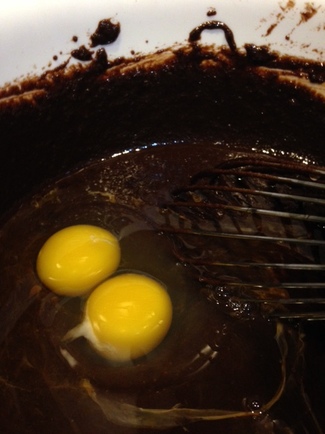 5. With a spatula or wooden spoon, stir in the almond flour mixture (or whatever flour you chose). 6. Dump brownie batter into prepared pan, smooth top to level it out . I like to lightly brush the top with milk or cream to keep it soft (totally optional). Sprinkle chocolate chips or chunks evenly on top if using. 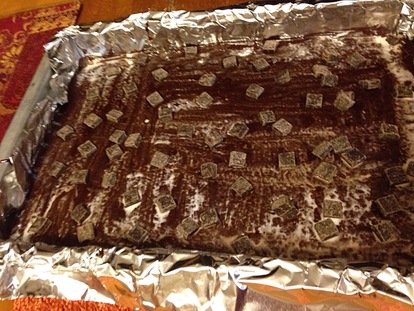 7. Bake the brownies on the center rack of the preheated oven for 30-35 minutes or until a toothpick inserted in the center comes out with a few moist crumbs clinging to it. 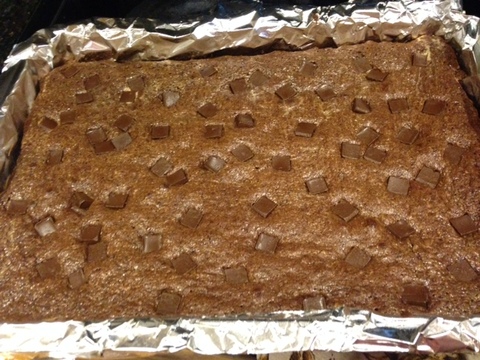 8. Let cool completely, then refrigerate for 3 hours or over-night before cutting. 9. Remove brownies from pan using the foil to help. Remove the foil from the brownies and cut into desired sized brownies. I like to trim the edges for nice neat squares (the pastry chef in me plus you need a snack about now, don't you?). Dust with powdered sugar, if desired. 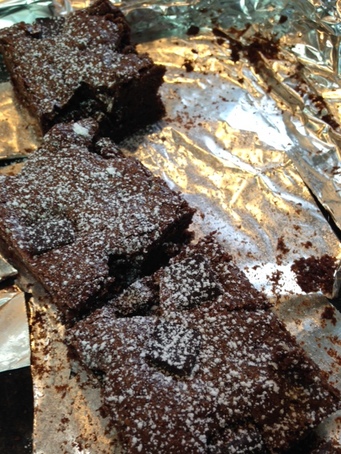 10. Grab a glass of cold milk and enjoy!
Note: I prefer to store these well-wrapped in the refrigerator to preserve freshness longer.
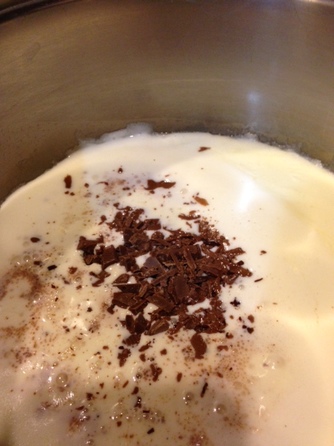
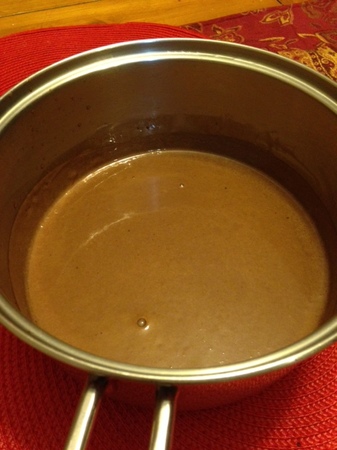
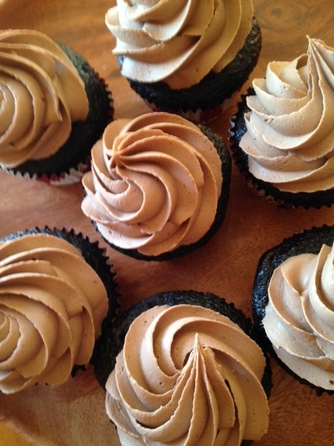
Remember to stop back on Monday for a super yummy dessert you can use scraps or chunks of these brownies in. I can't wait to share it with you!♥ “Love is like a hollowed out piece of chocolate, filled with melted music.” -Jarod Kintz Tomorrow is my daughter's 17th birthday and Valentine's Day is not far behind. For me any celebration calls for chocolate. So I thought I'd share my technique for making an easy showstopper of a cupcake that you can whip up in time for Valentine's day or any time you need a little chocolate indulgence. You'll need to begin the recipe 24 hours ahead of time, but that's just to allow for refrigeration and time for the delightful cream (sooo delicious) to set up. Start with a baker's dozen of chocolate cupcakes, homemade (best) or store-bought. If you have more, simply increase the ingredients accordingly.Use the best quality chocolate you can afford as the flavor will be front and center. You will need a scale for this recipe as well that measures in both grams and ounces. Showstopper Cupcakes 13 prepared chocolate cupcakes, cooled 500 grams Heavy Cream pinch instant espresso powder (optional) 180 grams good quality Milk Chocolate(Lindt, Valrhona, El Rey or Callebaut are some brands to consider), finely chopped 4 ounces good quality Semi-sweet or Bittersweet Chocolate, finely chopped 1. In a medium saucepan, bring the cream to a boil.. Remove from heat and immediately add chopped milk chocolate and espresso powder to cream. Let sit 5 minutes, covered. Gently whisk until combined and smooth.
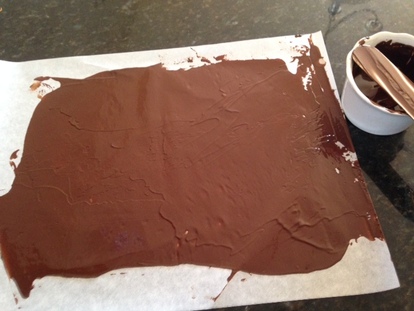
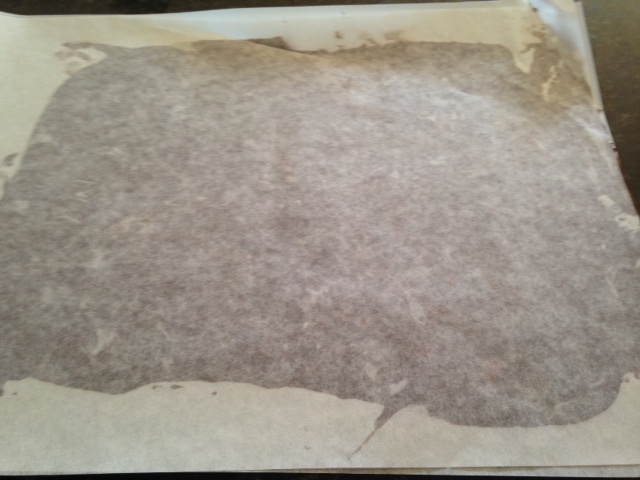
2. Immediately transfer mixture to a mixing bowl, place a piece of plastic wrap directly on the surface. Poke a slit in plastic wrap to allow steam to escape. Place in refrigerator for 24 hours. 3. Meanwhile, gently melt the 4 ounces of semi-sweet or bittersweet chocolate. Have 4 sheets of parchment paper nearby. 4. Lay out two sheets of parchment paper on a smooth, level surface. Pour half of chocolate onto one sheet. With an off-set spatula, spread the chocolate into a thin, even layer. Place another layer of parchment on top of chocolate, smoothing it out.
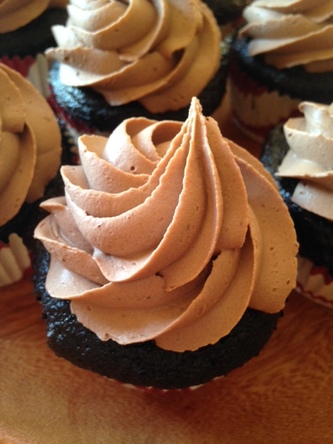
5. Roll chocolate sheet up and insert into an empty paper towel or toilet tissue tube. 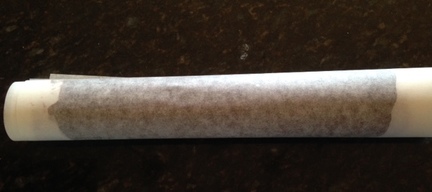 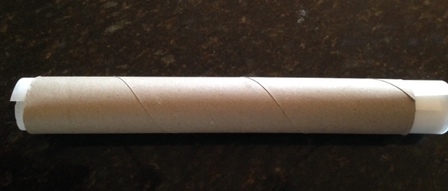 6. Repeat with the other half of the chocolate. Place both rolls in the freezer to set, for at least 30 minutes or over-night. 7. After 24 hours, remove the cream mixture from the fridge. With a hand-held or stand mixer, whip the chocolate cream on medium speed until thickened and the consistency is somewhere between whipped cream and soft mousse. It will be fairly thick. 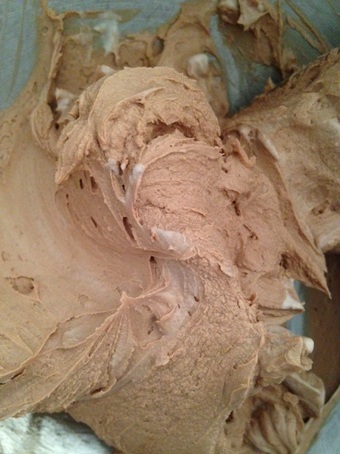 8. Remove chocolate rolls from freezer. On a clean sheet pan, unwrap the rolls, leaving shards of chocolate to use. Place sheet pan in freezer until ready to use. 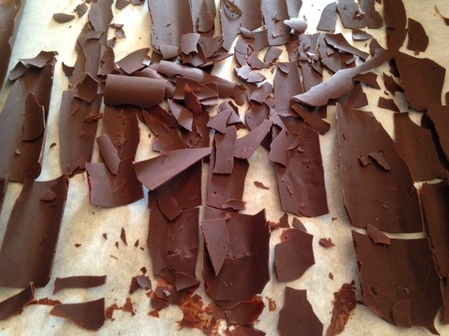 9. Meanwhile, place whipped milk chocolate cream in a pastry bag fitted with a large star tip. Pipe the cream mixture on top of each cupcakes in a generous rosette.
10. Remove chocolate shards from freezer. Top each cupcake with the chocolate shards as desired. Sprinkle tops of cupcakes lightly with powdered sugar. Eh voila! "Oohs" and "aahs" will abound! Share the love! ♥ 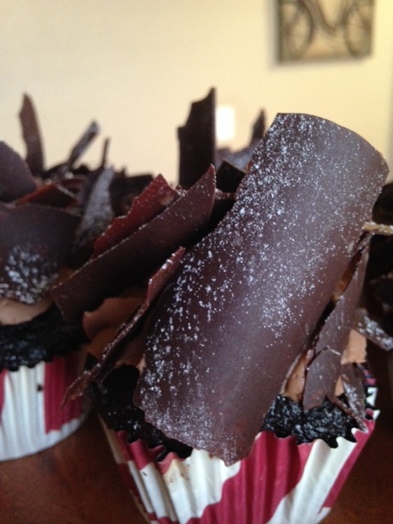 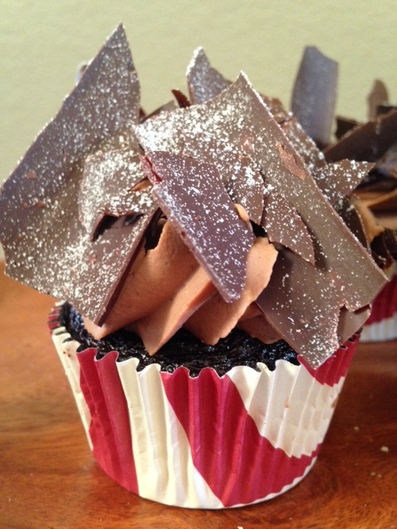 Note:
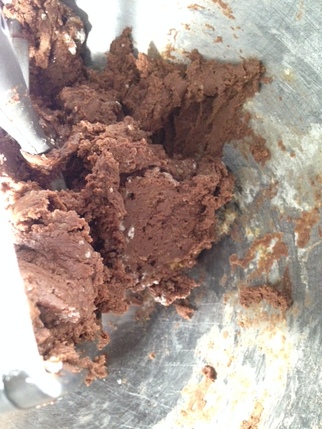
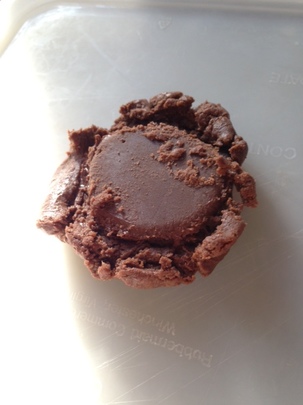
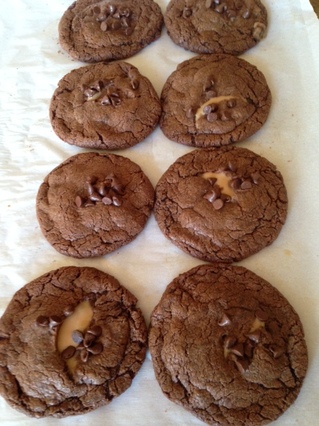
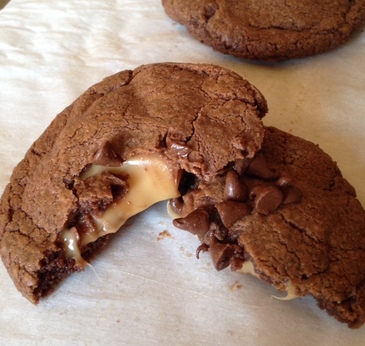
Cupcakes are best eaten within 24 hours. The cream will start to wilt in a day or two. Keep cupcakes stored in the refrigerator. Remove from refrigerator and let sit at room temp 20-30 minutes before serving. "You can't make everyone happy. You aren't a jar of Nutella." - unknown It's hard to find anyone who doesn't seem to like Nutella, that European chocolate-hazelnut spread. It was popular in Europe long before it came here and it has really taken the US by storm. Now grocer shelves are lined with the real deal and plenty of knock-offs, too. Have you noticed? Recently, I was going through my Facebook feed and came across a post from King Arthur Flour company for a cookie that turned out to be a prize-winner in their office (imagine the competition there). It looked so good I thought I should try it. They call them Nutella Sea Salt Stuffies, and you can find the recipe here. I adapted it just a tiny bit and made a second variation which was even more well-received by my family. They reported back that the ratio of crispy to fudgy/chewy was better with the caramel filled version.Try both and see what you think. The recipe is super simple and requires just a few ingredients. So grab everything you need and let's get baking! Stuffed Nutella Cookies For the filling: 1/2 cup (5 1/2 ounces) Nutella For the Dough: 1 cup (10 1/2 ounces ) Nutella 1 cup (4 1/2 ounces) all-purpose flour* 1 large egg 1/4 teaspoon instant espresso powder 1/4 teaspoon sea salt 1/4 cup Hazelnuts, toasted and skinned, chopped fine 1. For the filling: Scoop out 2 teaspoons of Nutella into 12 mounds on a tray lined with plastic or parchment and freeze until firm, a few hours or over-night 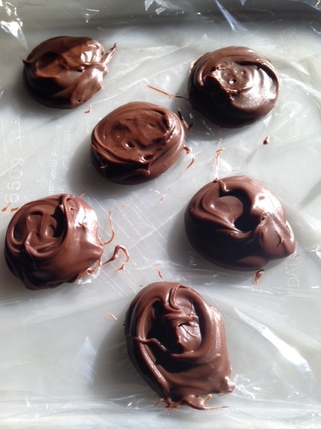 2. For the dough: Preheat your oven to 350 Degrees F. In a stand mixer or by hand, mix together the remaining 1 cup of Nutella, flour, sea salt, egg and espresso powder. Mix until a cohesive dough is formed.
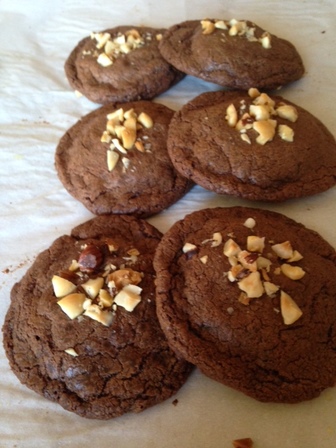
3. Scoop out heaping tablespoons of dough and wrap the dough around a mound of Nutella. Enclosing it completely. Place the dough bundles on parchment-Lined cookie sheet, about 2" apart, and sprinkle each with the chopped hazelnuts. Pat down lightly on the nuts to adhere.
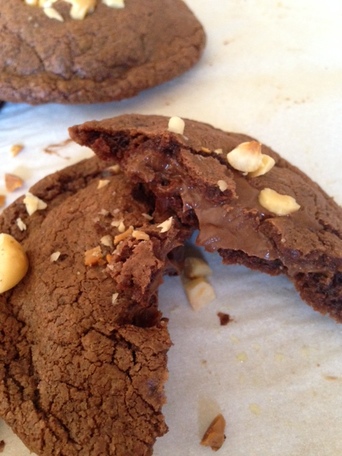
4. Bake cookies in preheated oven for 8- 10 minutes. Allow to cool completely. Take a bite!
Variation: Chocolate-Caramel Filled Nutella Cookies 1. Use the same dough as above. Substitute Caramel filled chocolate , such as Rolos, or Cadbury caramel filled chocolate squares for the Nutella filling 2. Form the cookies the same way, patting down on the dough so they aren't completely ball shaped before baking. 3. Sprinkle the tops of the cookies with mini chocolate chips. 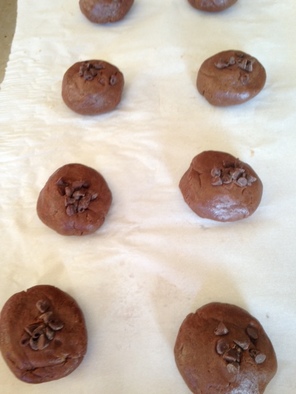 4. Bake as directed above. 5. Swoon with delight when you bite into one. ♥
* I used Einkorn flour for my gluten sensitive daughter. You can find out more about Einkorn here.
|

Archives
December 2019
Categories
All
|


 RSS Feed
