|
"Art is the highest form of hope." -Gerhard Richter Recently in the aftermath of our US election, a group of artists on Instagram created the hashtag #artistforlove and created art showing a love message to some of the more typically disenfranchised citizens, as they saw them. You can search that hashtag and see all the art that comes up. I joined in this creative exercise and here is the piece I created.I really love it, as it was so organic and unexpected. 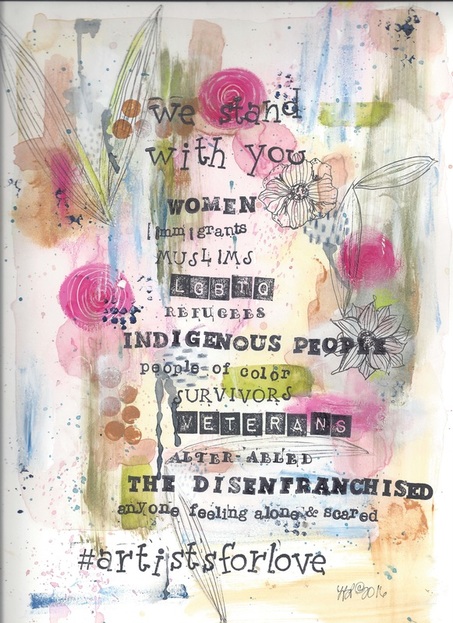 If you feel drawn to it and would like to print a copy for your personal use, you may download the PDF file below at no charge as my gift to you. I don't have the best scanner, so I am hoping the print quality is acceptable. I retain all rights to the art and this image may not be reproduced for any other purposes without my express consent. Thank you for respecting this. Enjoy the art and spread love♥
0 Comments
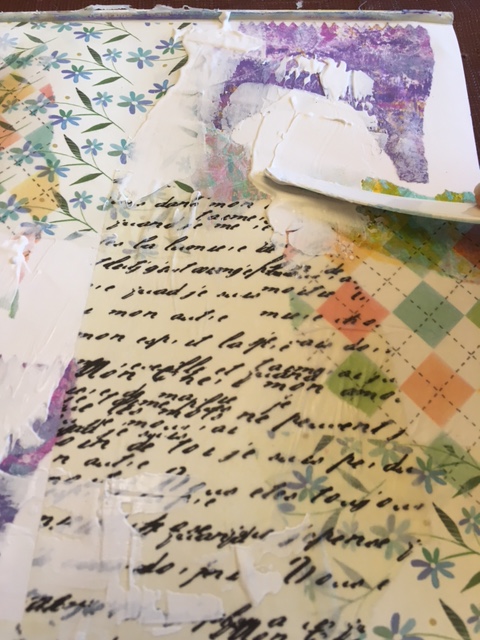
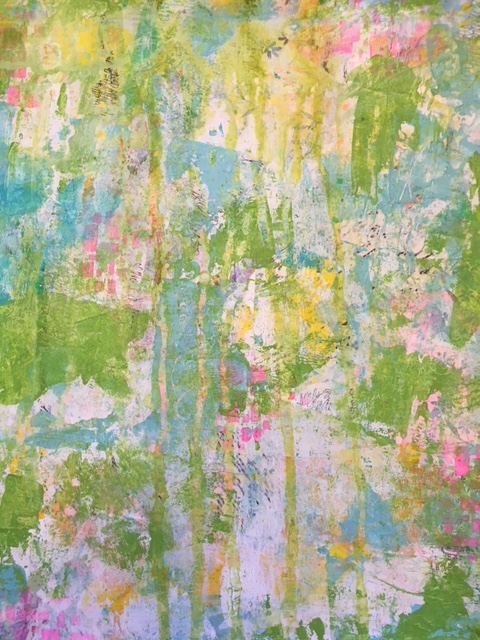
"I'm always thinking about creating. My future starts when I wake up every morning... Every day I find something creative to do with my life. " - Miles Davis If you have been following my blog for the past several months, you may know a little bit about my art journey. If not, and you want to know more, you can read about it here. Ifeel like my growth in art has taken a leap and that has me very excited. I am very much still in student mode and learning and trying all kinds of things. I find I am a lot less nervous to try new things than ever before. I think that helps. I am especially intrigued by intuitive painting, especially in the style of Tracy Verdugo, Flora Bowley and others.I have been super scared to try it on my own. Then I found this YouTube video from Willowing (artist Tamara La Porte) that is leaning in that direction (Donna Downey also has a couple), and thought I could tackle that. If you want to watch it, you will find it here. So that's what I attempted to do and here is the result. I kind of love it. 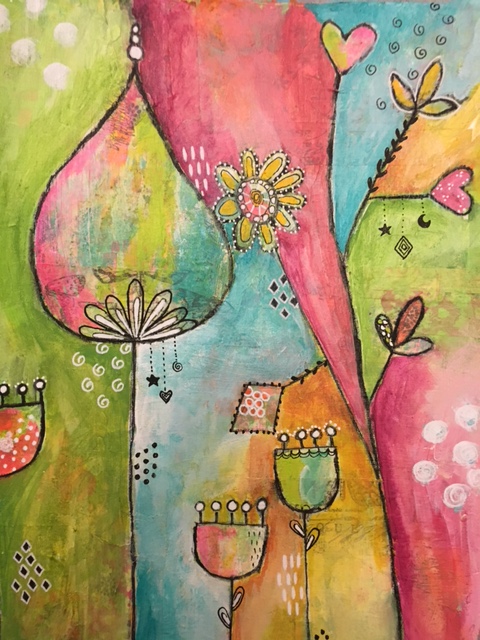 If you are newish to art like I am , I want to encourage you to try things. In the end it is only paint and paper and can be covered up and re-tried. I know I have gone into creating something with the expectation that it comes out "good." It's ok if it isn't good. I know I learn so much just by trying (yes I'd still like all my art to be good, but I will get there eventually!). What do you say we give this a try together? 1. First I started by collaging a variety of papers (gelli prints, tissue paper, scrapbook paper, book text...) to a piece of Bristol Vellum paper using Liquitex Liquid Matte Medium (you can use a glue stick, mod podge, etc.) The order and choice is completely random, though I did try to repeat the type of paper in a few places around the paper as you will see. 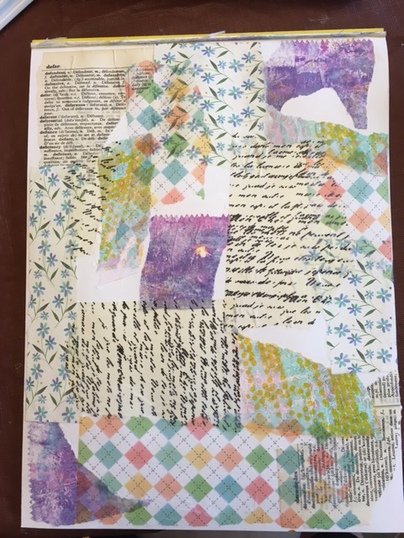 2. Then with a palette knife, I spread some Liquitex gesso over most of the piece, letting it have some texture here and there. It helps push the patterns back into the paper and also provides some "tooth" for the upcoming paint layers to adhere to.
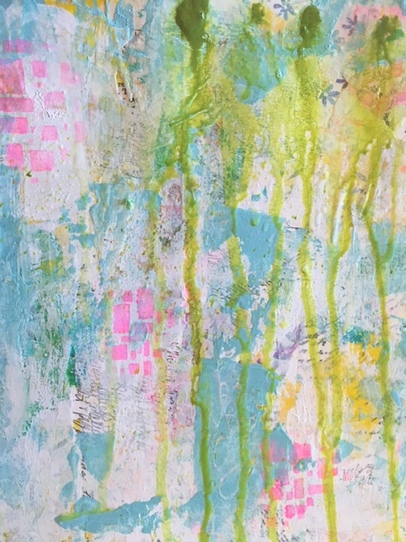
3. Then I added some scribble text here and there on any white space, alternating horizontal and vertical placement. It's completely optional, but I like the way it looks. I learned about this style of writing from Dina Wakely. Its scribble journaling. All my thoughts and feeling are there, but you can't really read it. most of it will be covered up anyhow. 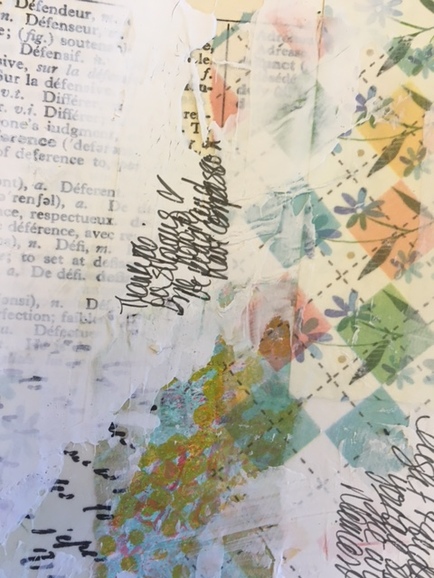 4. Then with a palette knife and a brayer, I started adding some paint layers.I used Golden Artist acrylics and Martha Stewart Craft paint. 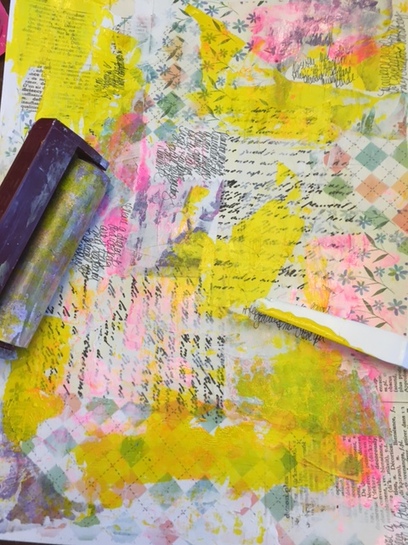 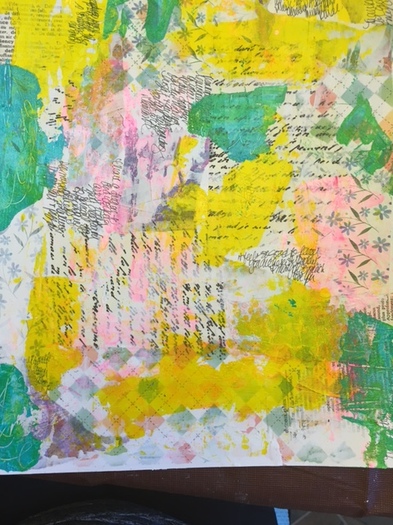 5. I also made some marks with the tip of a wooden skewer for added texture as I went along, completely random. Obviously you have to do that in wet paint.. 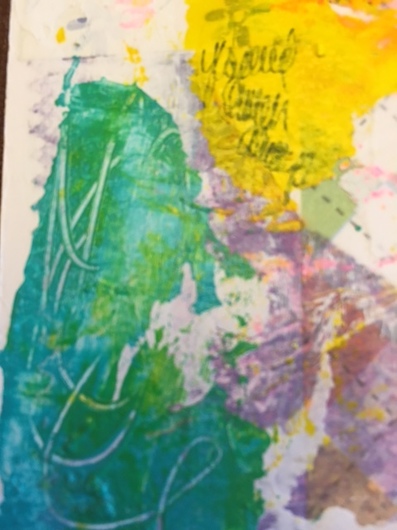 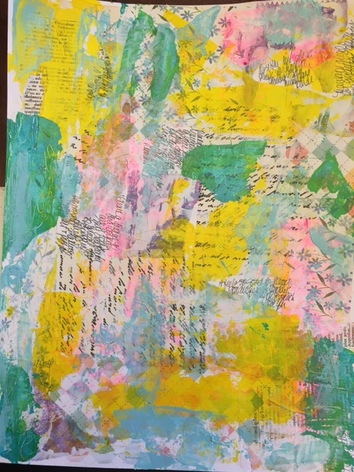 6. Next I added white paint with a brayer to once again, punch back all this craziness and give the piece some cohesiveness. It makes a big difference, don't you think? Next I added some more paint, this time through a stencil, using a make-up sponge (I buy them at the dollar store). 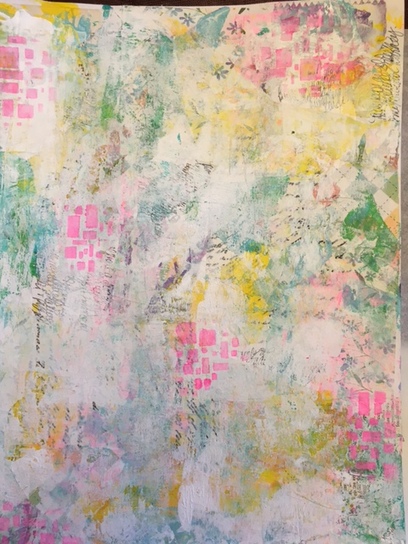 7. Then I added some drips using a Golden Fluid acrylic in Green gold spritzed with water and added some more paint with my palette knife.
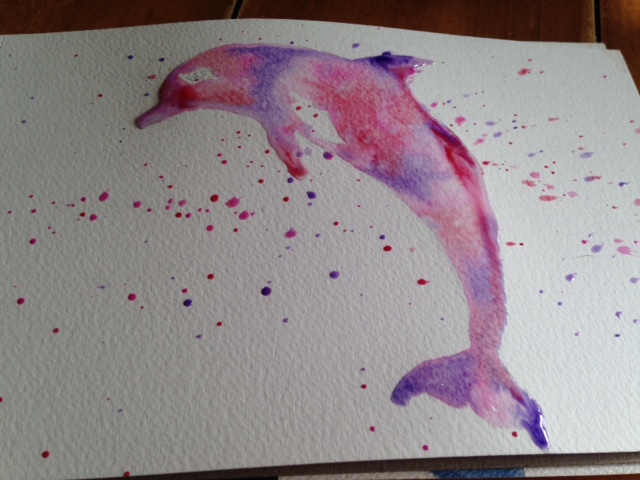
8. I patted back some of the drips with a baby wipe before proceeding with more stenciled paint. It's looking kind of crazy again (but so fun to do all this!). 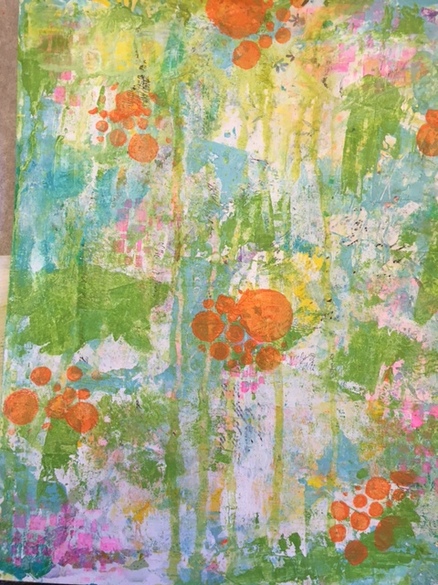 9. Next I added some washi tape pieces then a layer of Liquitex clear gesso. It helps glue the tape down and adds a little grit to the surface for future layers, but dries absolutely clear and matte. You could use regular matte medium here, too. 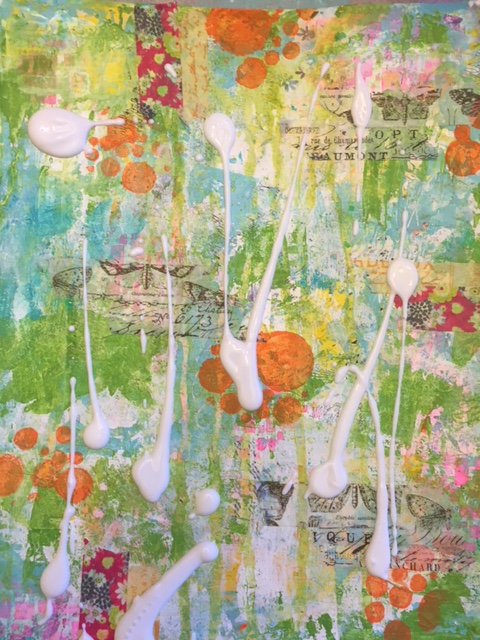 10. Up next some more white paint applied with my brayer or maybe just my fingers (I love to use my fingers) to try and unify the piece once again. 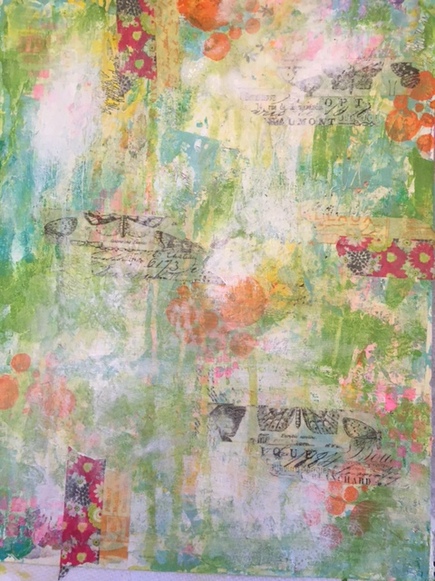 11. Now for the scary part- doodling the design. I used a Stabilo marks all penicl in black which reacts with water. More on that later. I ended up also adding another funky flower half in the lower left hand corner of the piece before adding more paint. 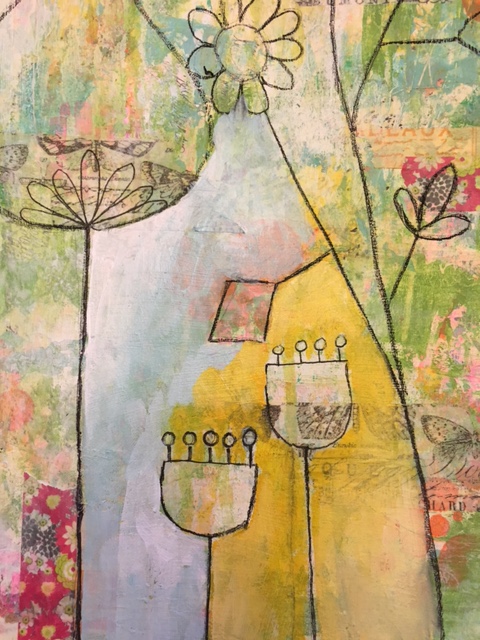 12. Now I started adding paint in blocks, paying attention, to the best of my ability and untrained eye, to lights and darks and using Golden's Fluid titanium white paint for some blending, too.I used my fingers and brushes for this. I was careful to try and not get paint on the Stabilo lines as even the paint would activate the pigment in the pencil. I wasn't perfect. Later on I went in and activated the pencil lines to make them darker using a waterbrush. 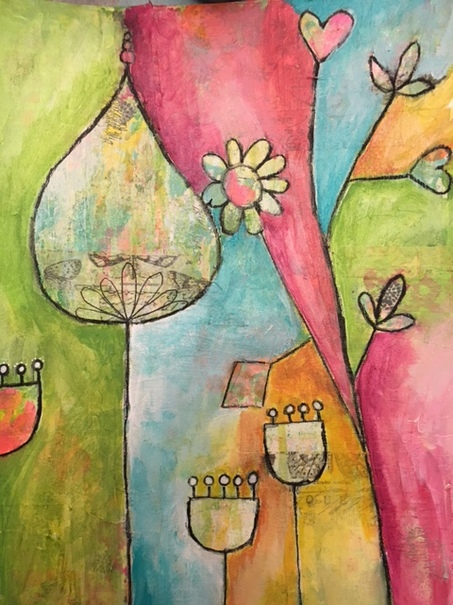 13. i continued adding/blending paints and added some doodles (let your imagination fly) with my Sharpie White paint marker and my black Sharpie (posca pens would be another great choice). Here is the finished piece as seen earlier.  14. Here are som close ups of different sections so you can see how the layers still show through, giving visual interest to the piece (so says me!). Isn't that fun?!! 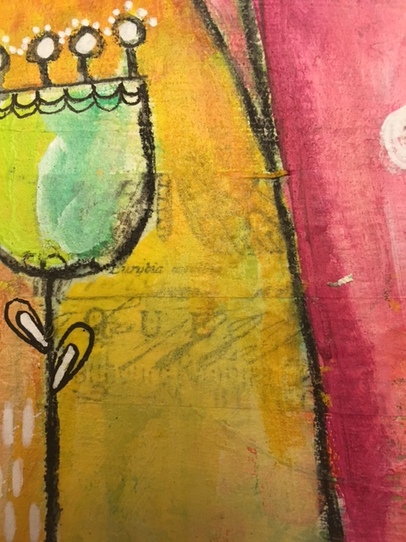 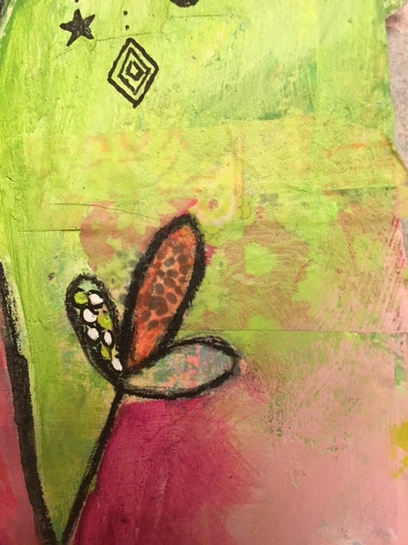 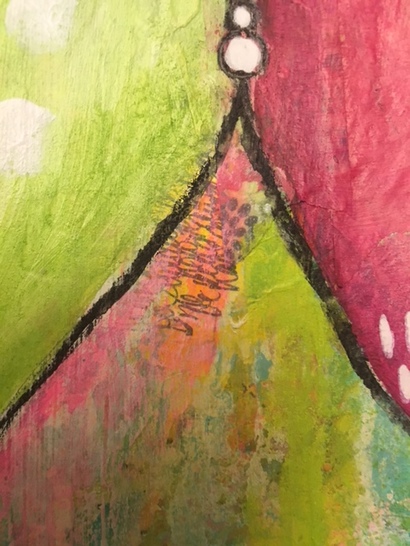 “There is no right or wrong when it comes to making art. Making sure that you have fun is the most important part. Splash a little paint, draw a little line. Just make sure that you have fun each and every time.” -Mickey Mouse What luck finding that quote today! I think it sums up how I feel about art more and more. I am a newbie at this art thing, a life-long creative person, but artist? I don't think so. My tag line is that I doubt that I'll ever be a "fine" artist, but I always hope to be a "fun" artist! How about you? For the last 2 years plus, since I have been practicing it more and more, art has been the creative outlet I have needed. It has brought messages to me that I want or needed to hear. It has been colorful, fraught with mistakes, full of super wonderful surprises and most of all fun! I once heard that the best way to learn something is to teach someone else. So that's why you have me, a very under-qualified teacher, attempting to teach you an art lesson! Ha! So here we go , students together! About a year ago I took a beginner watercolor workshop with a local Artist (that would be capital A artist!) Deb Groesser. She was fun and delightful in every way. I already knew her a bit as I had worked with her partner at a previous job. She is one of the nicest people anywhere, and her watercolor art is very impressive and beautiful, to say the least. She loves watercolor and she wanted us, her students, to love watercolor. The one sure way to get us to love it was for us to have success with it (such a tricky one she is!). So she taught us a technique whereby we took an outline of a subject, in this case a rooster, we flooded the image with water and proceeded to splash color on it fairly willy nilly. And voila...we made art! 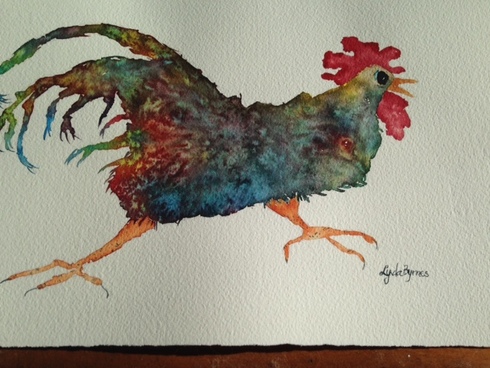 Pretty cool, don't you think? I know I thought so! I can hear you now, "but I can't draw anything like that." I know-me neither! So another trick of the trade she taught us is to draw, if you can, or cheat and trace the image using graphite paper. Who knew? This stuff is a game changer! I bought some at a local art supply store, but it is available on line, too. So I totally traced my image and then did the watercolor part. Another trick for this technique is to use cold press watercolor paper. This particular rooster was done on Arches 140 lb cold press paper, but any cold press paper of that weight should work for this technique. The cold press paper has rougher texture to it and allows the paint to be absorbed into the fibers more so than hot press (hot press is very smooth and the water and paint tend to lie on top more. I LOVE hot press paper, but not so much here). Lastly, in order to have the best result with this technique, you want to use colors that "play well together" (i.e. don't make mud). In the rooster example above, Deb had us use the primary colors, blue, red and yellow. Of course those three colors make all the other colors in the color wheel. If you don't want to play with primary colors, then use colors in the same family, or those that are next to each other on the color wheel. I remember using Winsor Newton artist paints in her class, but not the specific color names. And just look at the vibrant results achieved! The texture you see in some areas was achieved by sprinkling salt on the wet paint and waiting...and waiting...and waiting for it to dry. I'll show you more in a bit. Please know you don't need any fancy artist watercolors to have success with this technique, but you may find you don't get the same color vibrancy as you would with artist colors if you use student grade or craft watercolors. But for practice? Who cares (another piece of wisdom-never let your lack of supplies, keep you from making art)! In the time since taking Deb's class, I didn't play much with this technique. Right after the class I made this piece, a little bunny. Pretty cute, huh?  I actually like it quite a lot (and drew it free hand, too!). But you can see I also made a little mud. Orange and purple for example , are opposites on the color wheel, and don't play all that nice together. However, I don't think it looks all that bad here. And it's just a small piece of inexpensive watercolor paper. A do over would be easy. Then just recently I saw an amazing version of this technique on YouTube by an artist who goes by the name of Coco Bee Art. I encourage you to watch it. It is pure happy. Anyhow that video inspired me to try this technique again. This was the result. I am so super loving this one! 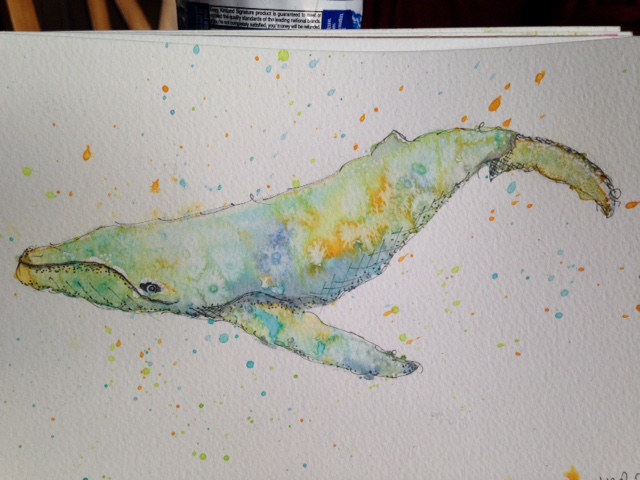 I did cheat and used graphite paper to get the image of the whale on my watercolor paper. No shame! Then this watercolor whale inspired me to try another version and seeing if I could make a tutorial from it. And boy did I choose well because unlike the whale which I love so completely, in the tutorial here I had several "oops" moments, so you will get to learn from my mistakes. Hooray! Shall we get started? For this tutorial we will be making a dolphin that will turn out to look like this, maybe (or even better?)!! 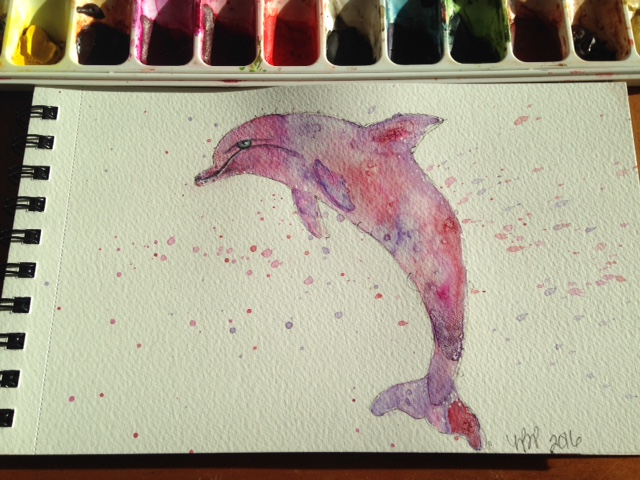 Step 1: Draw or trace your image (you can search Google for one you like , if you don't have one) onto cold press watercolor paper, any size you like. 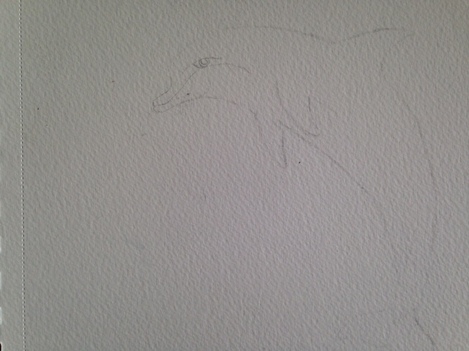 The image is faint because you don't want the pencil or graphite lines to show through the finished work. So use a light hand! Tip: Pencil under watercolor does not erase. Pencil over watercolor will erase. Step 2: Prepare your paint colors. Make enough washes of each color to complete your project. You will need to work fast once you get going.I chose purple, pink and red for this project. Make the washes as vibrant or as pale as you like (you can always add pigment but can't really take it away so easily with this technique), remembering that watercolor always dries lighter. 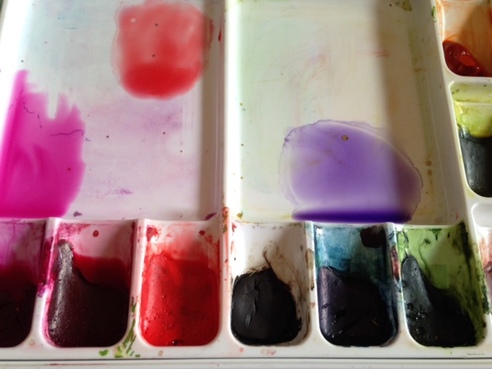 Step 3: Once you have your washes ready, take your brush and wet the area you want the paint to flow in. Notice I left one of the fins and the eye area dry so I could go back in later to finish them. I did not make my dolphin as wet as I was shown to do in the rooster, and that is a choice you can make for yourself. 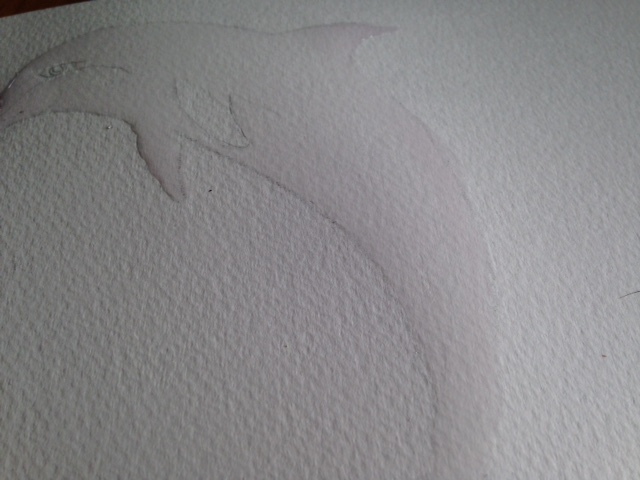 Step 4: Ok ready? Now drop your paint using a round brush you feel comfortable with for the size of the piece you are working on (you may want a brush for each color to make things go faster). You need to act quickly as you don't want the water to dry before you have been able to get color everywhere. I couldn't show you a step by step but you can see where the different colors are and how they start blending together for fun effects. I also used this time to splash the colors over the painting, using the same round brushes loaded with paint, as I had done with my whale. It adds playfullness, or at least I think so. This is also the time to add more color (more pigment) if you think you maybe need/want to intensify it.
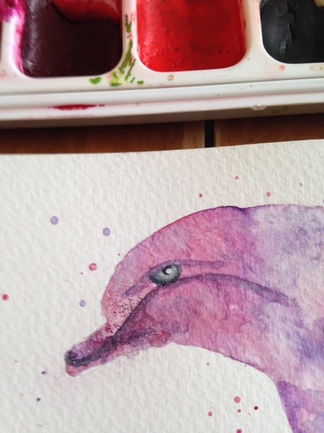
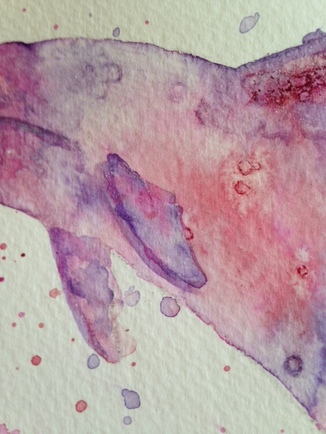
Step 5: Take salt (I used kosher salt here, but tables salt is fine) and sprinkle it sparingly over your image while it is still wet (I didn't add it to my splatters). I also messed up and got to much on some areas ( see the dorsal fin). Oh, well....  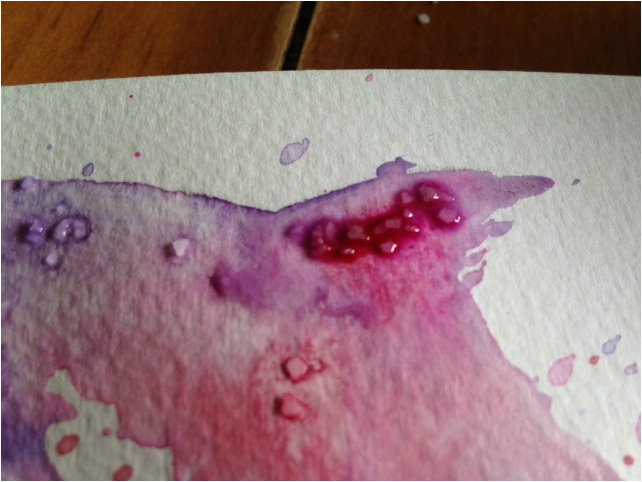 Step 6: Let it dry. Walk away, go for a walk, do laundry, have a snack, check your Facebook page... do anything except touch your art . Let. It. Dry. Completely. Yes, completely. Step 7: Sure it's dry? Ok, well then just take your hand and wipe away the salt! 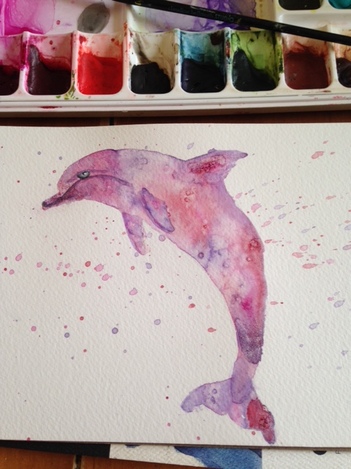 Step 8: Then add the detail to the eye, remaining fin and mouth (see how I messed that up? Don't do like I did. That was a result of not seeing my pencil line AND not consulting my image for how the mouth actually went. Oy!). For the eye you can use paint or pens. I used both. For the pen I used a Micron 01 and a Sharpie white paint pen. For the watercolor I used Payne's Grey (such a useful color).
Step 9: You can stop here if you want to. You have a wonderful piece of art! Pretty cool, huh?!! And if you don't, which I doubt, just try again, promise? We're learning together! OR you can go one more step and add some pen work. Again I used the micron 01 and The white Sharpie paint pen. It's all random and sketchy and just gives a little definition and high-lighting here and there. This is not my area of expertise (baking is), but I try! Don't be afraid to try. 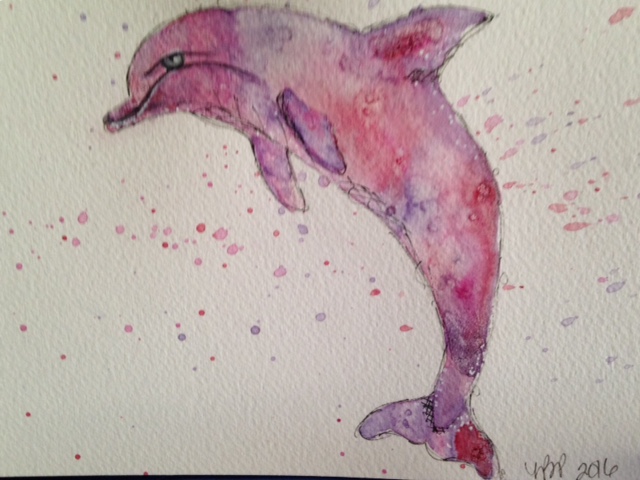 See, wasn't that fun? This technique has endless applications- geometric shapes, animals, flowers...the list goes on and on. Why not just try your hand at a few? I know I will be using this technique more often. You know why? I don't feel I have the skill, nor maybe even the patience, to make a realistic representation of very many things. This (along with tracing) allows me to paint things I never imagined painting before and getting super fun results. Look, I mean, it's a dolphin...and I painted it (insert happy dance here)! Make art. Have fun! Share your results (go ahead and post a pic of what you create using this technique on my Facebook page here )! ♥
|

Archives
December 2019
Categories
All
|
||||||||||||


 RSS Feed
