|
“My love is pizza shaped. Won’t you have a slice? It’s circular, so there’s enough to go around.
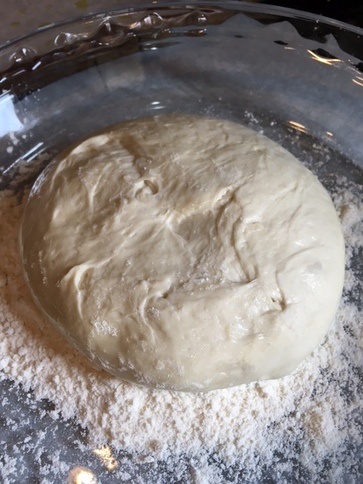
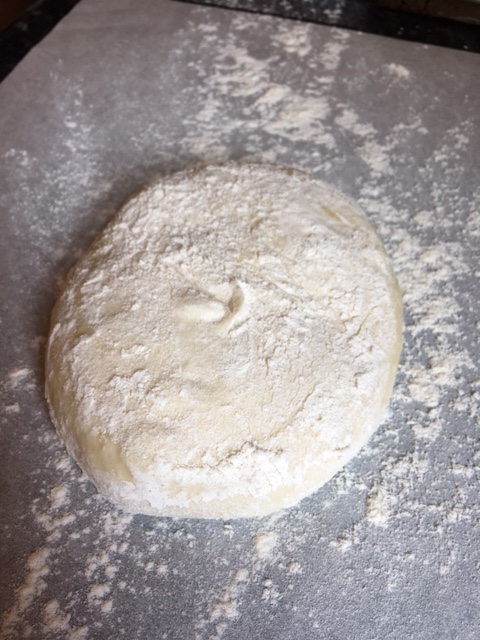
” -Dora J. Arod Last week I was back in Upstate New York where I grew up, helping my mom pack up her house of 51 years. It was at times wonderful, trying, sad and good. Maybe some of you have had a similar experience helping a parent move. I also got to see my brother, sister and their families, which was a delight for me. I don't get back there as often as I would like. One of the highlights was showing my nieces and nephew how to make homemade pizza one night as we celebrated my youngest niece's 11th birthday!. We had so much fun! They took to it like naturals, too. That got me thinking that I hadn't made pizza at home for a very long time. Now that we have a couple gluten free people in my household, we don't make it as often as we once did. So this weekend with some free time on my hands I thought I'd make one of my favorite pizzas-salad topped pizza. It is just baby mixed salad greens tossed lightly in a nice lemony vinaigrette sitting atop a sauce-less cheese pizza. It makes a wonderful lunch or light dinner It is super simple especially if you start with purchased quality dough from your favorite store, pizzeria or Italian deli. I usually make my own dough, but if I didn't plan ahead, I really like to use the fresh dough they sell at Whole Foods. Salad Topped Pizza (makes 2 -10 inch pizzas) 1 lb fresh pizza dough (purchased or homemade) sea salt coarse ground black pepper crushed red pepper flakes 2 cups shredded part-skim mozzarella 2 Tablespoons fresh grated Parmesan cheese plus more for shaving 4 cups lightly packed mixed baby salad greens or baby arugula 2 Tablespoons Extra virgin Olive Oil 2 teaspoons fresh lemon juice 1/4 teaspoon Dijon mustard 1/4 teaspoon minced fresh garlic, peeled all-purpose flour for dusting parchment paper 1. About an hour before making pizzas, place pizza stones inside oven and preheat oven to 550 degrees Farenheit (if you don't have a pizza stone, I have also had good success using inverted, heavy duty baking sheets as my "stones".). 2. Remove dough from fridge*. On a lightly floured surface, divide dough evenly into two pieces. 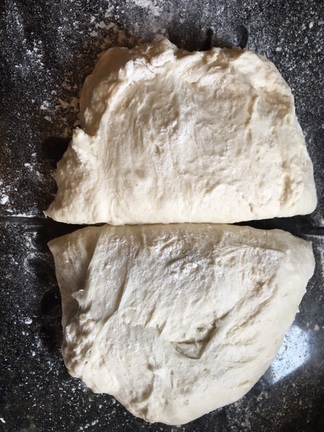 3. Take each half and fold the dough edges into the middle to make a rough ball. With the rough side down, roll the dough, using the counter as an aid, into 2 nice smooth balls. Place the balls on an oiled cookie sheet, several inches apart. Brush the tops of the dough ball with olive oil as well. Let rest on counter for about 1 hour. 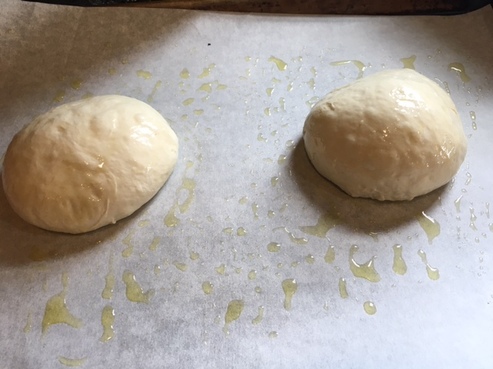 4. After an hour taking one ball of dough at a time, dip both sides of the dough ball in flour. Take a sheet of parchment, sprinkle it lightly with flour. Place the floured ball of dough on it and using your finger tips, dimple the dough.
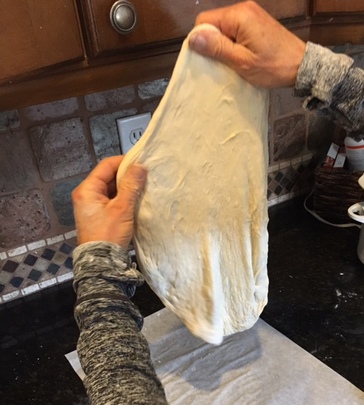
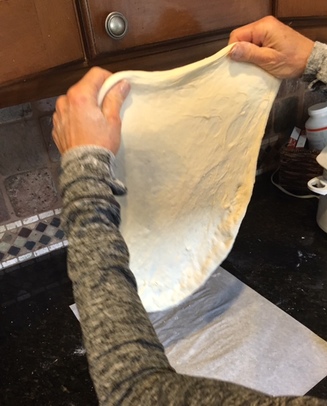
 5. Now pick up the dough with both hands (lightly floured) on the top edge of the dough. Using two hands, lift the dough in the air and letting gravity help you, spin the dough clockwise moving your hands around, until the dough has stretched out to about a 10" round. You can also keep it flat on your floured paper and stretch it by hand on the paper. I think you get a more even crust this way I demonstrate, but do what you are comfortable with. Just remember to keep your hands on the thick outer part of the dough and just allow the pull of gravity to do all the work, keeping the dough round in constant motion If your dough is really elastic. You may have to place the dough down on the floured paper and let it rest several minutes before trying again. Repeat with the other ball of dough. Also do not worry about getting a perfect round. A rustic shape is just as delicious!
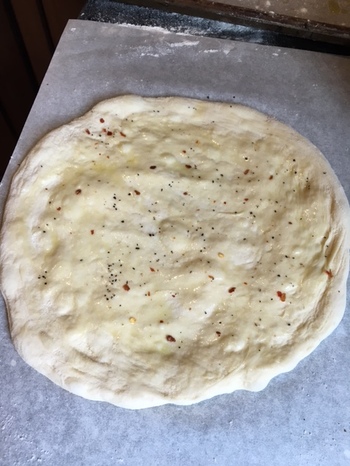
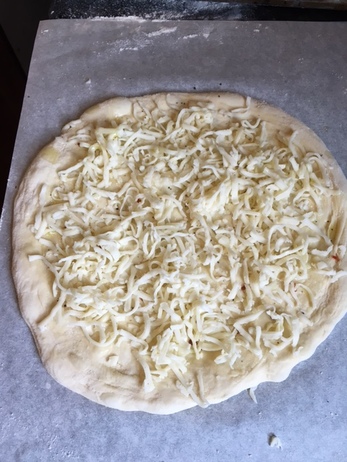
6. Once the dough has reached desired size, lay it gently back down on the floured parchment paper. 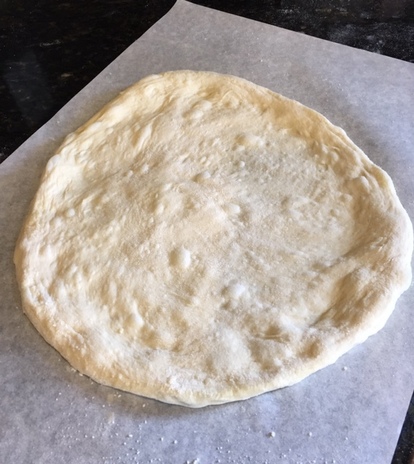 7. Lightly brush the tops with olive oil. Sprinkle each dough round lightly with a small pinch each of sea salt, black pepper and crushed red pepper. Top with mozzarella. Sprinkle each with 1 Tablespoon freshly grated Parmesan and drizzle very lightly with additional olive oil (optional).
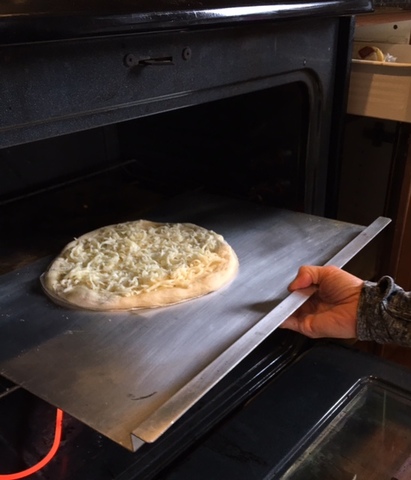
8. Trim parchment with scissors all around dough.  9. Using a pizza peel or rimless baking sheet, transfer pizzas to preheated pizza stones inside oven, parchment paper and all. This is my fool-proof "trick" for building and transferring a pizza into the oven. Works like a charm every time.
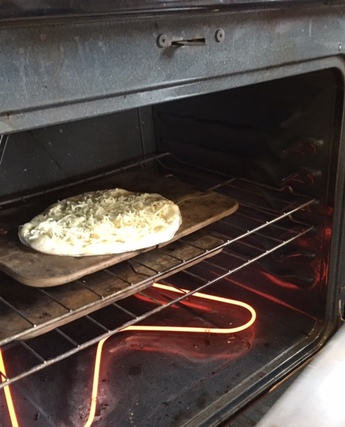
10. Let pizzas bake about 6-10 minutes. (Disclaimer: Every oven is a little different, so please check on your pizzas, rotate them as needed from top to bottom (using peel or rimless baking sheet) or rotate them around on their stone to ensure even baking. Your pizzas are done when the crust is golden and crackly, cheese is bubbly and maybe lightly browned in spots, and bottom of pizza is nicely golden. 11. While pizzas are baking whip up salad dressing: whisk together 2 Tablespoons Extra Virgin Olive Oil, lemon juice, pinch each salt and pepper, garlic and Dijon. Set aside. 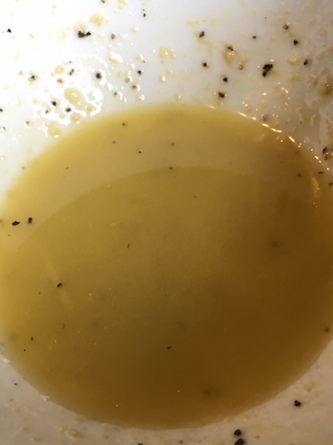 12. When done remove pizzas from oven and transfer to plates. 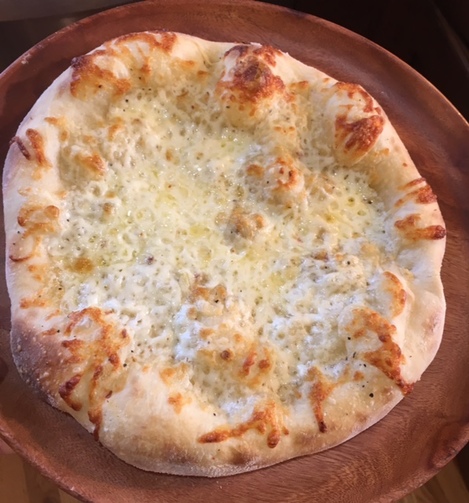 13. Immediately toss salad greens with dressing to taste. 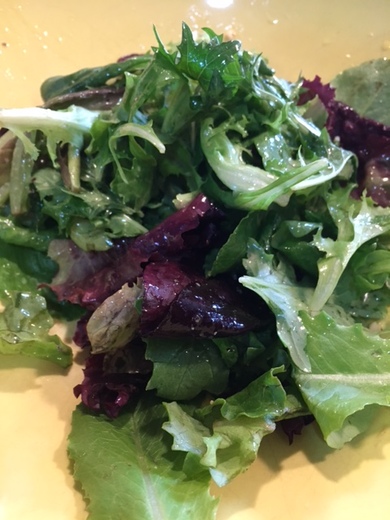 14. Once dressed, top hot pizzas with salad greens. Shave Parmesan cheese on top and serve. Dig in! 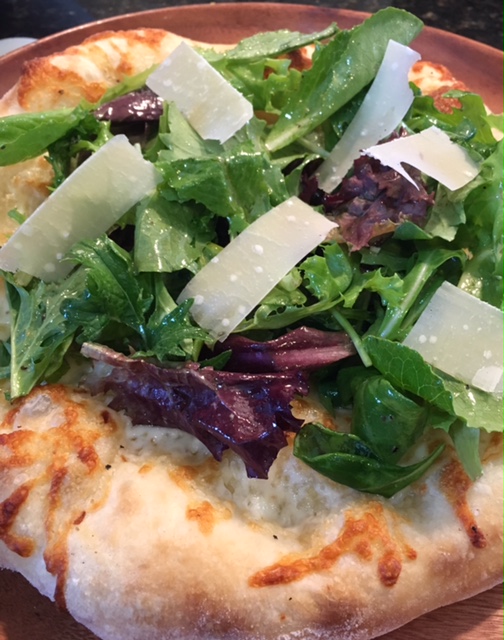 * if you are using home made dough (I have several favorites I will share with you another time) my suggestion is to let it rise slowly in refrigerator for several hours and possibly over-night to develop the best flavor. Don't punch it down, just gently divide the dough and roll into balls as instructed. The time on the counter is less about a second rise than it is about warming up the dough closer to room temp. However, if you have beat down the dough, you may need to let it sit out longer once you form into balls to allow the nice air bubbles to form again. These give the dough great character and lightness.
0 Comments
|

Archives
December 2019
Categories
All
|

 RSS Feed
