|
"Nothing says home like the smell of baking."-unknown Can you believe it is only just over a week until Christmas? Here in Northern Colorado we were gifted with a snow day today! What a great excuse to stay inside and get going on my holiday baking. I'm a little behind! I didn't want to go out and drive anywhere, so after checking my pantry, decided my Brown Sugar Blondies would be the recipe du jour, dolled up for the big day with Holiday M&M's. It's funny because M&M's are really the only candy leftover from my childhood that I still enjoy. I love baking them into cookies and blondies when I am not eating them straight out of the bag.... for breakfast (ok I don't do that anymore, but when I was younger....). I digress. Back to the Blondies at hand. Blondies sometimes get a bad rap, as if they are the evil cousin of chocolate brownies, or when they are a lazy attempt at passing off chocolate chip cookies in bar format. That thinking stops here and now! These luscious moist bars of buttery brown sugar brownies can stand atop a lofty cake pedestal all on their own merits. When they bake and the top gets all golden brown and the crisp edges are calling out to you "eat me, eat me," you will know exactly what I mean. You will not be able to resist that aroma of baked sugary, buttery goodness that lingers in your kitchen even after you have pulled them from the oven and put them in the garage (wait, you don't do that?!!) to cool. Anyone with a working nose and a sweet tooth in your house will be called to discover what that smell is and beg you for a bite, I promise! So what are you waiting for? Oh, and the Christmas crack thing? It's really hard to eat just one. Don't say I didn't warn you! : ) Disclaimer: the pictures show a double batch because I made a big half sheet of them today for gift-giving ....and eating. Brown Sugar Holiday M&M Blondies 2 1/2 cups plus 1 1/2 teaspoons all -purpose flour 1 teaspoons baking soda, scant * 3/8 teaspoon kosher salt 9 1/2 ounces unsalted butter, room temperature (1 cup plus 1 Tablespoon) 1 1/2 cups brown sugar, lightly packed 1/2 cup plus 3 Tablespoons granulated sugar 3 large eggs, room temperature 1 teaspoon pure vanilla extract 1 cup semi-sweet chocolate chips 1 1/4 cups Holiday M&M Milk Choc0late Candies 1. Preheat oven to 350 degrees F. Line a 9x13x2" baking pan with heavy duty aluminum foil. Spray with non-stick baking spray or grease with butter. Set aside. 2. Whisk together flour, baking soda and salt. Set aside. 3. In the bowl of a stand mixer, cream butter and sugars on medium until light and fluffy (I think that looks good already)!. 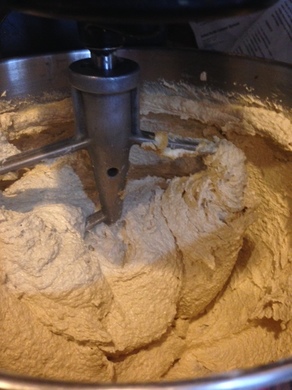 4. Scrape down sides of bowl. On low speed, add in eggs, one at a time, and vanilla. Return mixer to medium speed and mix until well combined. 5. Reduce speed to low and gradually add in flour. Mix until combined, stopping to scrape down sides of bowl as needed. 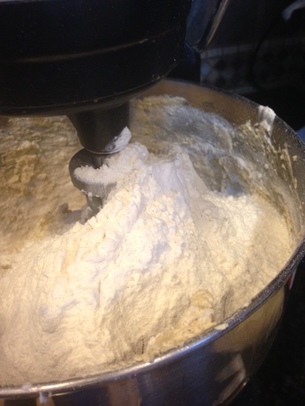 6. Reserve 1/4 cup of M&M candies. Combine remaining M&M's and chocolate chips and slowly add to mixer (on low speed) just until incorporated. 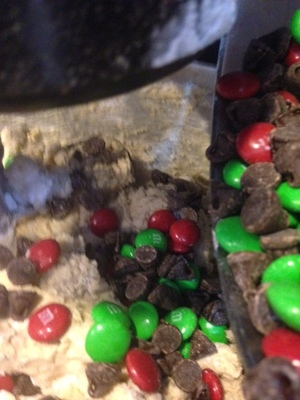 7. Remove bowl from mixer and scrape batter into prepared pan. With an off-set spatula, spread the dough out in the pan, BUT, and this is kind of important, bevel the edges down at a roughly 45 degree angle all around the pan. DO NOT spread the batter out evenly across the pan, as this will cause the edges to rise up and cook faster than the center and then leave a huge edge and a sunken middle. This technique helps mitigate that result. 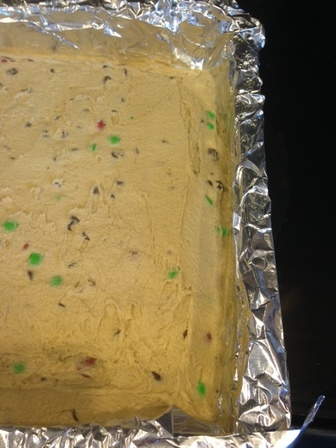 8. Now with the same spatula, smooth out the middle area so it is even, as shown above. 9. Sprinkle reserved M&M candies over the top of the Blondies 10. Bake the Blondies for 30-4o minutes until top is very golden brown, edges are caramelized and top of blondie, when pressed gently with the palm of your hand, feels firm and not wobbly. Do not over bake. 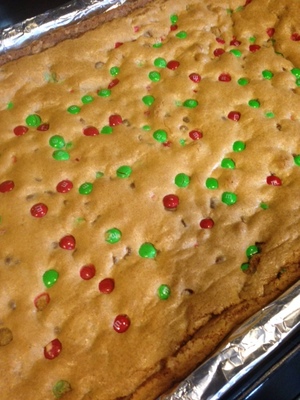 11. Remove from oven and let cool completely (ok, eat a piece of the edge first, if you must). I like to refrigerate them before cutting them. The foil will allow you to remove the chilled blondie easily from the pan, flip it over and carefully remove foil (may need to support it with a cutting board), flip it back over and cut into desired size. I prefer to store mine in the refrigerator, but it's not necessary. 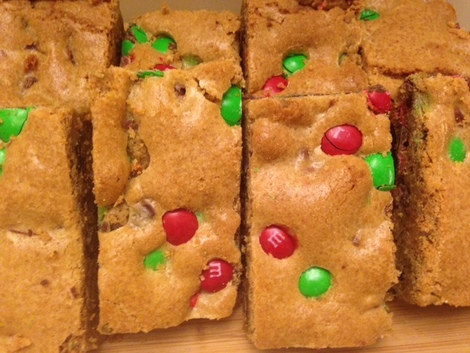 * If you live at 5,000 feet altitude like I do, reduce the baking soda to 3/4 (scant) teaspoon. Proceed with recipe as directed.
I'd love to hear what you think about this recipe if you try it! They freeze beautifully as well, so perfect for lunch box treats anytime of the year! : )
0 Comments
Leave a Reply. |

Archives
December 2019
Categories
All
|

 RSS Feed
