|
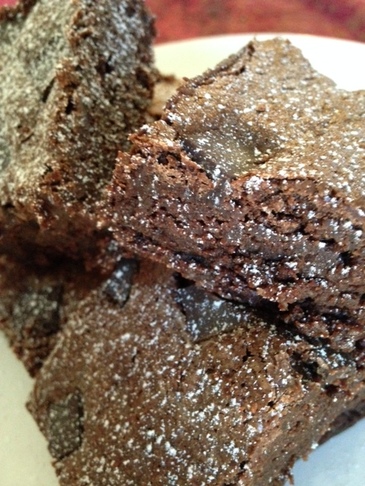
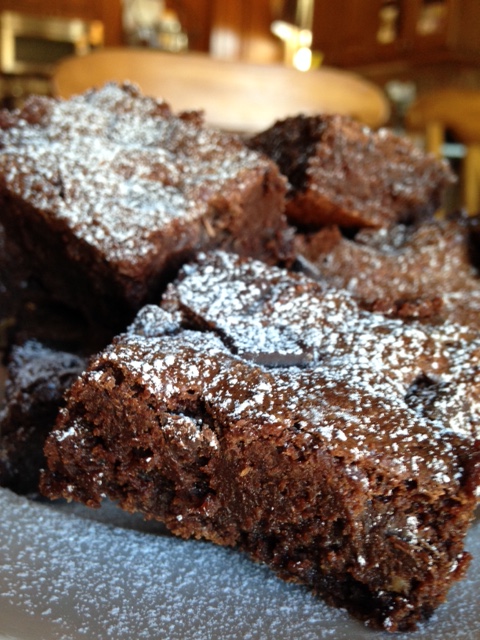
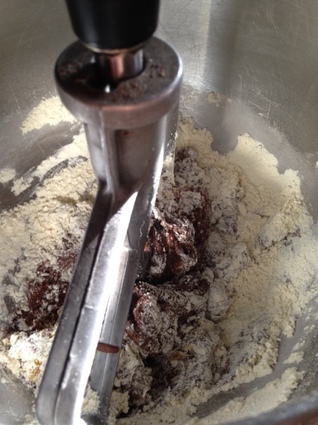
“There is nothing better than a friend, unless it is a friend with chocolate.” -Linda Grayson I am so all about the chocolate, always have been. I grew up in a home where not everything was chocolate (dad always wanted cherry pie for his birthday for example), but it actually seemed like it was. I was out of college before I even knew what a snickerdoodle was (chocolate chip cookies and brownies in rotation were our most common desserts). Now I enjoy lots of different flavors but chocolate remains my true love. I've been working on my chocolate chip cookie and brownie recipes for quite some time. Up until recently I was pretty happy with my current recipes. Then my daughter was diagnosed with gluten sensitivity, and I was also advised to stay clear of gluten as I try to resolve some auto-immune issues. Personally I am not a huge fan of gluten-free baked goods. I find the taste starchy and off-putting. For some reason I find the gluten free flours bother my tummy a bit, too. I have used Bob 's Red Mill 1 to 1 Gluten Free baking flour with really great results, but again, the taste is just not what I am looking for. It's just my personal experience. You may feel differently, and it's all good. So when I started thinking about gluten free brownies, the thought crossed my mind to make them in the style of flourless chocolate cakes, some of which use ground almonds in place of flour to add structure. So I did just that, and not only are they wonderful, I believe they are now my favorite brownie ever! The chocolate flavor is more vibrant than the version with all -purpose flour (which is an awesome brownie anyhow). So unless you are allergic to nuts, these grain free, gluten free (and decadently fudgey) brownies make one hell of a dessert! If you are allergic to nuts, don't worry, I tell you how much all purpose flour to use if you want to make them the traditional way, and you will NOT be disappointed!. Coming on Monday I'll be sharing an amazing dessert to use the brownies in-so stay tuned! It's a 2 for 1! Best Ever Fudge Brownies- makes 1- 9x13" pan 1 1/2 cups plus 1 Tablespoon almond flour (or you can use 1 1/3 cups all-purpose or 1:1 Gluten Free flour or Einkorn flour, if you prefer) 1/2 teaspoon baking powder 1 teaspoon kosher salt 1/8 teaspoon instant espresso powder 4 ounces unsweetened chocolate, chopped 8 ounces bittersweet chocolate, chopped 2 1/2 sticks (10 ounces) unsalted butter, cubed 2 1/2 cups granulated sugar 4 teaspoons pure vanilla extract 6 large eggs, room temperature 2-3 Tbsp whole milk or heavy cream (optional) 1 cup of chocolate chips or chunks (optional) Powdered sugar for dusting (optional) 1. Preheat oven to 325 degrees F. Line a 9x13" baking pan with aluminum foil. Spray with non-stick cooking spray; set aside. 2. With a whisk combine almond flour (OR all-purpose OR gluten-free flour, as you wish), baking powder, salt and espresso powder in a medium bowl; set aside. 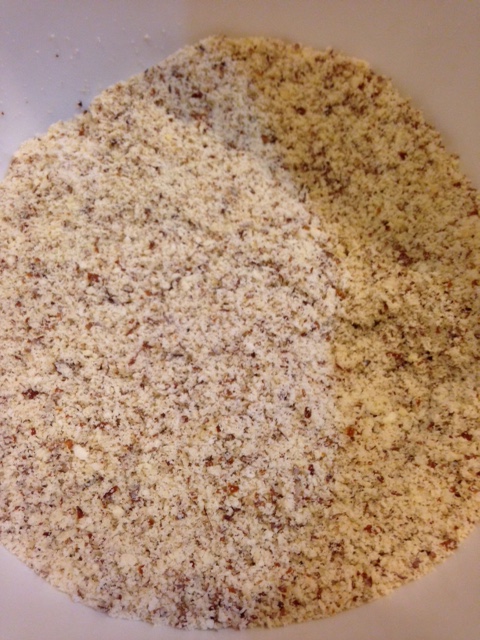 3. In a microwave safe bowl, combine the butter, unsweetened and bittersweet chocolates. Gently melt the chocolate-butter mixture in the microwave, at 1 minute intervals until completely melted and smooth. 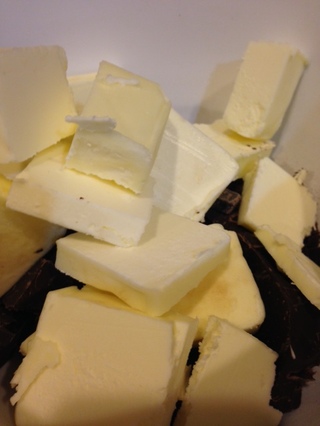 4. Whisk in the sugar until very well combined. Whisk in eggs, 2 at a time, and vanilla. Whisk until smooth. 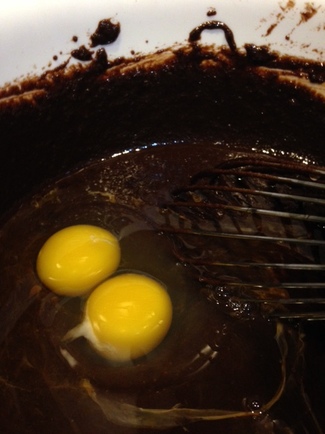 5. With a spatula or wooden spoon, stir in the almond flour mixture (or whatever flour you chose). 6. Dump brownie batter into prepared pan, smooth top to level it out . I like to lightly brush the top with milk or cream to keep it soft (totally optional). Sprinkle chocolate chips or chunks evenly on top if using. 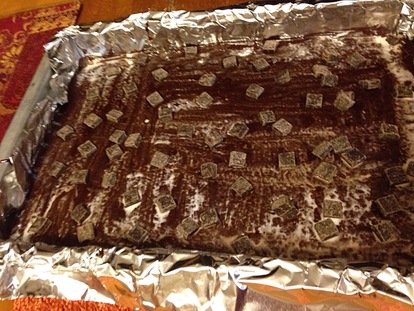 7. Bake the brownies on the center rack of the preheated oven for 30-35 minutes or until a toothpick inserted in the center comes out with a few moist crumbs clinging to it. 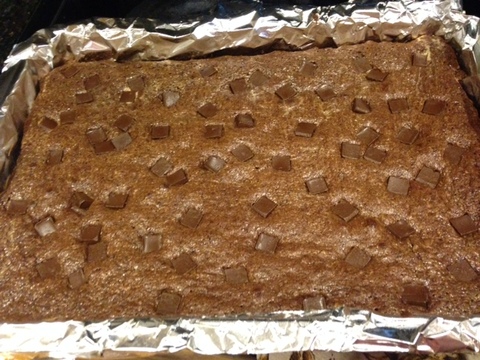 8. Let cool completely, then refrigerate for 3 hours or over-night before cutting. 9. Remove brownies from pan using the foil to help. Remove the foil from the brownies and cut into desired sized brownies. I like to trim the edges for nice neat squares (the pastry chef in me plus you need a snack about now, don't you?). Dust with powdered sugar, if desired. 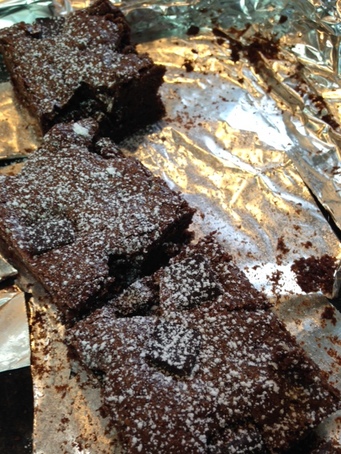 10. Grab a glass of cold milk and enjoy!
Note: I prefer to store these well-wrapped in the refrigerator to preserve freshness longer.
Remember to stop back on Monday for a super yummy dessert you can use scraps or chunks of these brownies in. I can't wait to share it with you!♥
0 Comments
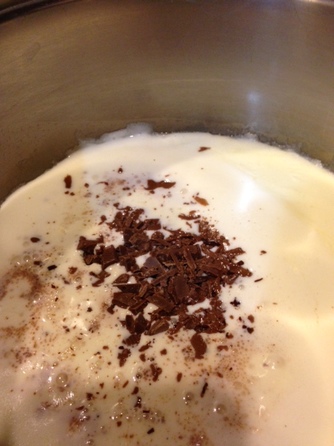
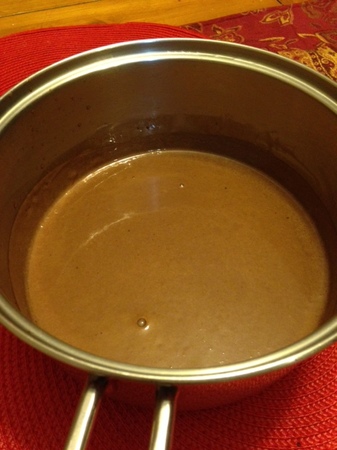
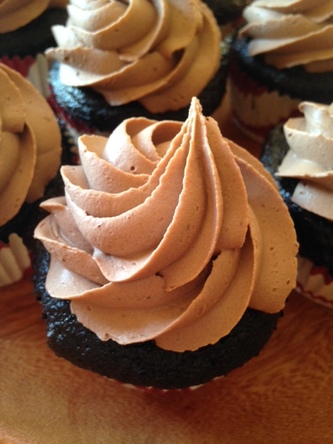
“Love is like a hollowed out piece of chocolate, filled with melted music.” -Jarod Kintz Tomorrow is my daughter's 17th birthday and Valentine's Day is not far behind. For me any celebration calls for chocolate. So I thought I'd share my technique for making an easy showstopper of a cupcake that you can whip up in time for Valentine's day or any time you need a little chocolate indulgence. You'll need to begin the recipe 24 hours ahead of time, but that's just to allow for refrigeration and time for the delightful cream (sooo delicious) to set up. Start with a baker's dozen of chocolate cupcakes, homemade (best) or store-bought. If you have more, simply increase the ingredients accordingly.Use the best quality chocolate you can afford as the flavor will be front and center. You will need a scale for this recipe as well that measures in both grams and ounces. Showstopper Cupcakes 13 prepared chocolate cupcakes, cooled 500 grams Heavy Cream pinch instant espresso powder (optional) 180 grams good quality Milk Chocolate(Lindt, Valrhona, El Rey or Callebaut are some brands to consider), finely chopped 4 ounces good quality Semi-sweet or Bittersweet Chocolate, finely chopped 1. In a medium saucepan, bring the cream to a boil.. Remove from heat and immediately add chopped milk chocolate and espresso powder to cream. Let sit 5 minutes, covered. Gently whisk until combined and smooth.
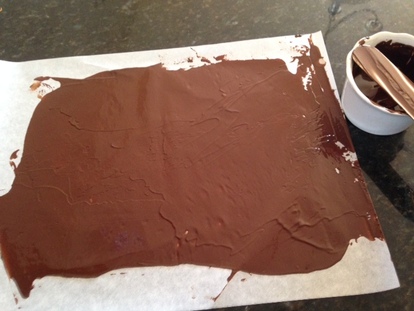
2. Immediately transfer mixture to a mixing bowl, place a piece of plastic wrap directly on the surface. Poke a slit in plastic wrap to allow steam to escape. Place in refrigerator for 24 hours. 3. Meanwhile, gently melt the 4 ounces of semi-sweet or bittersweet chocolate. Have 4 sheets of parchment paper nearby. 4. Lay out two sheets of parchment paper on a smooth, level surface. Pour half of chocolate onto one sheet. With an off-set spatula, spread the chocolate into a thin, even layer. Place another layer of parchment on top of chocolate, smoothing it out.
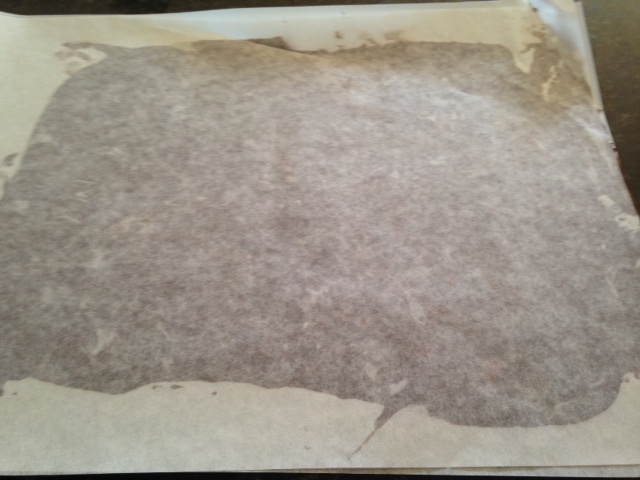
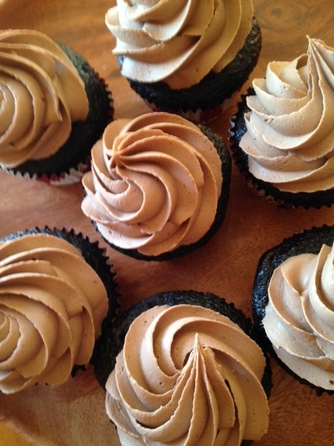
5. Roll chocolate sheet up and insert into an empty paper towel or toilet tissue tube. 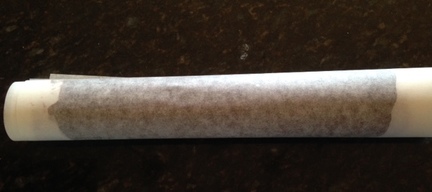 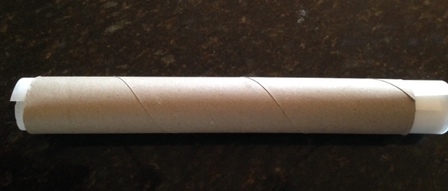 6. Repeat with the other half of the chocolate. Place both rolls in the freezer to set, for at least 30 minutes or over-night. 7. After 24 hours, remove the cream mixture from the fridge. With a hand-held or stand mixer, whip the chocolate cream on medium speed until thickened and the consistency is somewhere between whipped cream and soft mousse. It will be fairly thick. 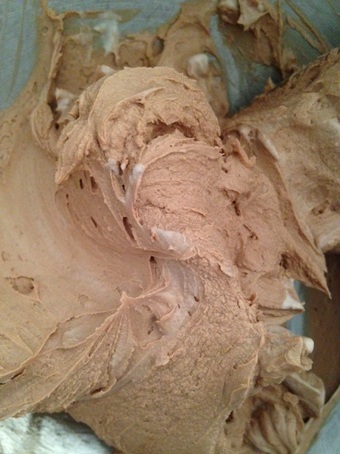 8. Remove chocolate rolls from freezer. On a clean sheet pan, unwrap the rolls, leaving shards of chocolate to use. Place sheet pan in freezer until ready to use. 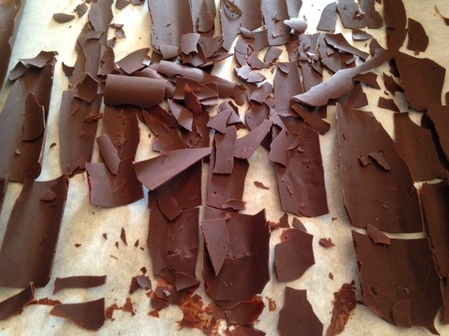 9. Meanwhile, place whipped milk chocolate cream in a pastry bag fitted with a large star tip. Pipe the cream mixture on top of each cupcakes in a generous rosette.
10. Remove chocolate shards from freezer. Top each cupcake with the chocolate shards as desired. Sprinkle tops of cupcakes lightly with powdered sugar. Eh voila! "Oohs" and "aahs" will abound! Share the love! ♥ 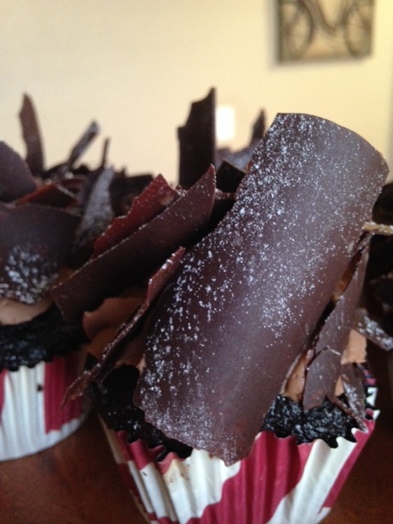 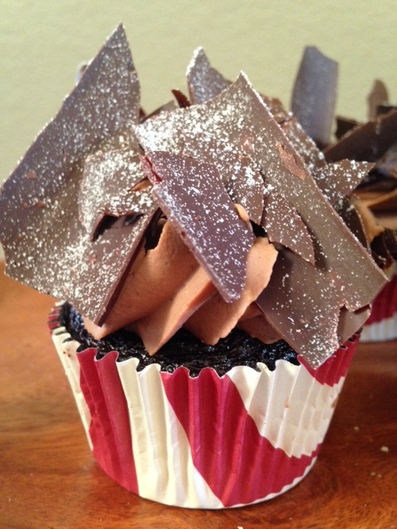 Note:
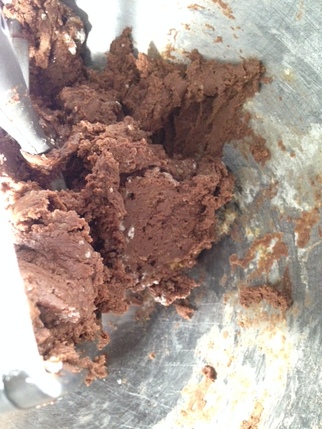
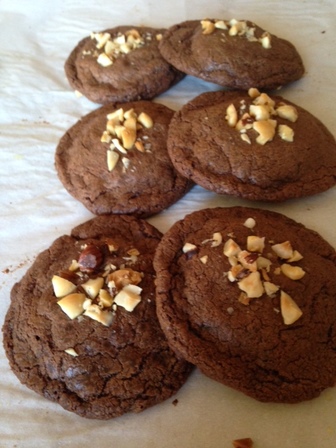
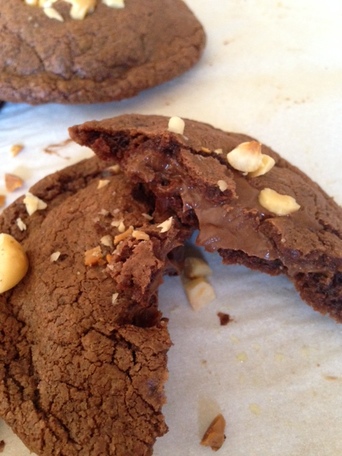
Cupcakes are best eaten within 24 hours. The cream will start to wilt in a day or two. Keep cupcakes stored in the refrigerator. Remove from refrigerator and let sit at room temp 20-30 minutes before serving. "You can't make everyone happy. You aren't a jar of Nutella." - unknown It's hard to find anyone who doesn't seem to like Nutella, that European chocolate-hazelnut spread. It was popular in Europe long before it came here and it has really taken the US by storm. Now grocer shelves are lined with the real deal and plenty of knock-offs, too. Have you noticed? Recently, I was going through my Facebook feed and came across a post from King Arthur Flour company for a cookie that turned out to be a prize-winner in their office (imagine the competition there). It looked so good I thought I should try it. They call them Nutella Sea Salt Stuffies, and you can find the recipe here. I adapted it just a tiny bit and made a second variation which was even more well-received by my family. They reported back that the ratio of crispy to fudgy/chewy was better with the caramel filled version.Try both and see what you think. The recipe is super simple and requires just a few ingredients. So grab everything you need and let's get baking! Stuffed Nutella Cookies For the filling: 1/2 cup (5 1/2 ounces) Nutella For the Dough: 1 cup (10 1/2 ounces ) Nutella 1 cup (4 1/2 ounces) all-purpose flour* 1 large egg 1/4 teaspoon instant espresso powder 1/4 teaspoon sea salt 1/4 cup Hazelnuts, toasted and skinned, chopped fine 1. For the filling: Scoop out 2 teaspoons of Nutella into 12 mounds on a tray lined with plastic or parchment and freeze until firm, a few hours or over-night 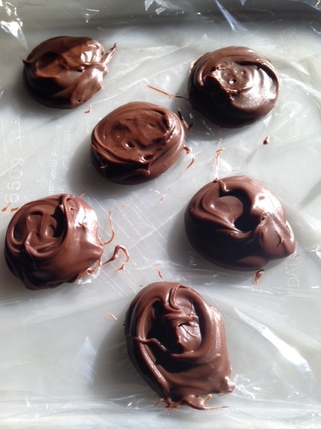 2. For the dough: Preheat your oven to 350 Degrees F. In a stand mixer or by hand, mix together the remaining 1 cup of Nutella, flour, sea salt, egg and espresso powder. Mix until a cohesive dough is formed.
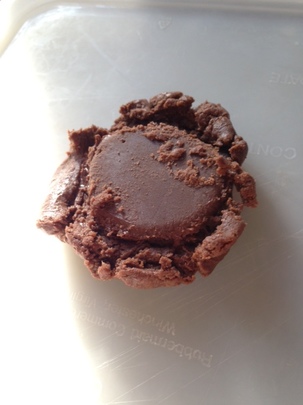
3. Scoop out heaping tablespoons of dough and wrap the dough around a mound of Nutella. Enclosing it completely. Place the dough bundles on parchment-Lined cookie sheet, about 2" apart, and sprinkle each with the chopped hazelnuts. Pat down lightly on the nuts to adhere.
4. Bake cookies in preheated oven for 8- 10 minutes. Allow to cool completely. Take a bite!
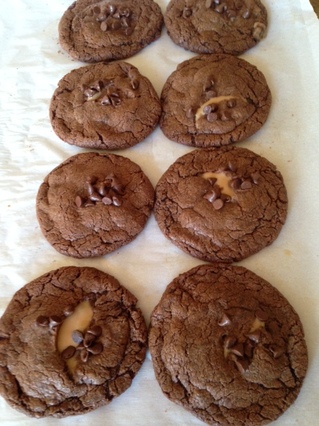
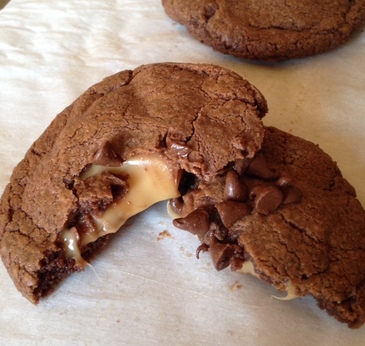
Variation: Chocolate-Caramel Filled Nutella Cookies 1. Use the same dough as above. Substitute Caramel filled chocolate , such as Rolos, or Cadbury caramel filled chocolate squares for the Nutella filling 2. Form the cookies the same way, patting down on the dough so they aren't completely ball shaped before baking. 3. Sprinkle the tops of the cookies with mini chocolate chips. 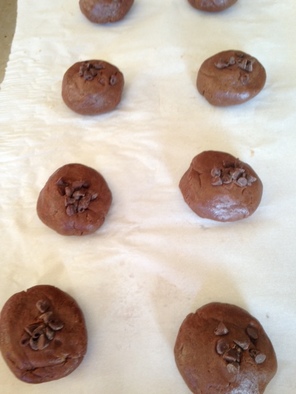 4. Bake as directed above. 5. Swoon with delight when you bite into one. ♥
* I used Einkorn flour for my gluten sensitive daughter. You can find out more about Einkorn here.
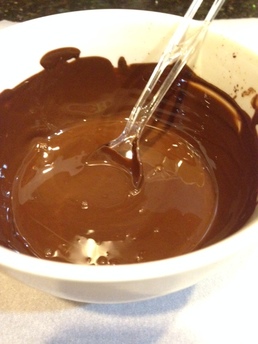
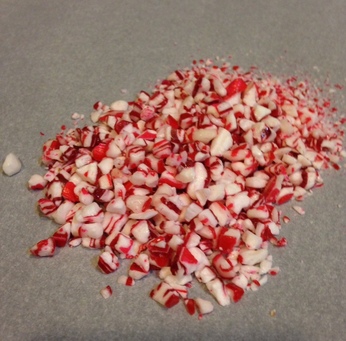
"Think what a better world it would be if we all, the whole world, had cookies and milk about three o'clock every afternoon and then lay down on our blankets for a nap." -Barbara Jordan Christmas eve is tomorrow. Chances are, like me, you are already done baking. Time to get the house cleaned up and ready for family and friends for however your Christmas celebration goes. I promised you one cookie, 3 ways, and then the days got away from me. I was scrambling to get my own baking done, last minute stocking stuffers acquired, grocery shopping completed (4 stores later) and making time for exercise to keep my sanity in check. Perhaps some of you know exactly what I mean. Then woosh, the days are gone! So my best laid plans didn't exactly go as planned. I am still fairly new to blogging and discovering rather quickly that it really takes time to get a blog post prepared and posted. So hats off to all the veteran bloggers out there who put out tons and tons of quality content like clock work. You are my role models! Anyways, onto part 3 of one cookie 3 ways. Maybe you won't get to try it this year, but put it on your "to try next year" list for sure. They are the best part of a fudgy chocolate cookie crossed with a peppermint patty in my book. If you love peppermint and chocolate together, you will really love these! Mint Patty Cookies 1 recipe Chewy Coca Crinkles (here) Mint buttercream (see below) 4 ounces fine quality semi-sweet or bitter-sweet chocolate, finely chopped 1 1/2 teaspoons coconut oil crushed peppermint candy canes 1. Make recipe for Chewy Cocoa Crinkles as directed in original post. After forming dough into mounds with cookie scoop, coat both the bottom and top in granulated sugar. Bake as directed and allow cookies to cool completely. 2. In the meantime , make the mint buttercream. Since you may be splitting one batch into different variations, here is the ratio you will need. Make as little or as much as you think you will need. For every 1 cup of powdered sugar you will need 2 Tablespoons unsalted butter, 1 teaspoon of pure peppermint extract (or to taste) and approximately 1-2 Tablespoons of milk. Combine all ingredients in the bowl of a mixer, and starting on low speed, mix all ingredients to combine. Once powdered sugar is absorbed, increase speed to high and mix until light and fluffy. You want the buttercream to be spreadable, but not too stiff nor too soft that it may run.Taste the buttercream for the peppermint flavor and add little by little, if more is needed, until it suits your taste. 3. On the top side of each cookie, spread about 1 tablespoon or so of mint buttercream into a flat disc as shown below. Repeat with as many cookies as desired. 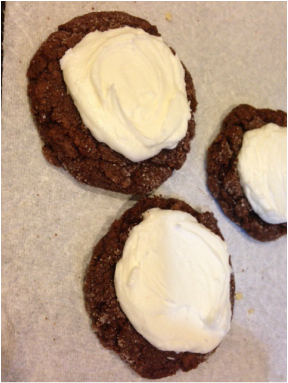 4. Place cookies in freezer to firm up. 5. Meanwhile gently melt chocolate with coconut oil in a double boiler or in microwave. Stir until completely smooth. Have crushed peppermint candy canes nearby.
6. Holding cookie carefully by the edges, dip buttercream side down into melted chocolate. Gently shake off excess and place on parchment-lined cookie sheet. Sprinkle top of cookie minimally with crushed peppermint candies. Repeat with remaining cookies. Allow chocolate to set up completely. 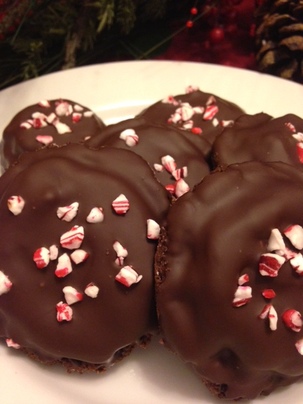 7. Store cookies in an air-tight container in the refrigerator. Allow to come to room temperature for serving. 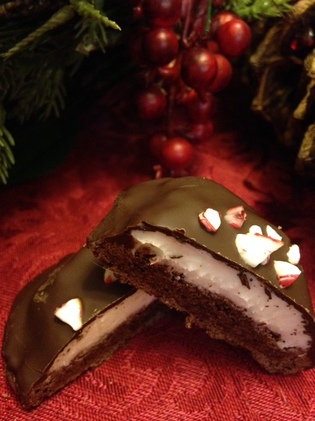 Wishing you a very Merry Christmas with joy and sweetness all around.♥
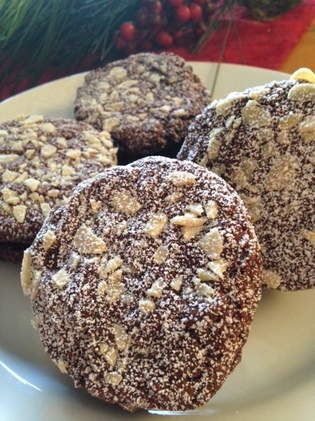
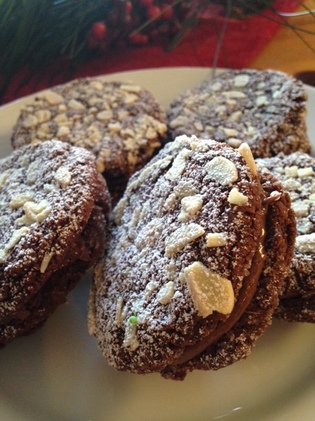
“My stomach rumbles. Plates of cookies, cake, and fudge. Christmastime is here.” -Richelle E. Goodrich Yesterday I introduced a wonderful cookie that have legions of fans in my prior customer base and in ,my family. Yesterday was part 1, straight up.. If you only ever make that version, you will not be disappointed. I am sure it will become part of your cookie rotation from now on. However, if you'd like to take it a step further and maybe gussy it up just a bit for a more indulgent treat, then consider this variation: Almond-Nutella Sandwich Cookies. For the base recipe go here, to yesterday's post: http://wonderandgratitude.weebly.com/blog/one-cookie-3-ways-part-1 Follow the recipe in the link all the way to the point where you dip the bottom of the cookie in granulated sugar. Here's where we start creating a different cookie. Almond-Nutella Sandwich Cookies Sliced, blanched almonds, lightly toasted and coarsely crumbled Nutella Almond Butter Powdered Sugar 1. After dipping the bottom of the scooped dough in granulated sugar, roll the rounded part (top) of the dough ball in the crumbled almonds. Place onto prepared baking sheet, 2" apart. Pat dough balls down slightly, as in the original recipe.. 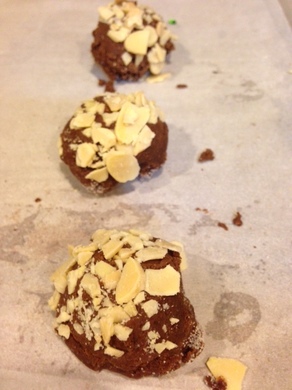 2. Bake cookies for 8-10 minutes in preheated 350 degree F oven, until done (see original recipe for tips on checking for doneness. Remove from oven and cool completely. 3. In a small bowl , combine equal amounts of almond butter and Nutella and mix well. 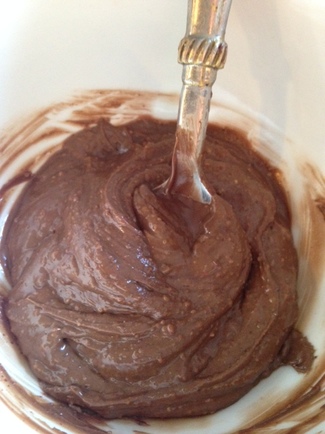 4.Flip half of the cookies over so flat side of cookie is facing up. 5. With a small off-set spatula, spread a small amount of the Nutella-almond butter mixture evenly over the flat side of one cookie. Place another cookie, almond side up on top of the filling. 6. Repeat with the remaining cookies.! Wait till you taste them... and they taste as good as they look!
Note: I don't give amounts for the ingredients above since you will have the option of making all three cookies from one dough. So know if you have extra almonds, you can use them in a salad later on or to top steamed green beans, and you can make up the nutella mixture as you go since it is just a 1:1 ratio. Have fun!
"I am still convinced that a good, simple, homemade cookie is preferable to all the store-bought cookies one can find." James Beard James Beard had this one right. There is nothing better than homemade cookies. And in this, the season of cookie over-load, is the best time to hit that sentiment home. I hope you will take some time this busy season and make a cookie (or two or three) from scratch. I have shared a couple easy holiday cookie ideas with you already here and here. I also provided links to find some of my favorite cookie recipes on the net here . Today, however, I will share another family favorite that I have played with over the years. It is a soft, chewy , delicious chocolate cookie that you can take and transform into three different cookies. One dough, 3 cookies..... "that's a good thing," to quote Martha (yes, that Martha). You may want to double the recipe so you have more than enough to try all three variations. Get out your mixer. preheat you oven, and let's tackle the basic dough and 1st variation. (I apologize in advance for not including more photos, just got so wrapped up in making them, I completely forgot to take photos along the way)! Chewy Cocoa Crinkles 10 ounces good-quality bittersweet chocolate, finely chopped 1 cup all-purpose flour* 2 Tablespoons fine quality cocoa powder 1 teaspoon baking powder ** 1/8 teaspoon instant esporesso powder 1/4 teaspoon kosher salt 1/2 cup unsalted butter, room temperature 2/3 cups granulated sugar, plus extra for dipping 1/2 cup light brown sugar, lightly packed 2 large eggs 1 teaspoon pure vanilla extract Colored sprinkles or non-pareils of your choice * as with other recipes I have had good success using Bob Reds Mill 1 to 1 baking flour in place of all-purpose if you want Gluten Free cookies ** if you live at 5,000 feet altitude like I do, reduce the baking powder to 3/4 teaspoon. 1. Preheat oven to 350 degrees F. Line a couple baking sheets with parchment paper. Set aside. 2. In microwave-safe bowl or in a bowl over a bain marie (double boiler) place chopped chocolate. Heat gently, stirring occasionally, until chocolate is melted and smooth. Remove from heat (or microwave) and set aside. 3. Sift together, flour baking powder, espresso powder and salt. Set aside. 4. In the bowl of a stand mixer place butter and sugars. Beat on medium-low speed to combine. for several minutes, scraping down the side of the bowl, as needed. 5. Reduce the mixer to low and add in the eggs and vanilla. Increase speed to medium-low and continue to mix until well combined. 6. Reduce mixer speed to low and slowly add in cooled chocolate. Combine well. 7. Stir in flour mixture in 2 or 3 additions until just combined. DO NOT over-mix. 8. Remove bowl from mixer and cover with plastic wrap. Chill dough for about 30 minutes to firm up slightly. If the dough is already more thick than runny, you can skip this step. You can tell if it's ready if you form a ball and it retains its shape. 9. Scoop out rounds of dough using an ice cream scoop. I favor the Piazza number 40, but a similar scoop about 1 3/4 inches in diameter will work fine. 10. Dip the flat bottom of the dough into granulated sugar. Dip the mound part in sprinkles of your choice. I used holiday colored non-pareils. I alter the colors based on the holiday, occasion or time of year. Place sprinkle side up on prepared baking sheet, about 2 " apart. Pat down on the dough ball slightly (if dough was refrigerated for a long time,. you may have to pat down by half. Experiment with one or two before baking a whole sheet. 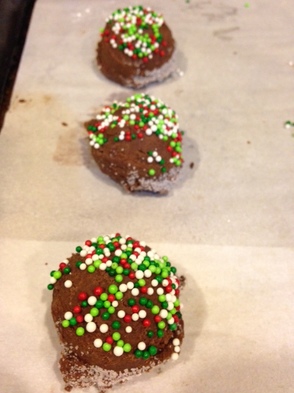 11. Bake cookies for 8-10 minutes or until done. DO NOT over-bake. Cookies will puff up slightly and then flatten out and crinkle if you rap baking tray on counter. Center should not look raw anywhere. This may takes some trial and error as chocolate cookies can be a little tricky. But I find by 10 minutes tops, if your oven is accurate, they should be done. Once they cool they will be firm but soft in the center. 12. Remove tray from oven and let cool completely. They store great in the freezer, if they last that long. 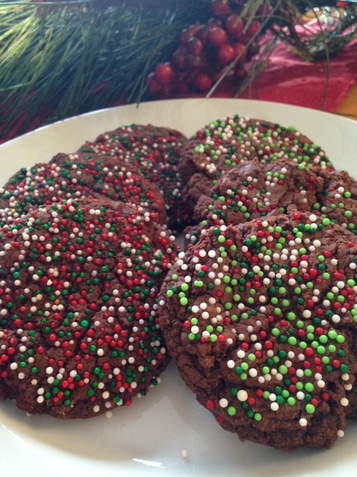 |

Archives
December 2019
Categories
All
|


 RSS Feed
